
This Vegan Pavlova is created with a magical ingredient: aquafaba! If you're new to baking with aquafaba, you're definitely in for a treat. It's the famous water of a tin of chickpeas (or other white beans) that whips into fantastic peaks and created the most delicious vegan pavlova.
Besides turning aquafaba into vegan meringue, this recipe uses caster sugar and vanilla for flavouring and it creates this amazing vegan pavlova wreath in just a few steps.
This vegan pavlova recipe is:
- 100% vegan
- created with whipped aquafaba
- the perfect Christmas dessert
- super pretty to decorate
- crunchy on the outside
- melting on your tongue
- sweet
- egg free
- dairy-free
- naturally gluten-free
- easy to make
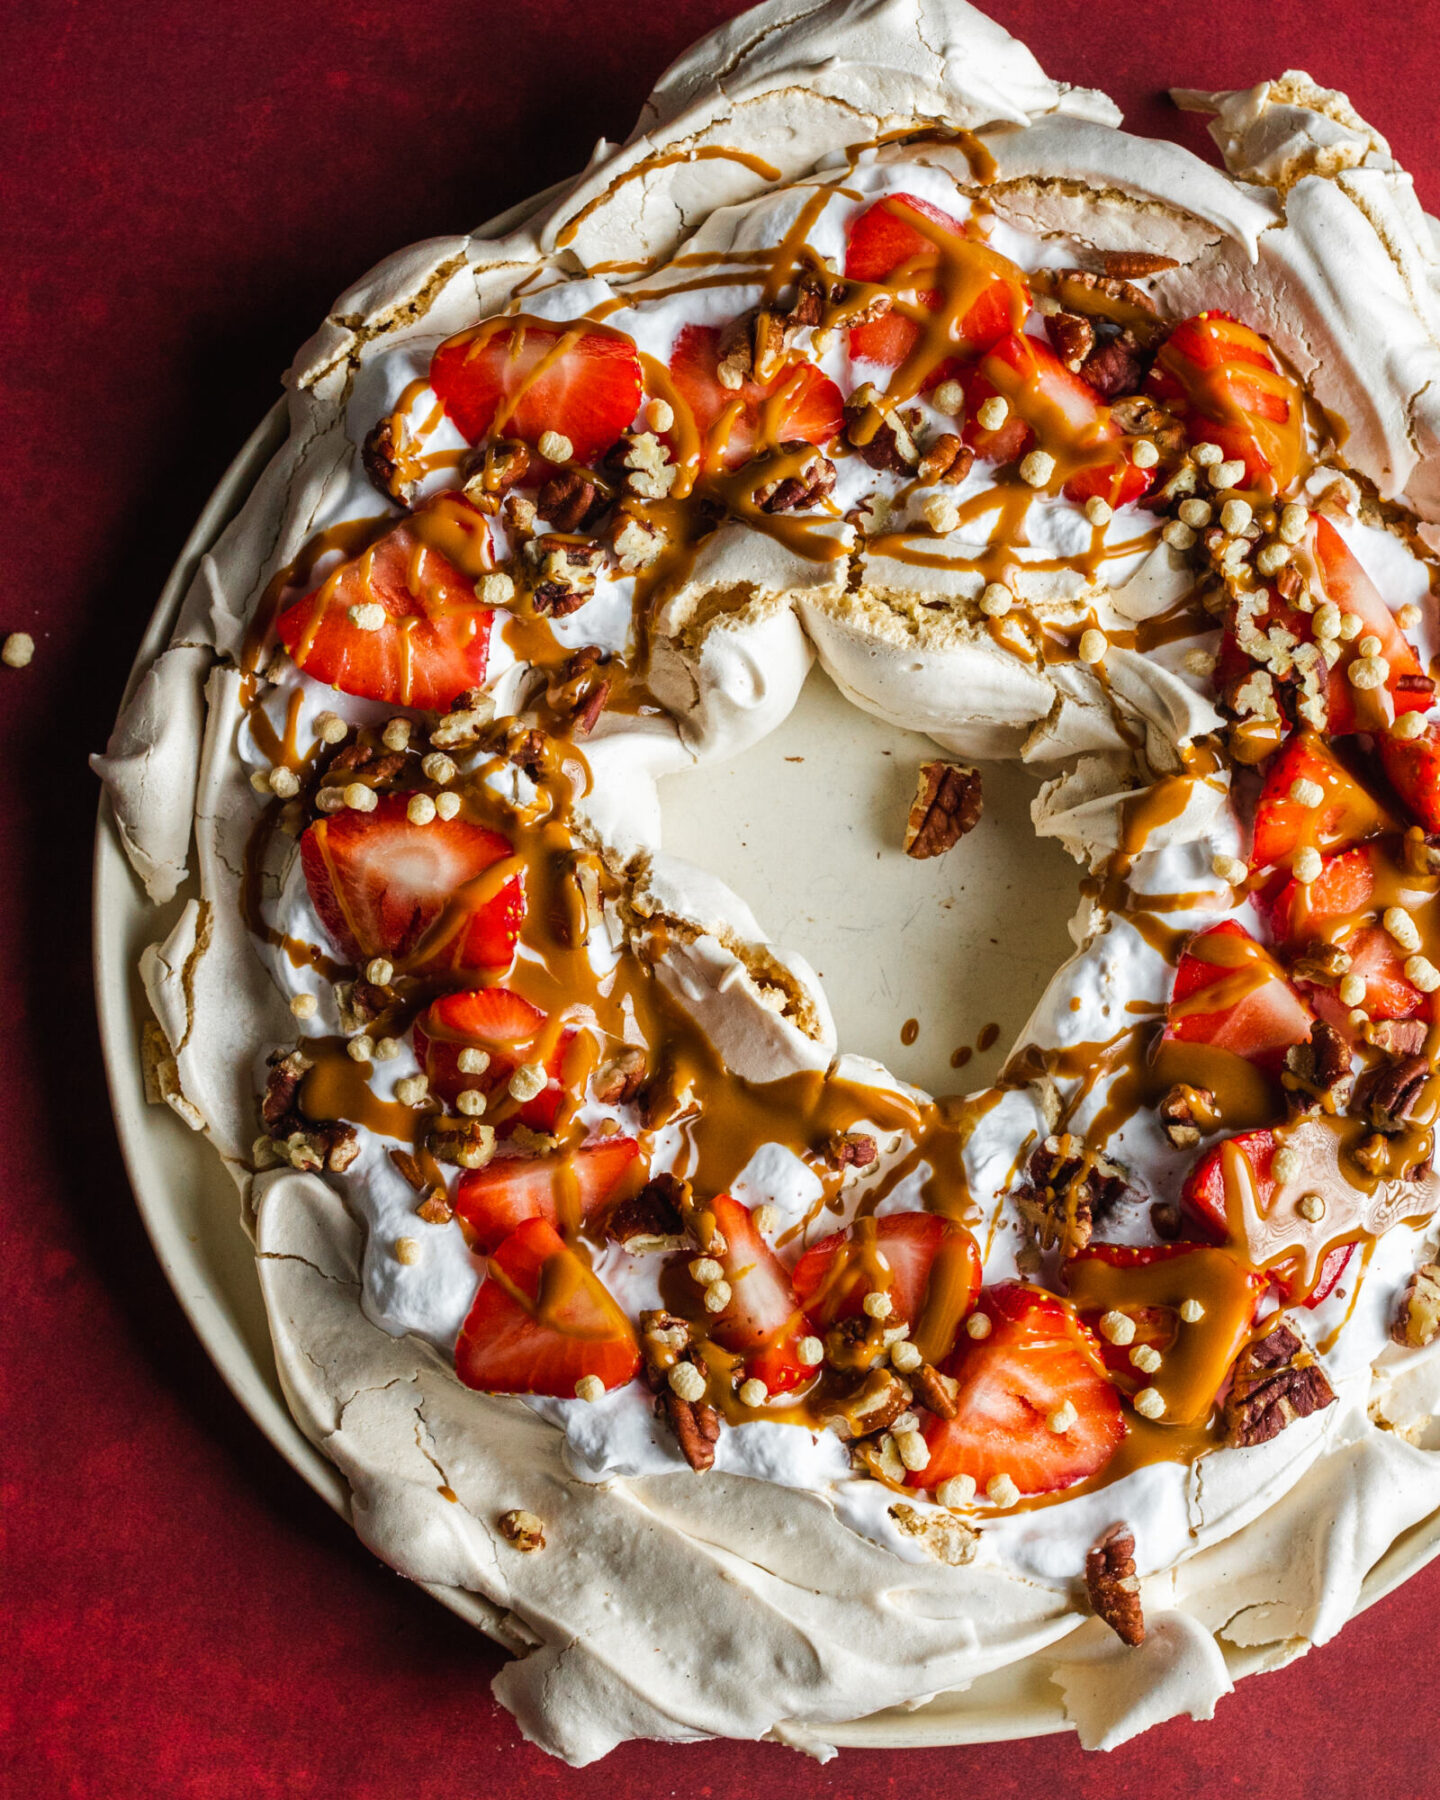
Table of Contents
What is aquafaba?
Aquafaba is the liquid from a tin of beans. For cooking and baking, we usually use the liquid from a tin of chickpeas, but any other white beans will work as well - simply ensure to run it through a mesh to remove any beans or chickpeas first. The liquid from dark beans, such as black beans or kidney beans, is not suitable for baking.
If you're making your own aquafaba from dried chickpeas, it's important to note that aquafaba is the liquid the chickpeas are cooked in, not the liquid they are soaked in prior to cooking, so please don't mix them up.
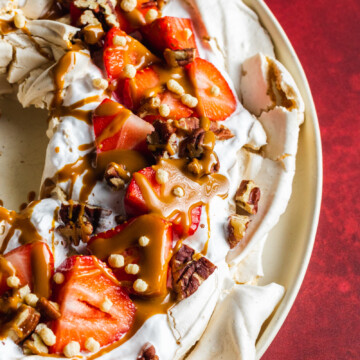
If you've never had pavlova before, you have been missing out!
It's wonderfully crunchy on the outside, soft and melty on the inside, with a sweet flavour and pairs perfectly with whipped coconut cream and fresh berries - simply a delight!
This recipe is easily prepared in just a few steps, and then the oven takes care of the rest - and before you know it, you'll be able to enjoy this delicious melt-in-your-mouth dessert.
What is Pavlova made of?
Pavlova has always been the kind of special treat I would see in bakeries around Germany growing up - but that nobody ever dared try to make at home. At least no one that I knew! So I grew up thinking of pavlova as this great mystery and not having a clue what it's actually made of or how to make it.
As my interest in culinary skills grew, I very quickly solved that mystery and found out that traditional pavlova is mainly made from 2 ingredients: egg whites and sugar. Not very vegan-friendly, I know! But that's why you've probably landed on this post and you are about to embark on a journey to find out how you can make delicious pavlova without any eggs!
(You're welcome!)
Ingredients & Notes
The ingredients for this vegan Pavlova Christmas Wreath are super simple:
- aquafaba - that's the liquid from an unsalted, organic tin of chickpeas! Make sure the only ingredients are chickpeas and water to avoid any upleasant surprises later on. You will need the liquid of roughly 1 400g-tin of chickpeas.
- cream of tartar - I order mine through Amazon, one pack usually lasts me for a very long time. The cream of tartar helps the vegan pavlova keep its peaks.
- caster sugar
- xantham gum - you can easily buy xantham gum through online stores like Amazon
- vanilla bean powder
Toppings for Pavlova
These are optional but I highly recommend the blow combination!
- vegan whipped cream - such as whipped coconut cream
- fresh strawberries - or other berries
- melted peanut butter - I used Pip & Nut Smooth Peanut Butter
- toasted pecan nuts - just pop them in the oven for 5 minutes, and they'll be nicely toasted and super sweet and nutty!

Instructions (Step-by-Step)
For this vegan pavlova recipe, there are only a few simple steps included, but it is important that you read all the notes below before making a start, so you know exactly what to look out for to create delicious vegan pavlova.
Step 1: Preheat your oven
Before you start with your ingredients, first prepare your oven. Preheat it to 120°C (248°F) - for this recipe we need a low heat, but a long baking time. On my own oven, I use a fan-assisted setting for this recipe - please adjust the oven temperature in case you use gas or non-fan-assisted.
Step 2: Whip your aquafaba
Place the aquafaba into a large mixing bowl and start whipping. You can only get to the right results with an electric whisk or a stand mixer with whisk attachment, so please don't try doing this by hand. Whip the aquafaba on the highest setting for about 4-5 minutes or until stiff, white, soft peaks start to form. Sprinkle in the cream of tartar and then slowly add in the caster sugar. For best results, add the sugar slowly to the bowl whilst continuing to mix with the electric whisk/stand mixer.
Once well combined, add in the xantham gum and vanilla powder. Mix for another minute, then turn off your electric whisk. The aquafaba should be thick and shiny and form stiff peaks when you lift out the whisk.
If you want to put it to the ultimate test, then hold the bowl upside down over your head... just kidding, please don't do that, ha!
Step 3: Shape your pavlova
Place a silicone mat onto an oven tray - I have found that you get the best results from silicone mats. They are simply the best for easy removal of the pavlova later on. I would think that a high-quality non-stick baking parchment would work as well, but I haven't tried that myself, so I can only recommend investing in some reusable silicone mats.
Use a large spoon to shape your pavlova wreath onto the baking mat. I like to make sure the overall pavlova wreath is as round as possible, but I like to keep little peaks and swirls all around as it makes for a more interesting shape. For this recipe to work out, I would recommend not making the wreath thicker than 5 centimetres (roughly 2 inches) and not thinner than 1 cm anywhere to ensure it bakes evenly and doesn't burn or break when removing it from the silicone baking mat later on.
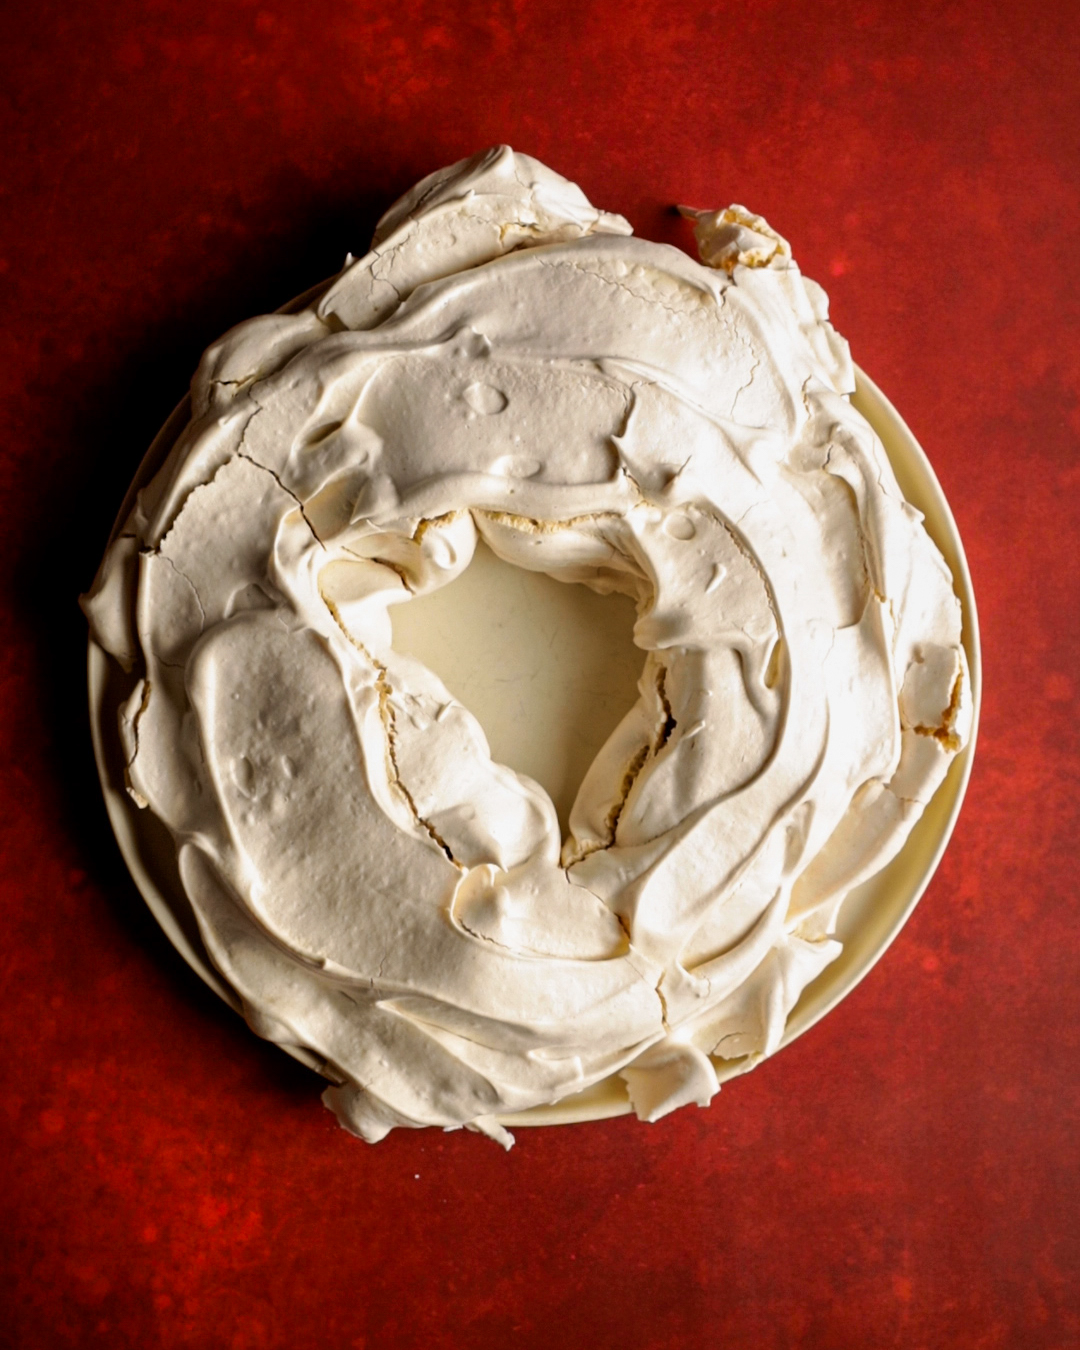
Step 4: Baking
Transfer the tray to the oven and bake at 120°C (248°F) for a total of 3 hours. This might sound like a really long time, but we're essentially dehydrating the pavlova to make sure the sugar lightly caramelises without browning, creating the crunchy exterior that you know from pavlova.
It is really important that you keep the oven door shut for the entire time. Even just opening it once will reduce the oven temperature and risk ruining your pavlova.
Step 5: Cool down
Once the 3 hour baking time elapses, keep the oven door closed and let the pavlova cool down inside for 60 minutes, before removing it from the oven carefully.
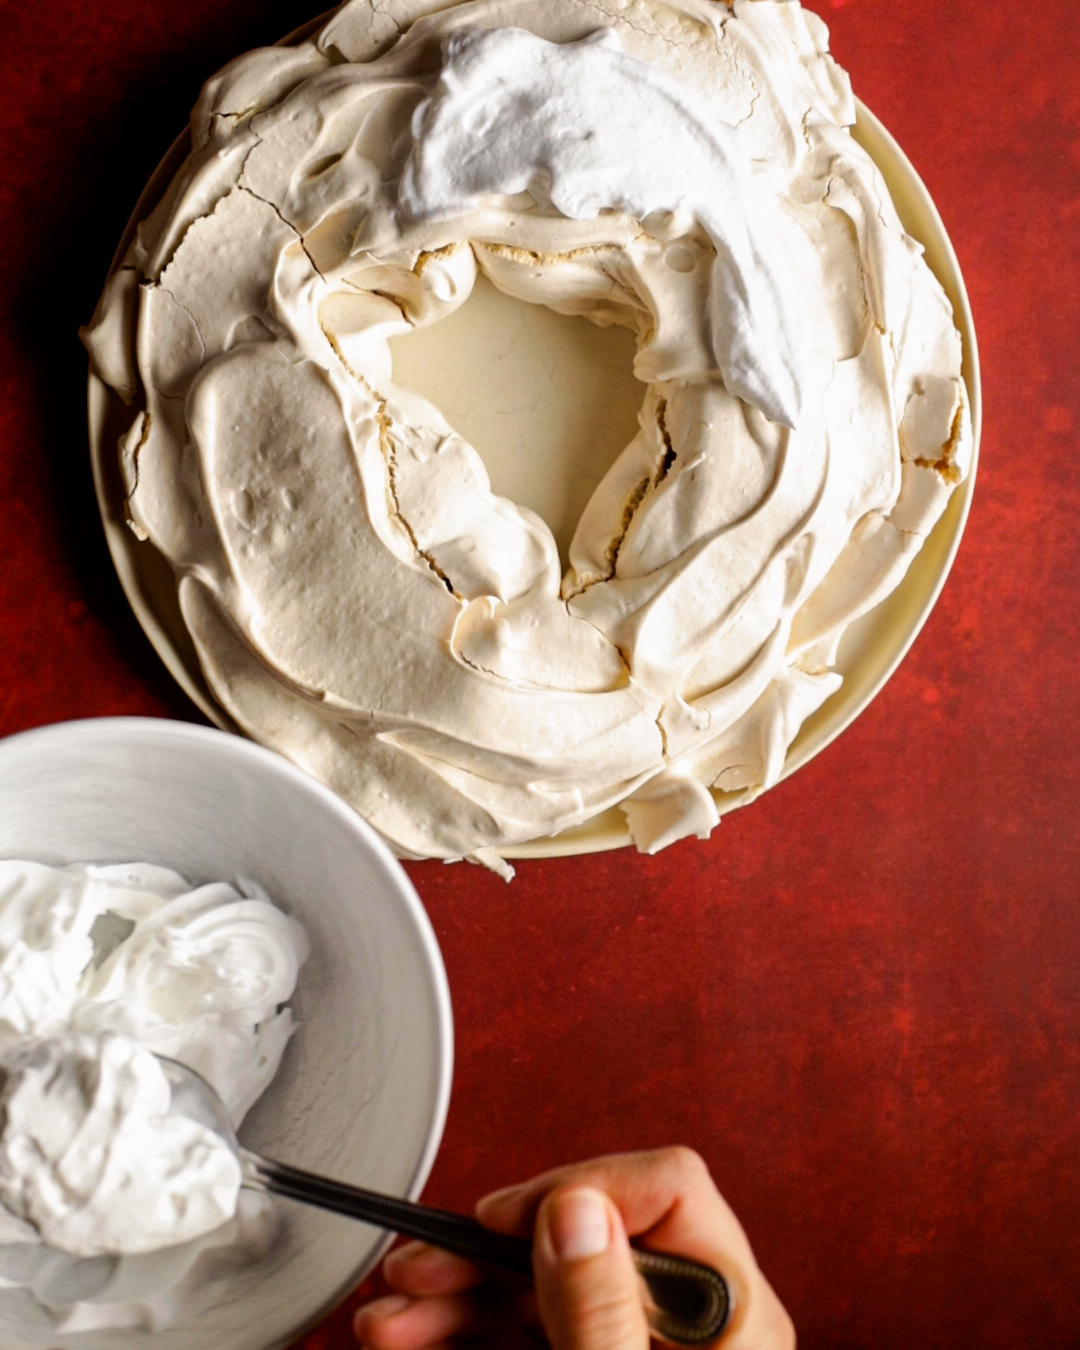
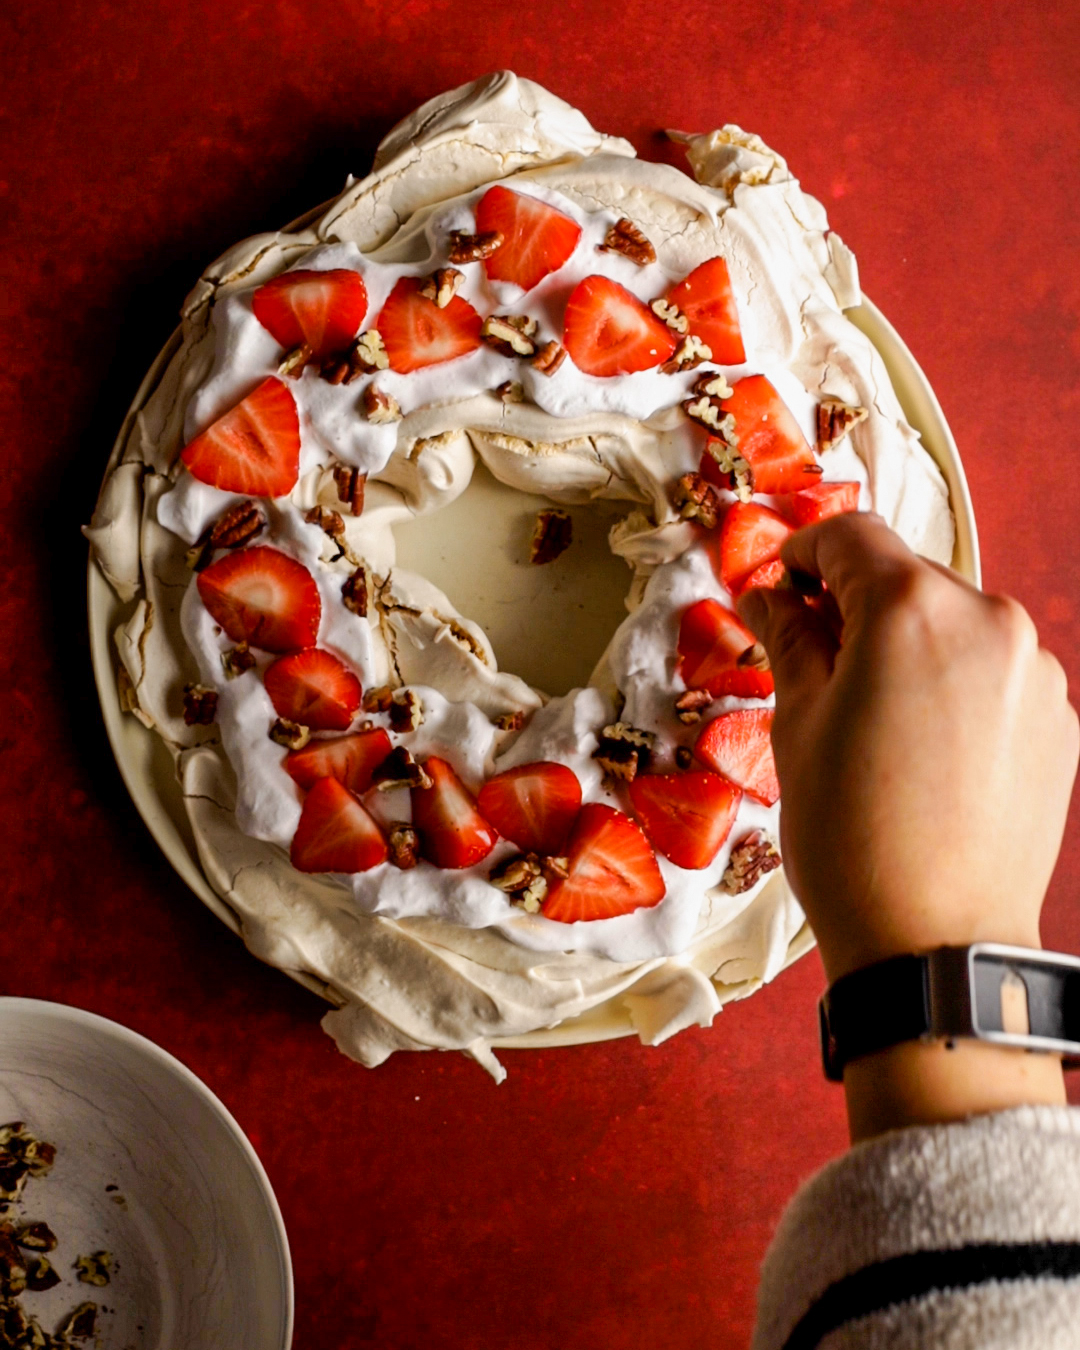
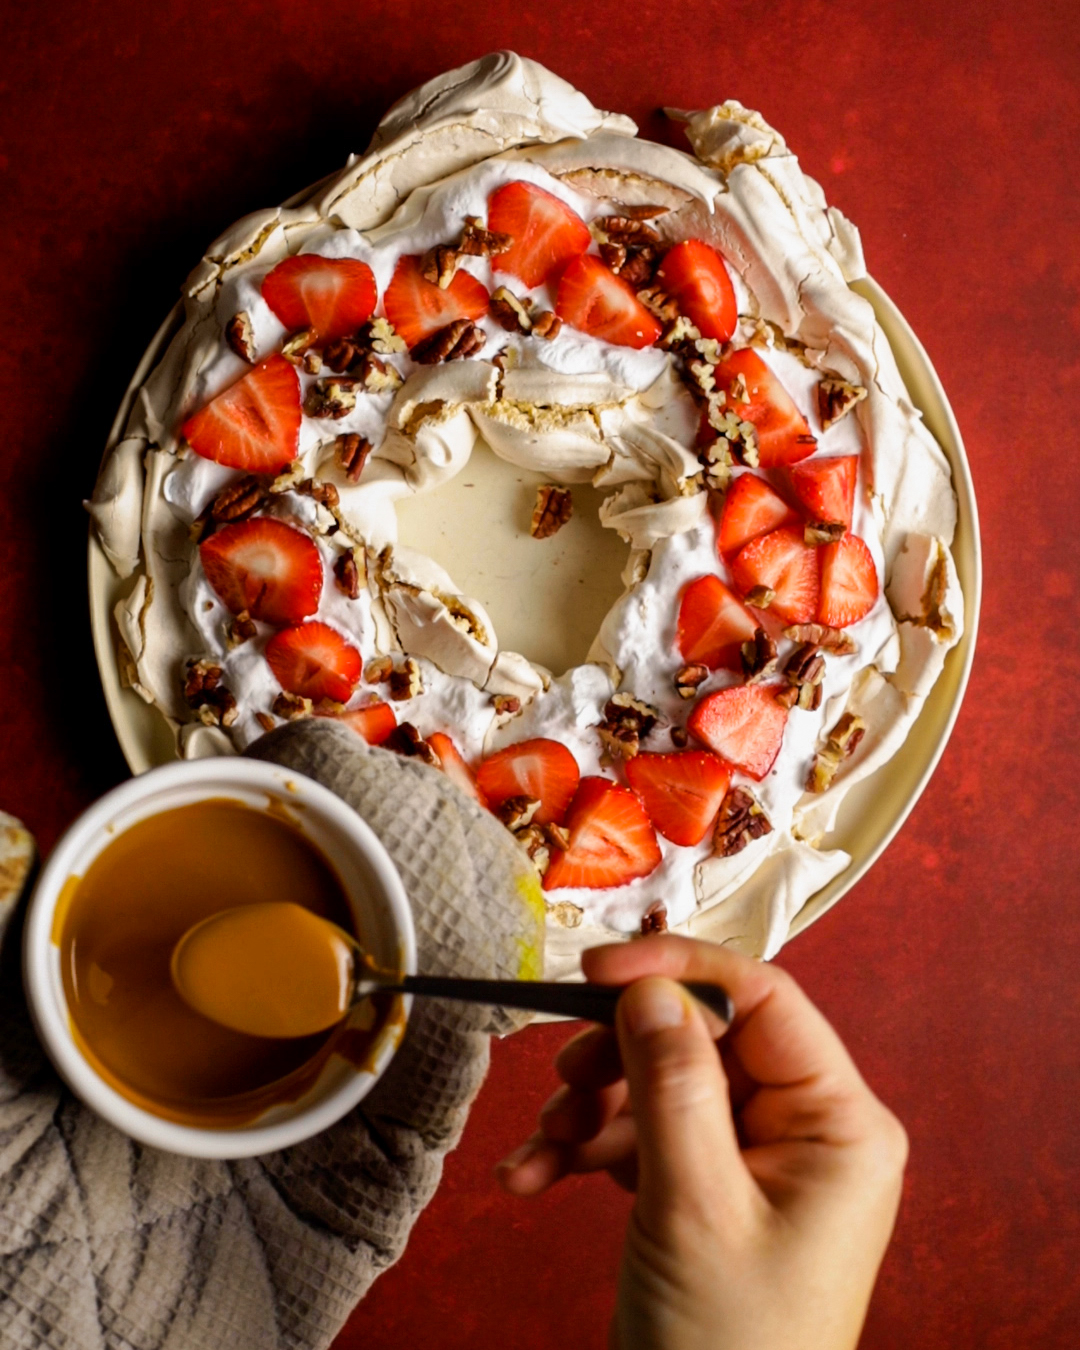
Serving
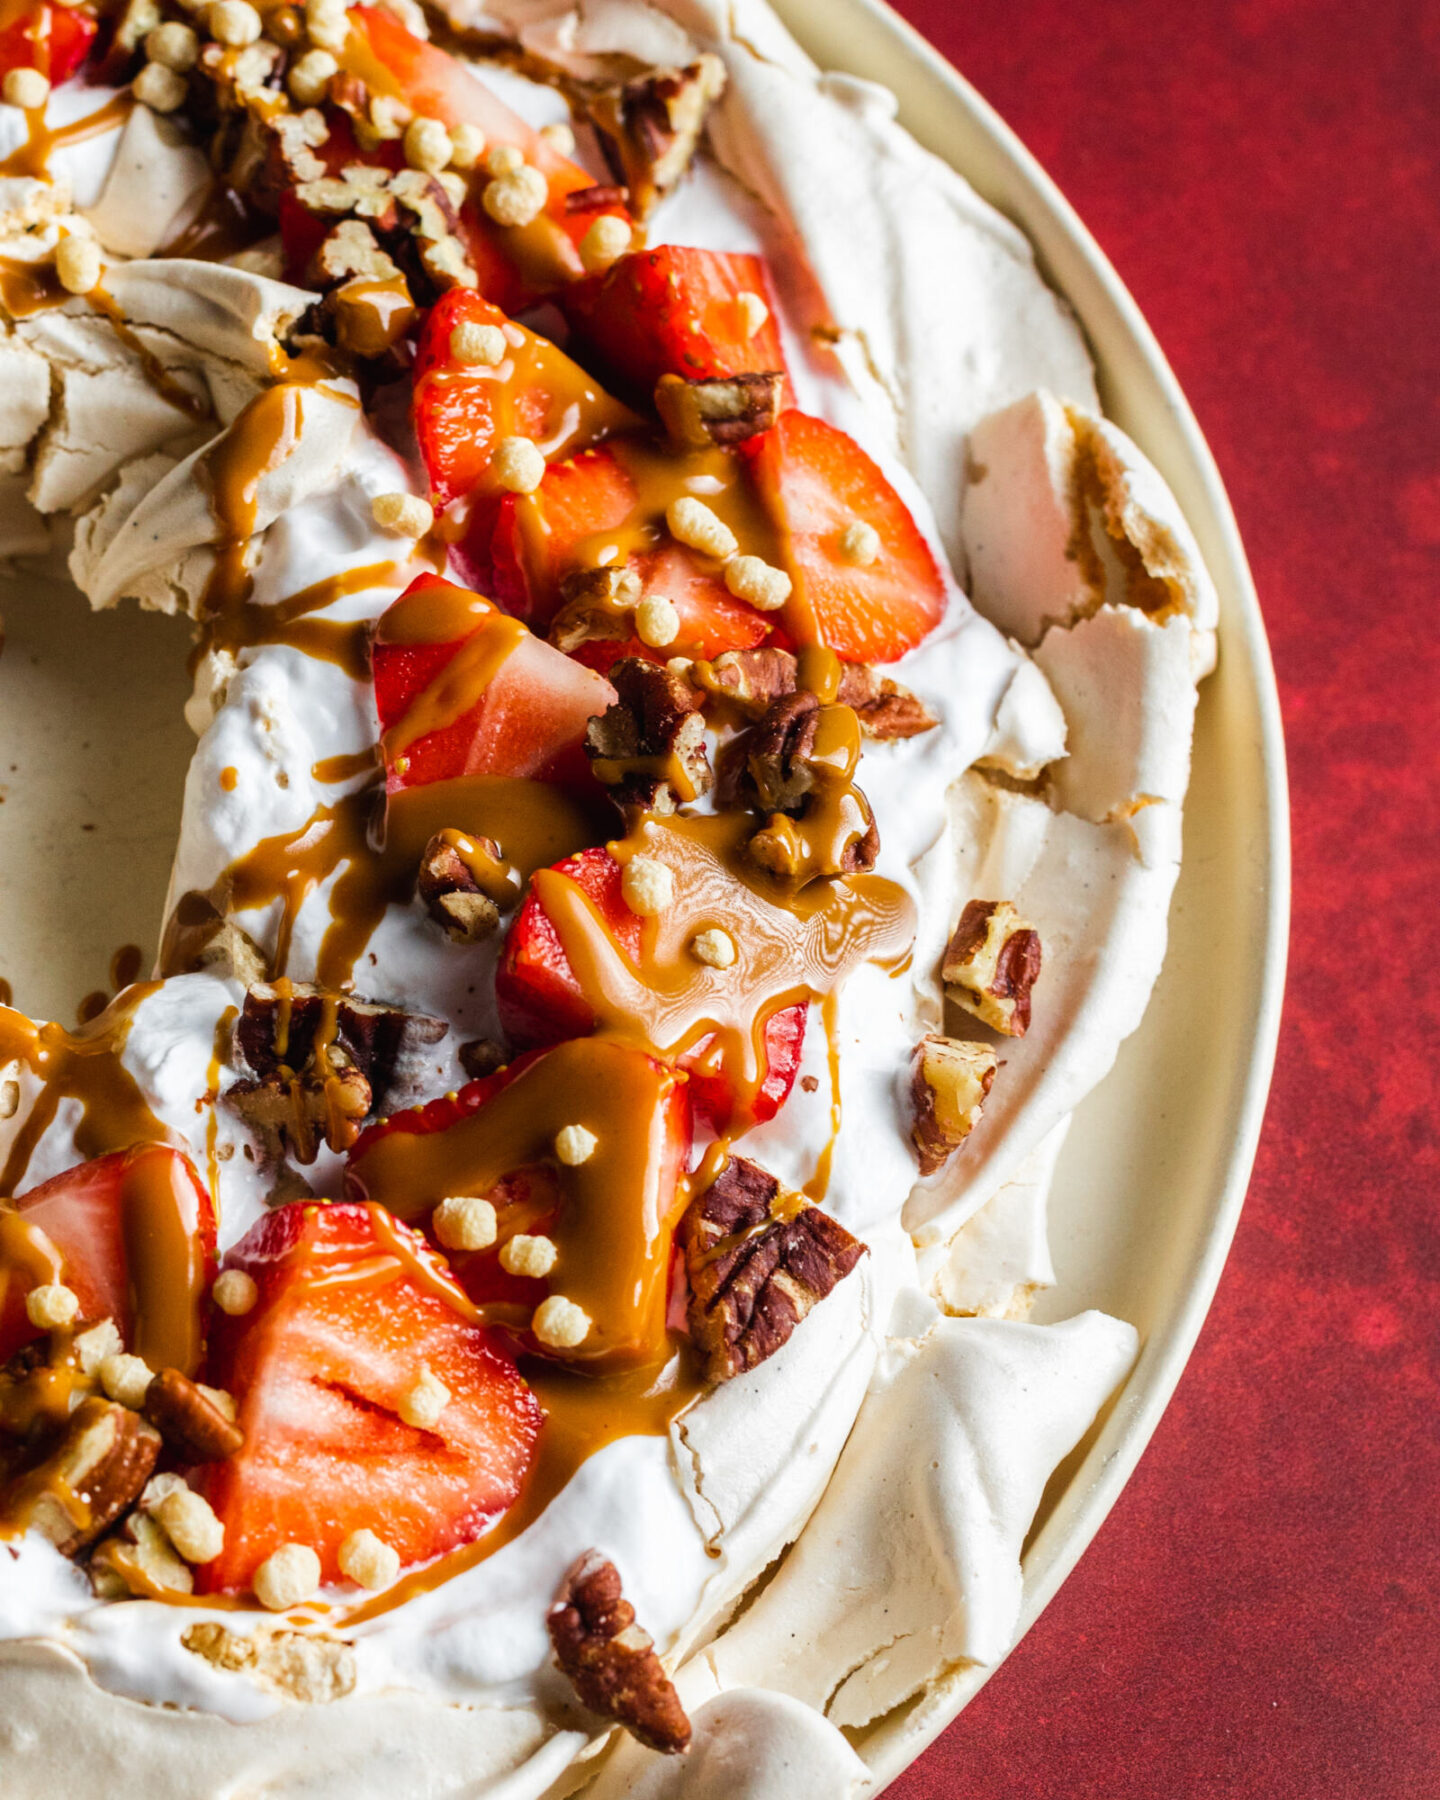
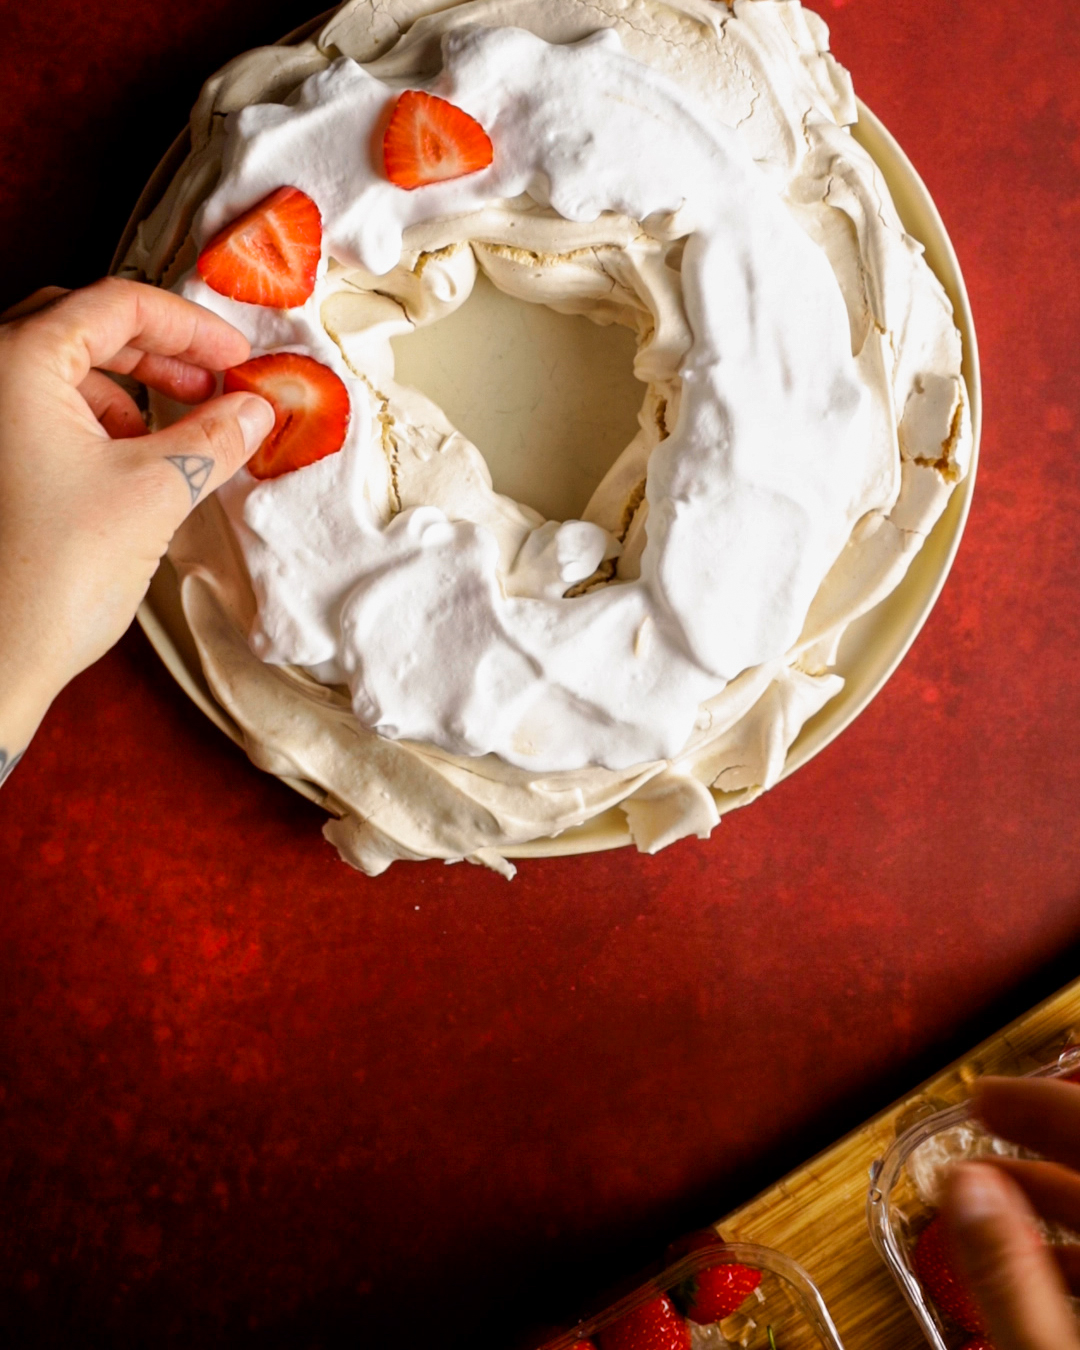
You can serve your pavlova wreath right away, or keep it in an airtight container for up to 5 days. To serve, simply add some whipped cream around the wreath and decorate it with strawberries, crushed nuts and nut butter (or your favourite toppings)!
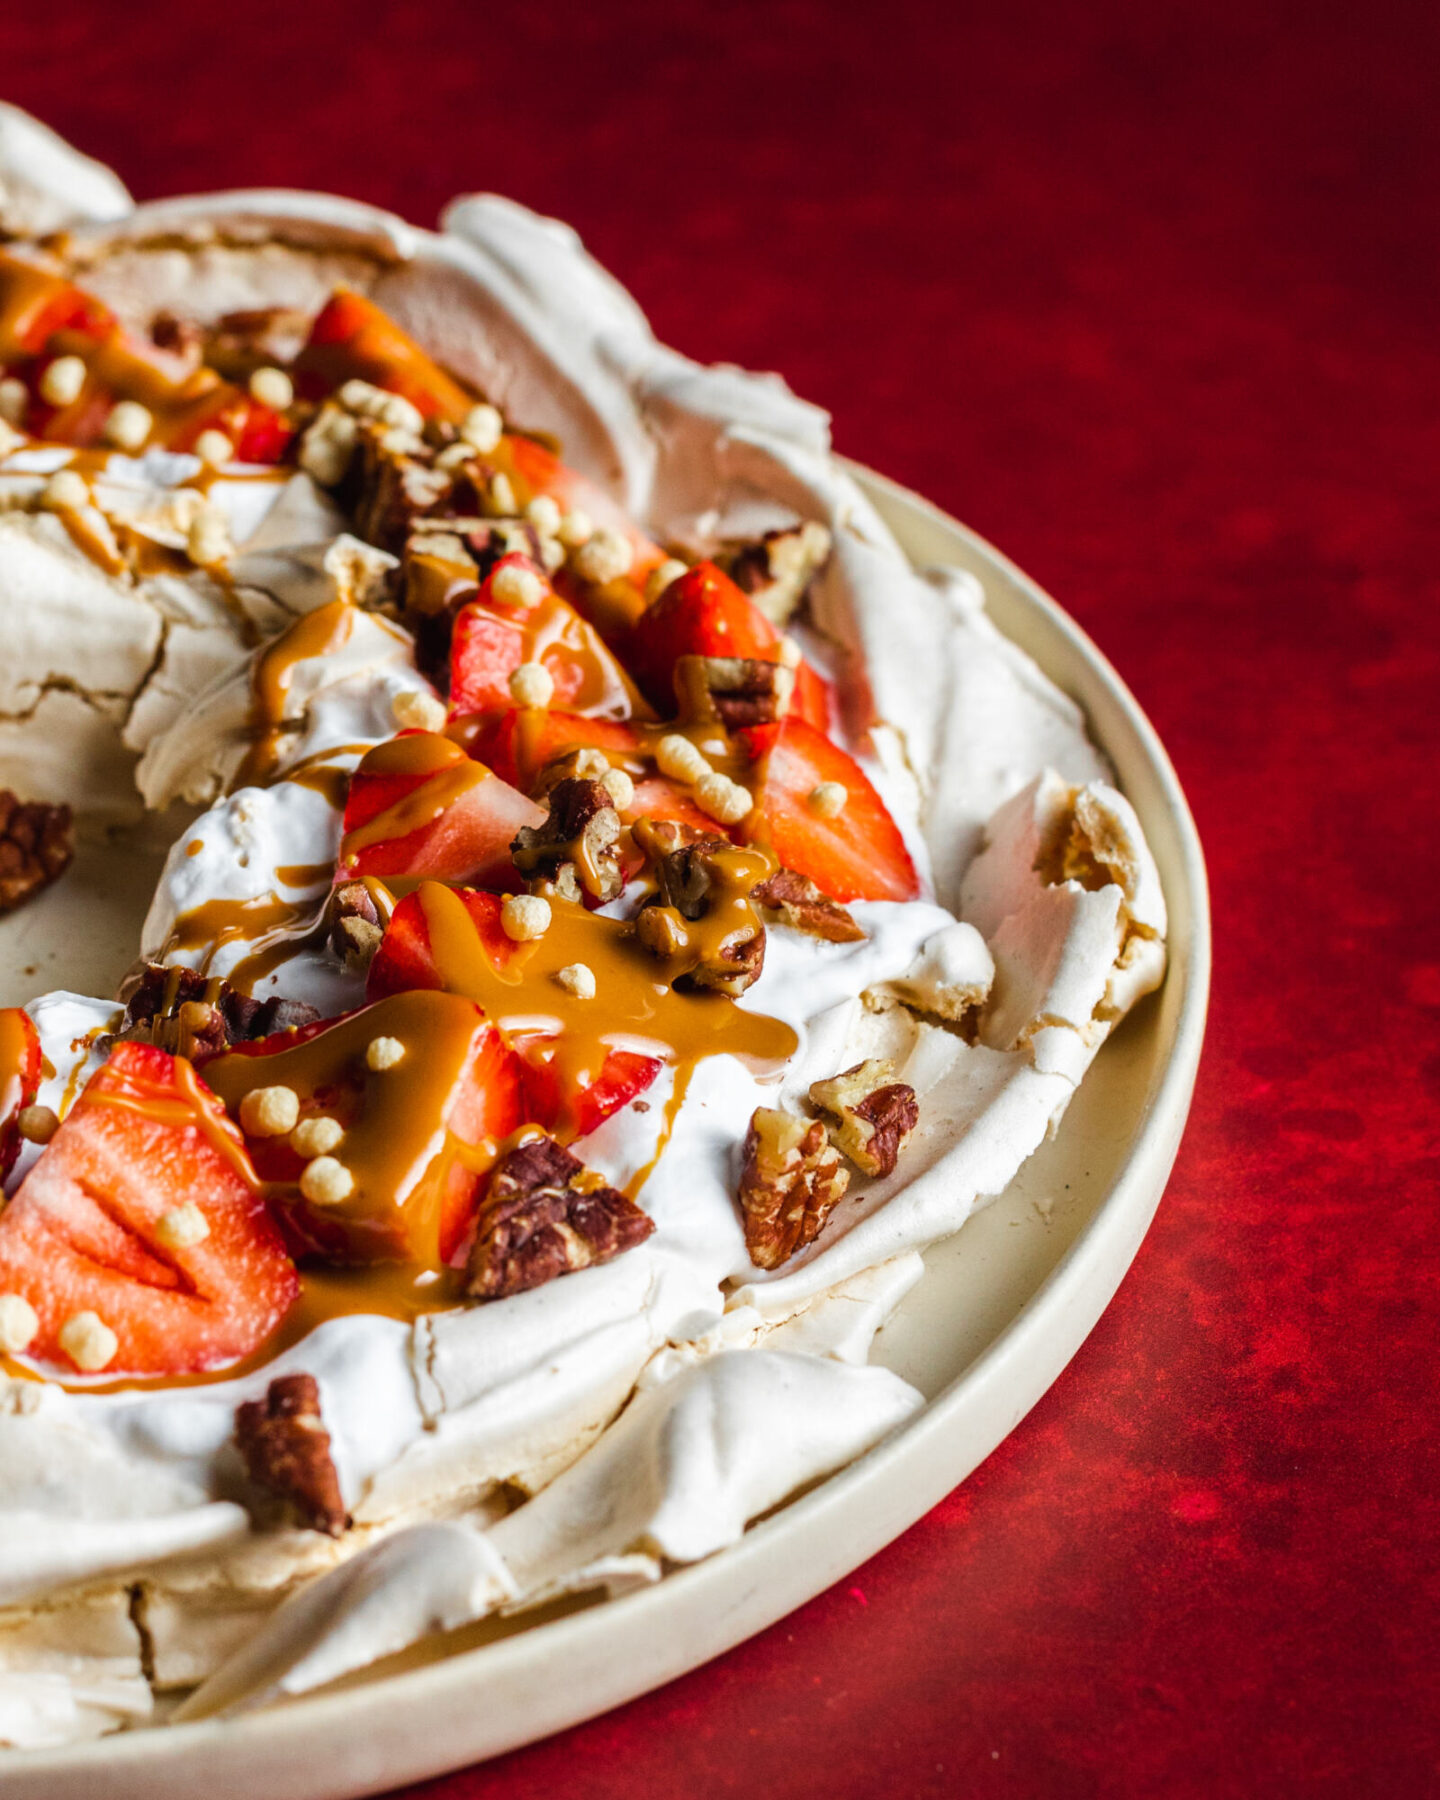
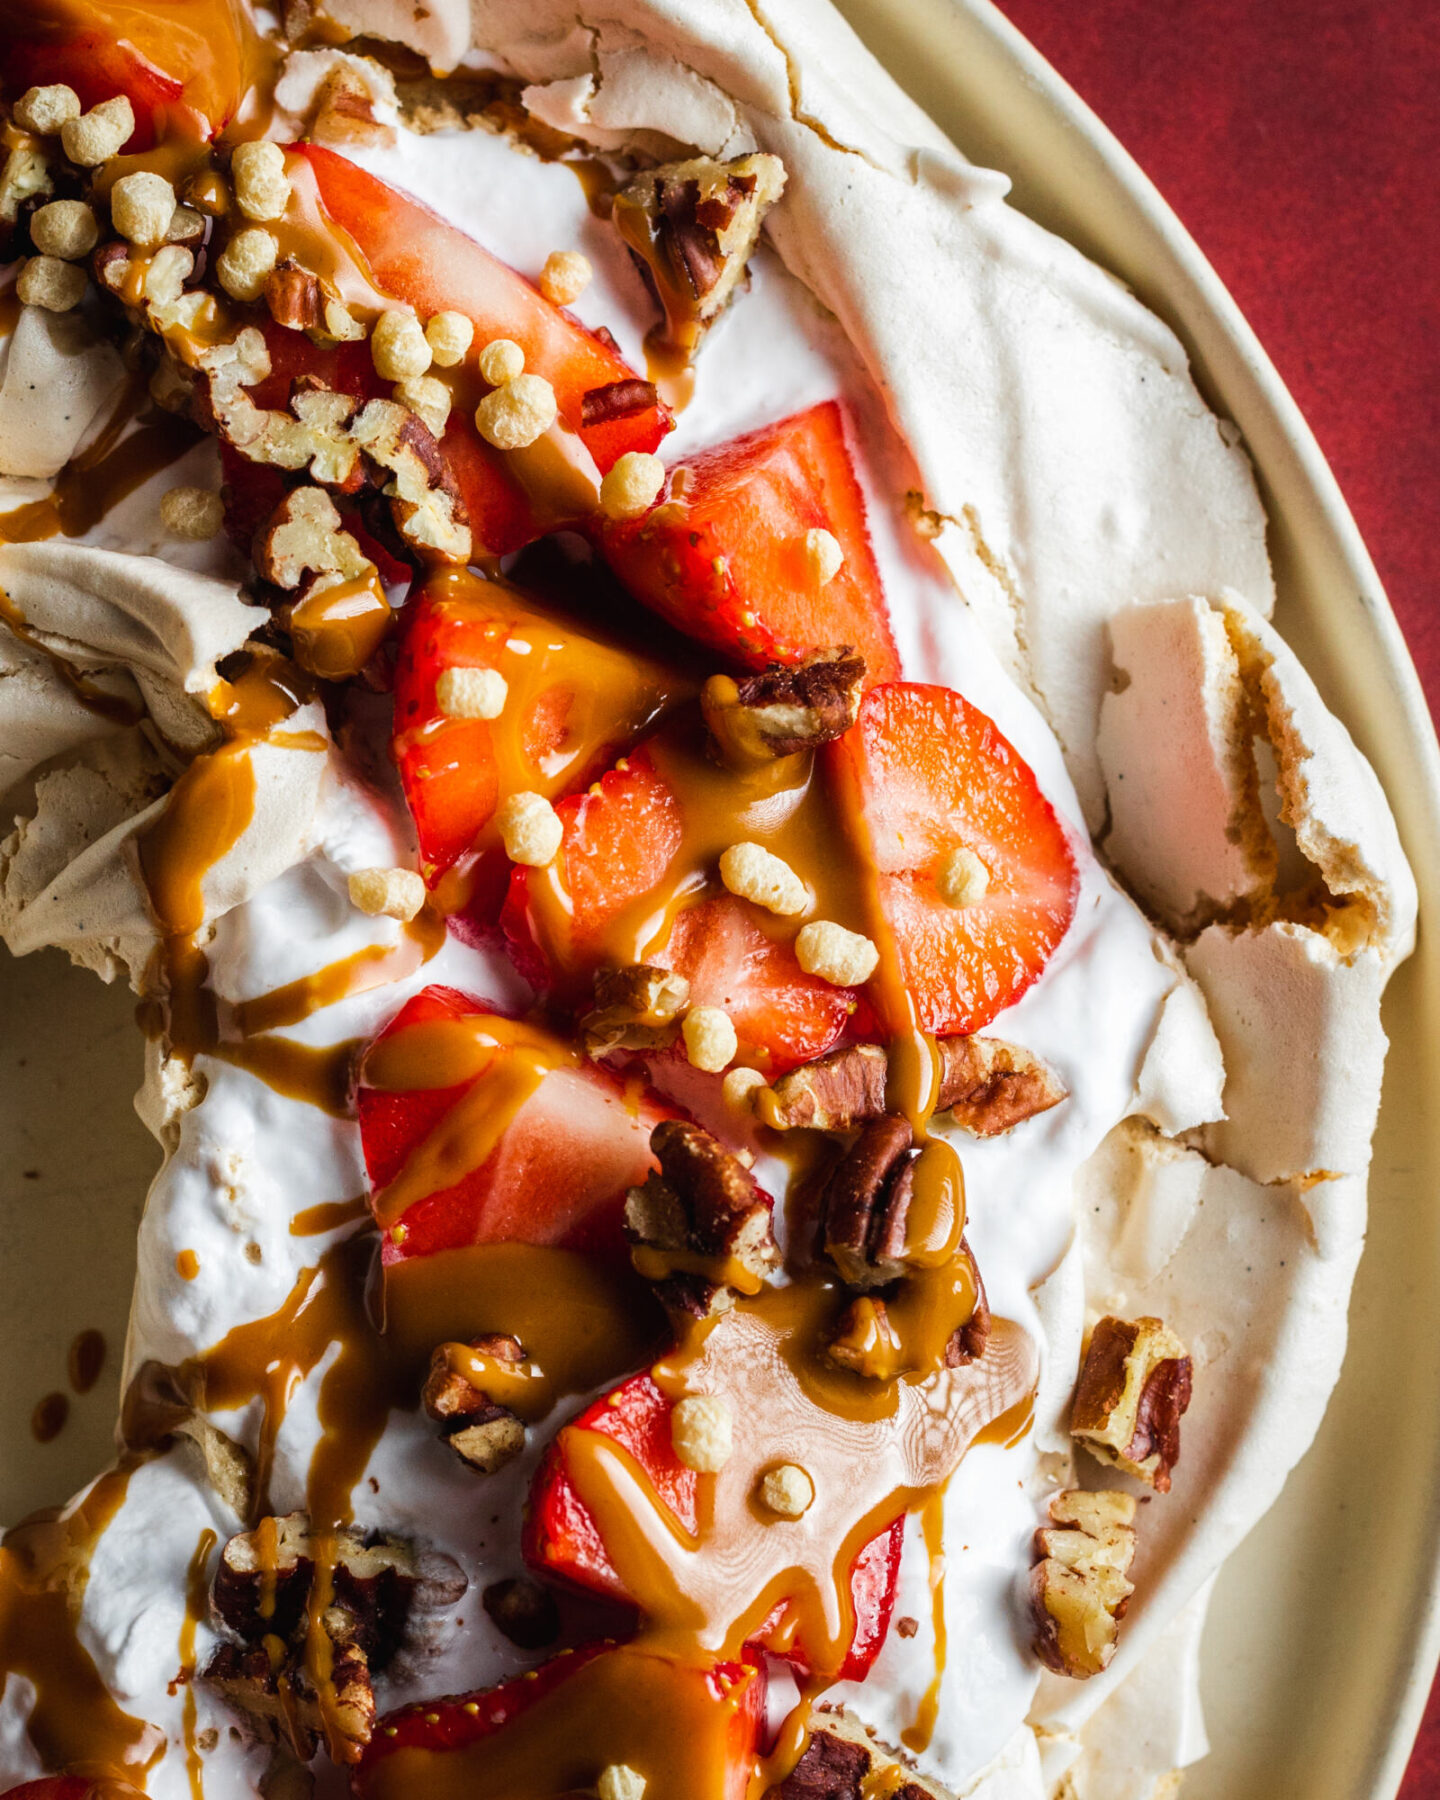
I really love the combination of fresh strawberries, toasted and chopped pecan nuts alongside melted smooth peanut butter - simply divine! But feel free to get creative!
Storage
Pavlova is essentially dehydrated in the oven. It is therefore particularly sensitive to humidity and needs to be stored in an air-tight container.
There's no need to store this pavlova in the fridge, but it also doesn't hurt the pavlova, so feel free to place the air-tight container where it works best for you.
You can store the pavlova for about 5 days after making it.
Troubleshooting Vegan Pavlova
There are a few things you can do if you realise there might be something wrong with your pavlova.
As my oven is probably different from your oven and no 2 pavlova wreath shapes are exactly the same, I recommend staying nearby and keeping a close eye on your pavlova during the baking process.
Tip 1: Don't open the oven door
Ideally, you shouldn't open the oven door at all, but in case your oven has a very uneven heat distribution, you might want to rotate the baking tray roughly halfway through the process and then add a couple of minutes (I'd estimate 10) at the end of the bake.
Tip 2: Burned edges
If your pavlova edges turn brown, then your oven might be too hot, and it's making the sugar in the pavlova mix burn. If this happens early on in the baking process, then instantly reduce the heat by 20-30 degrees and keep adjusting depending on whether it keeps getting darker after. If it's quite late in the baking process, I recommend reducing the heat to below 100 degrees and letting the fan run on this lower temperature until the baking time elapses.
Tip 3: Pavlova too soft
If your pavlova is still soft, even after 3 hours of baking, including the 1 hour cool down, which is important to harden the pavlova, then return it to the oven and bake at 100 C in 30-minute increments, letting it cool down for at least 15 minutes in the oven after until firm on the outside.
Frequently Asked Questions
This vegan pavlova just uses a few simple ingredients, including aquafaba, caster sugar, xanthan gum, cream of tartar, and vanilla bean powder - all ingredients that are naturally gluten-free. I however, recommend checking the packaging of the brands you use for allergen advice, in case there might be any cross-contamination in their factories.
Due to its sensitivity to humidity, pavlova should be stored in an air-tight container. It does not need to be stored in the fridge, but can be if desired. The pavlova can be stored for up to five days after baking.
If you've loved this recipe, I would very much appreciate it if you could leave a review below! ❤️
Got any strawberries left over? Definitely try making my No Bake Vegan Strawberry Cheesecake or my Vegan Strawberry Shortcake!
You might also enjoy these recipes:
If you love festive desserts, you might also enjoy my Marshmallow Peanut Butter Pie, or Marzipan Apple Pockets!
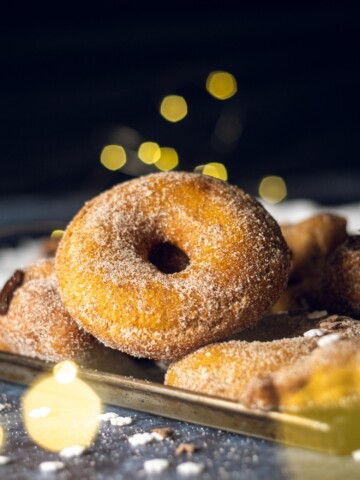
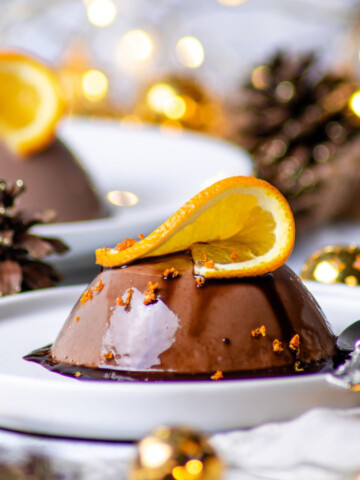
If you're looking for a delicious dessert for Christmas or Thanksgiving, check out these vegan dessert recipes:
📌 If you love Pinterest you can pin any of the images to your boards!
📖 Recipe Card
Vegan Pavlova Recipe
Ingredients
- ¾ cups aquafaba (160 ml) liquid from an unsalted, organic tin of chickpeas
- 1 teaspoon cream of tartar
- 1 cup caster sugar (210 g)
- ¼ teaspoon xantham gum
- ¼ teaspoon vanilla bean powder
For the toppings:
- vegan whipped cream
- fresh strawberries or other berries
- melted peanut butter
- toasted pecan nuts or other nuts
Instructions
- Preheat your oven to 120°C (248°F).
- Place the aquafaba into a large mixing bowl and whip it with an electric whisk for 4-5 minutes or until stiff peaks form. Mix in the cream of tartar, then slowly add the caster sugar spoon by spoon.
- Whip for a further 2 minutes, then add the xantham gum and vanilla powder. After another minute, turn off the electric whisk.
- Use a large spoon to shape the pavlova onto a silicone baking mat into a large round wreath shape.
- Transfer the tray to the oven and bake at 120°C (248°F) for 3 hours. Do not open the oven door during this time. Once the time elapses, switch off the oven and allow for the pavlova to cool down in the oven for at least 60 minutes before removing them.
- Serve right away or keep in an airtight container for up to 5 days. To serve, simply place it onto a serving dish, top the wreath with whipped vegan cream and decorate with fresh strawberries, toasted pecan nuts and drizzle with melted smooth peanut butter.
Notes
- Top tipp - Aquafaba doesn't do well in combination with oil, so ensure to thoroughly clean your bowl and electric whisk before whipping your aquafaba.
- Shape - For this recipe, I have created a Christmas wreath, but you can create all kinds of shapes, including small individual pavlova portion sizes. What I recommend however, is to not make the pavlova thicker than 4-5 centimeters as the baking time and heat will otherwise need to be adjusted
© Romy London / Romina Callwitz | All images and content are copyright protected. Please do not use my images and content without prior permission. If you wish to re-publish this recipe, please get in touch via email. Thank you so much for supporting romylondonuk.com!
*Disclosure: This page may contain affiliate links that earn me a small commission, at no additional cost to you. You can find more information in my Privacy Policy.
Kat says
My oven is not that great and I had to bake it a little longer, but it was definitely worth it as this tasted amazing!