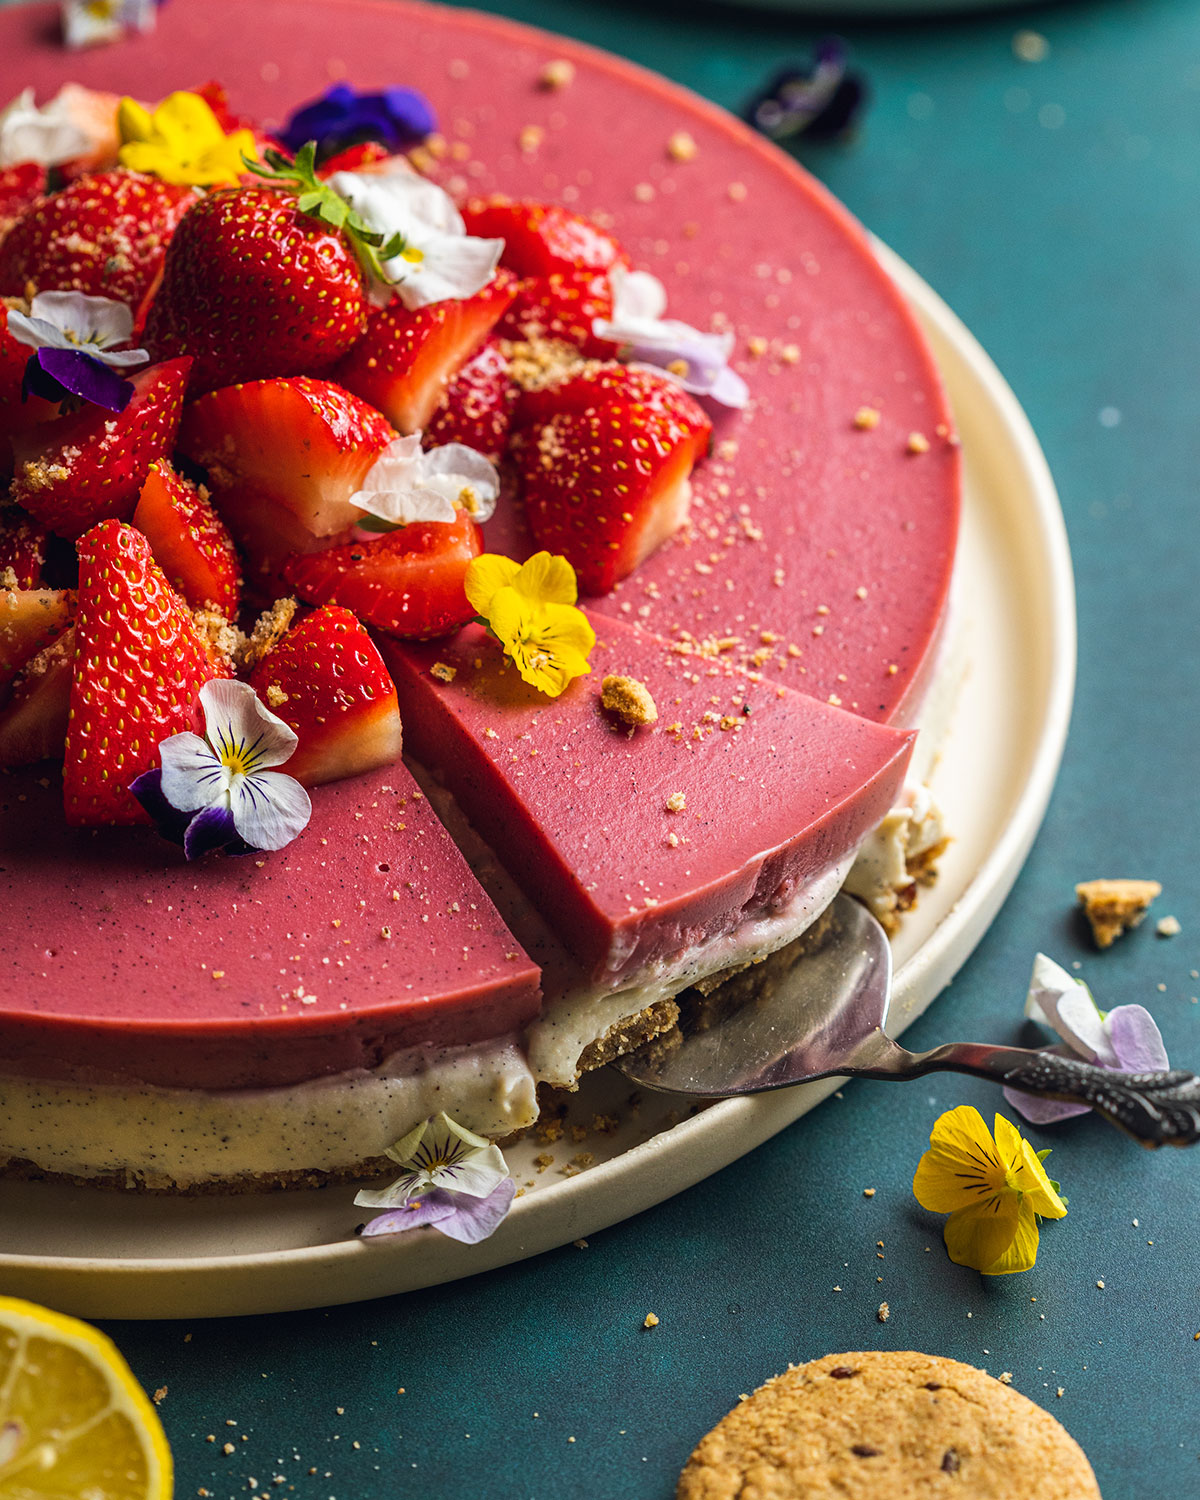
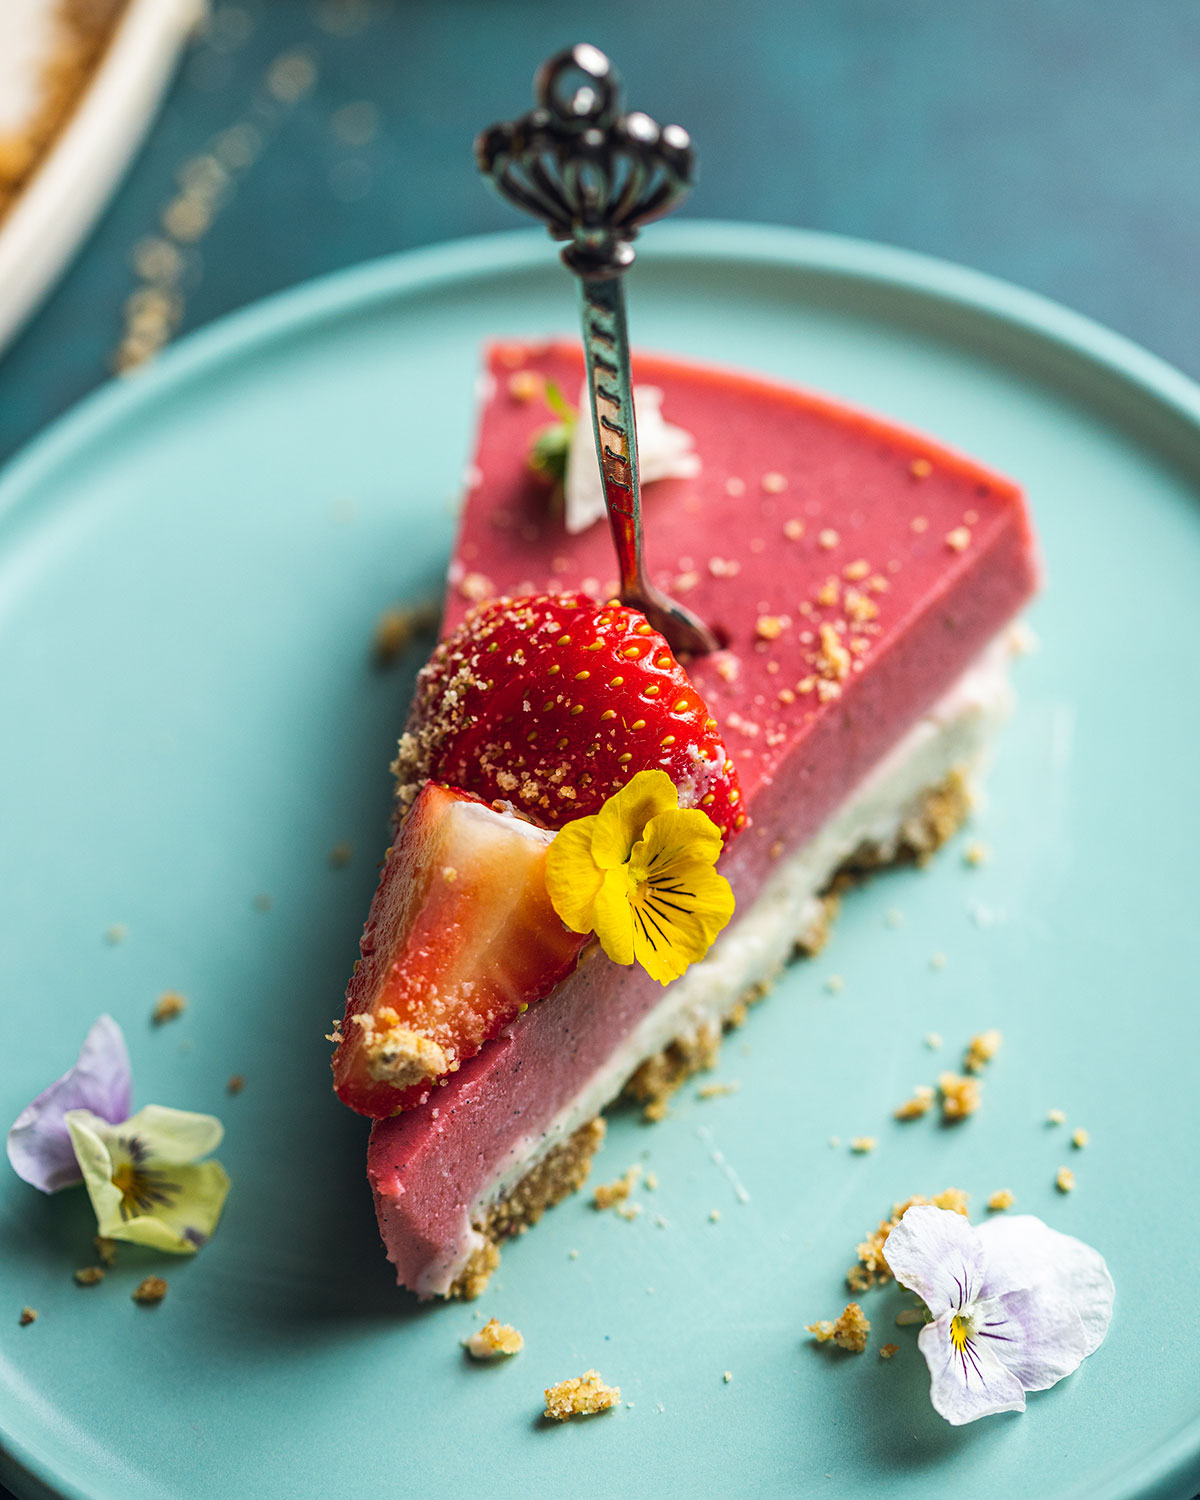
This Vegan Strawberry Cheesecake is ultimately creamy! Made with an easy biscuit base and topped with 2 layers of cheesecake - one vanilla, and one strawberry flavoured - alongside fresh strawberries. Perfect for a special occasion or a simple treat.
If you're a fan of strawberries and looking for a new way to enjoy them, you might want to try out this Vegan Strawberry Bread Pudding recipe! It's a delicious and easy way to use up leftover bread and create a comforting dessert that's perfect for any occasion!
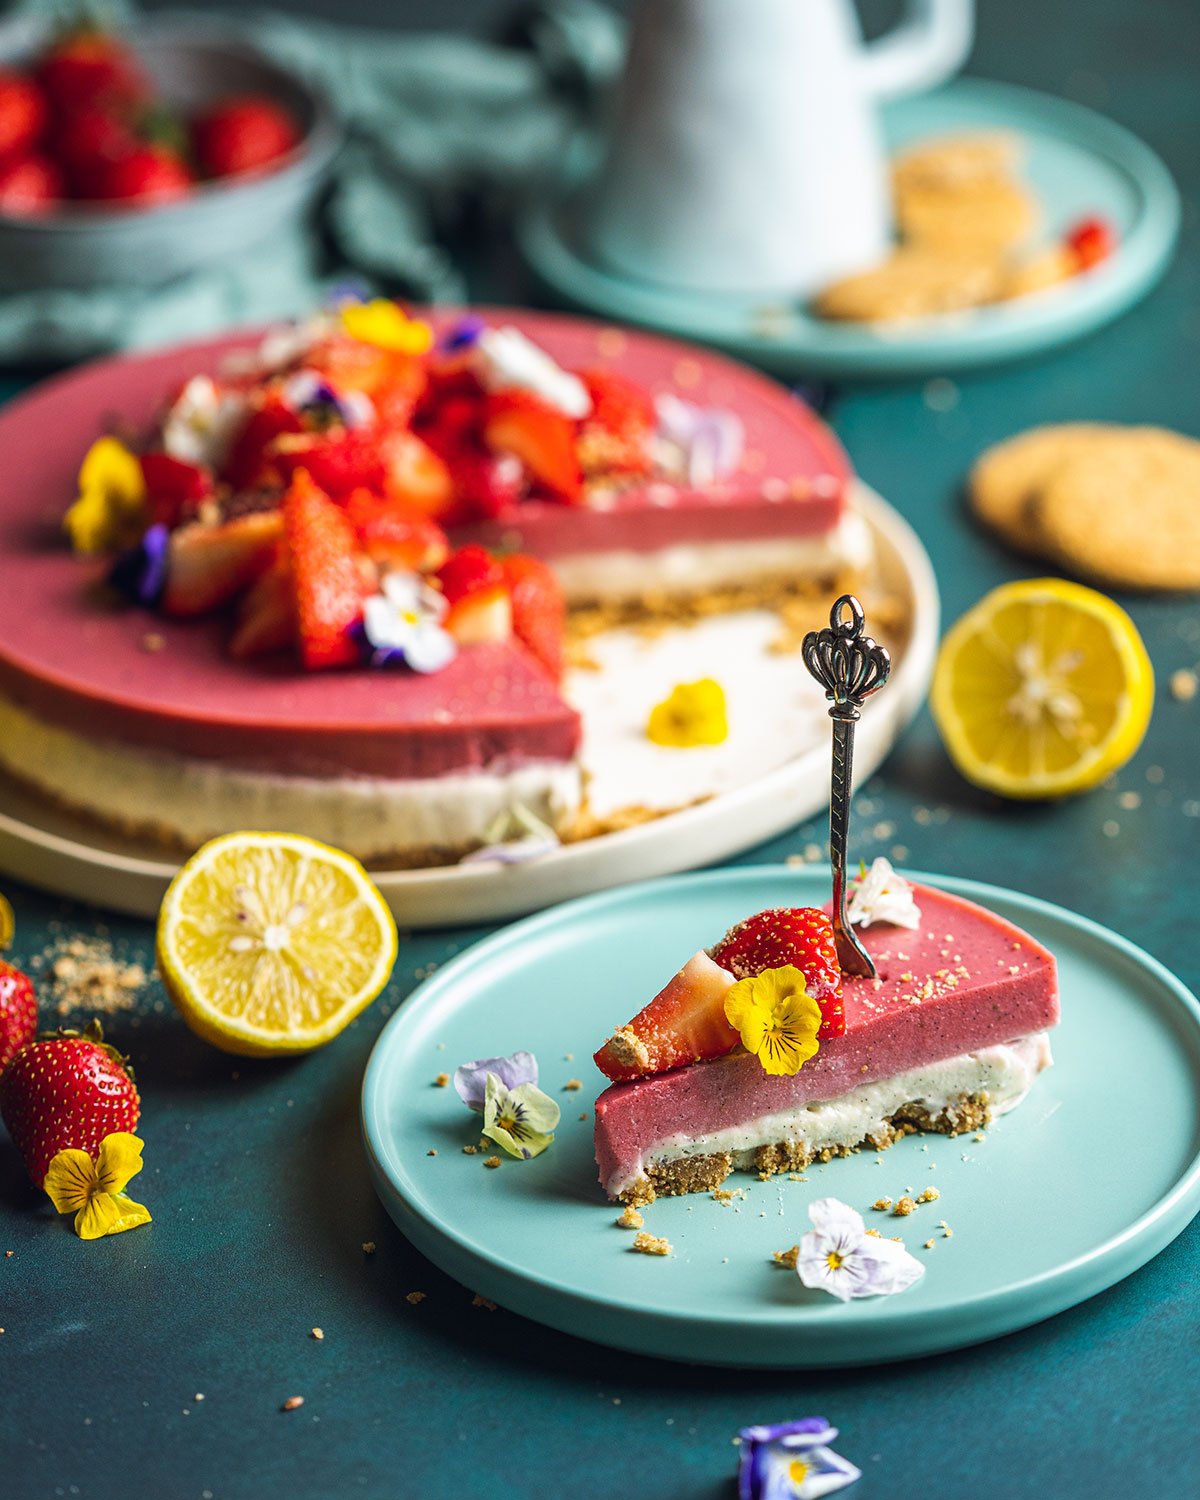
Vegan Strawberry Cheesecake
What you need to make Vegan Strawberry Cheesecake
Ingredients
For the base:
- vegan biscuits (I used Mr Organic Multigrain Biscuits)
- dairy-free spread (I usually use the Flora Vegan Unsalted Butter for my baking)
For the cheesecake filling:
- extra firm tofu
- maple syrup
- lemon juice
- vanilla powder (or vanilla extract - see notes below!)
- salt
- vegan cream cheese (I used Violife)
- icing sugar
- agar agar powder
For the strawberry layer:
- fresh strawberries
- light brown sugar
- lemon juice
- agar agar powder
To decorate (optional):
- a handful of fresh strawberries
- fresh mint leaves
- vegan squeezy cream
- edible flowers
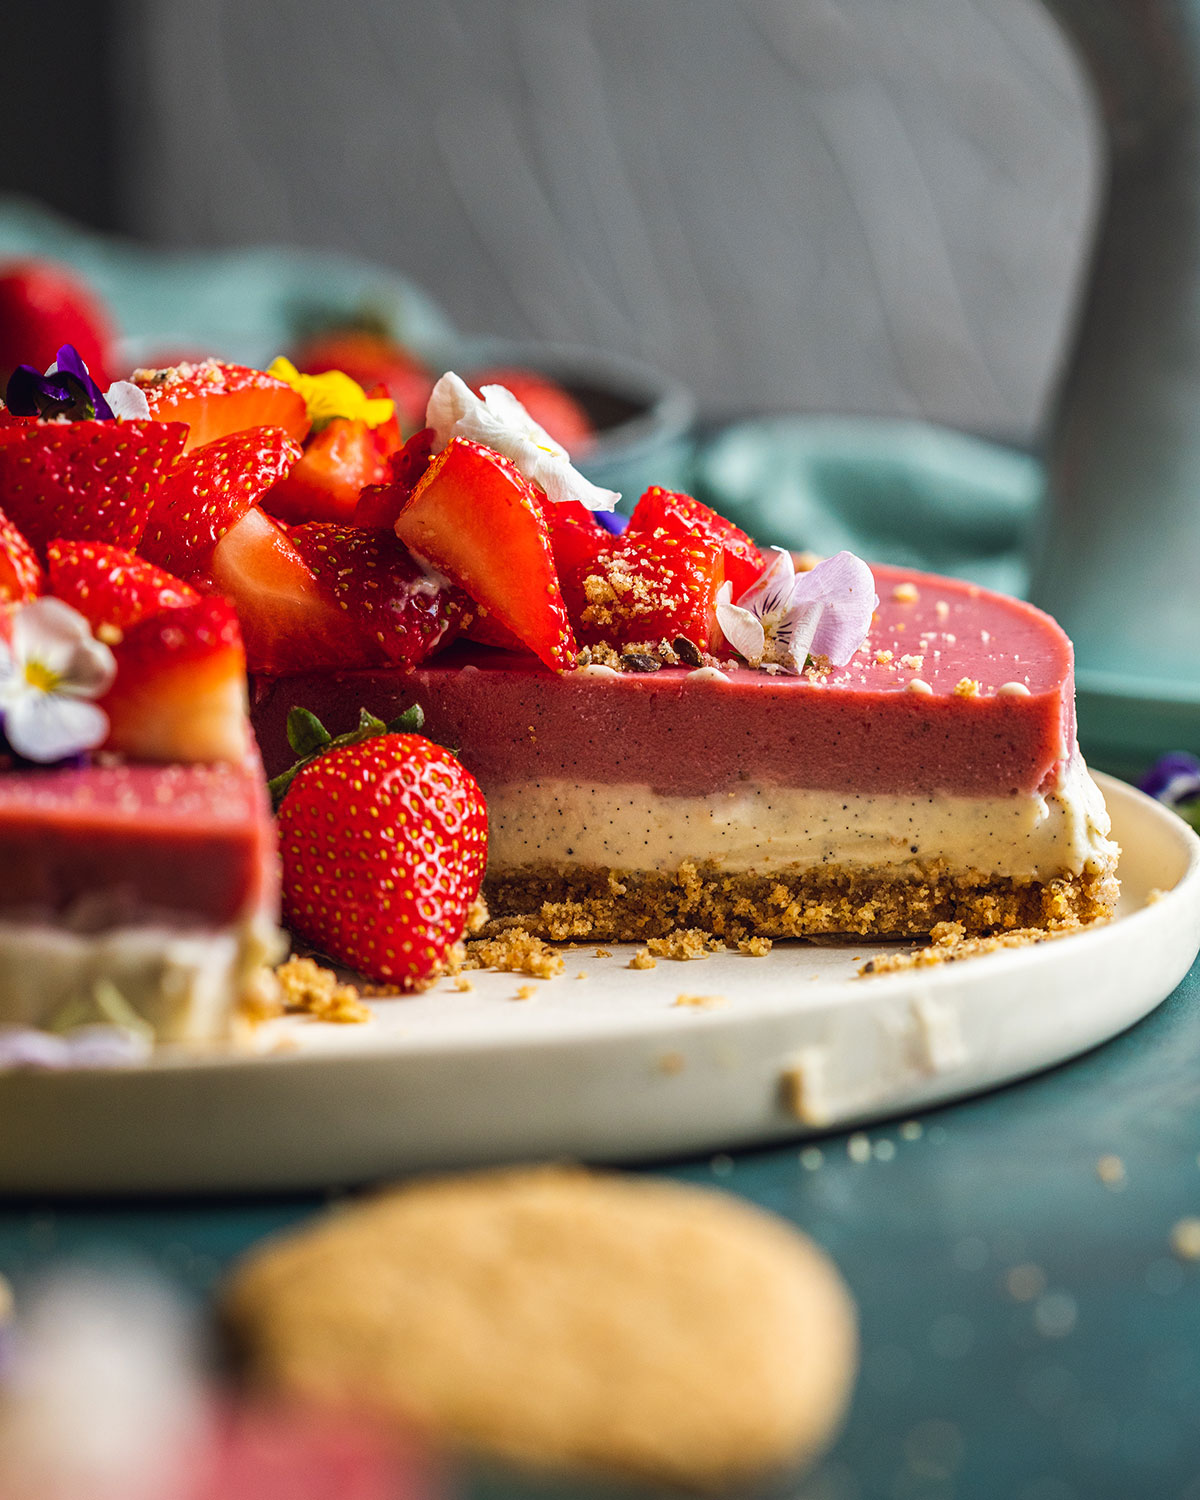
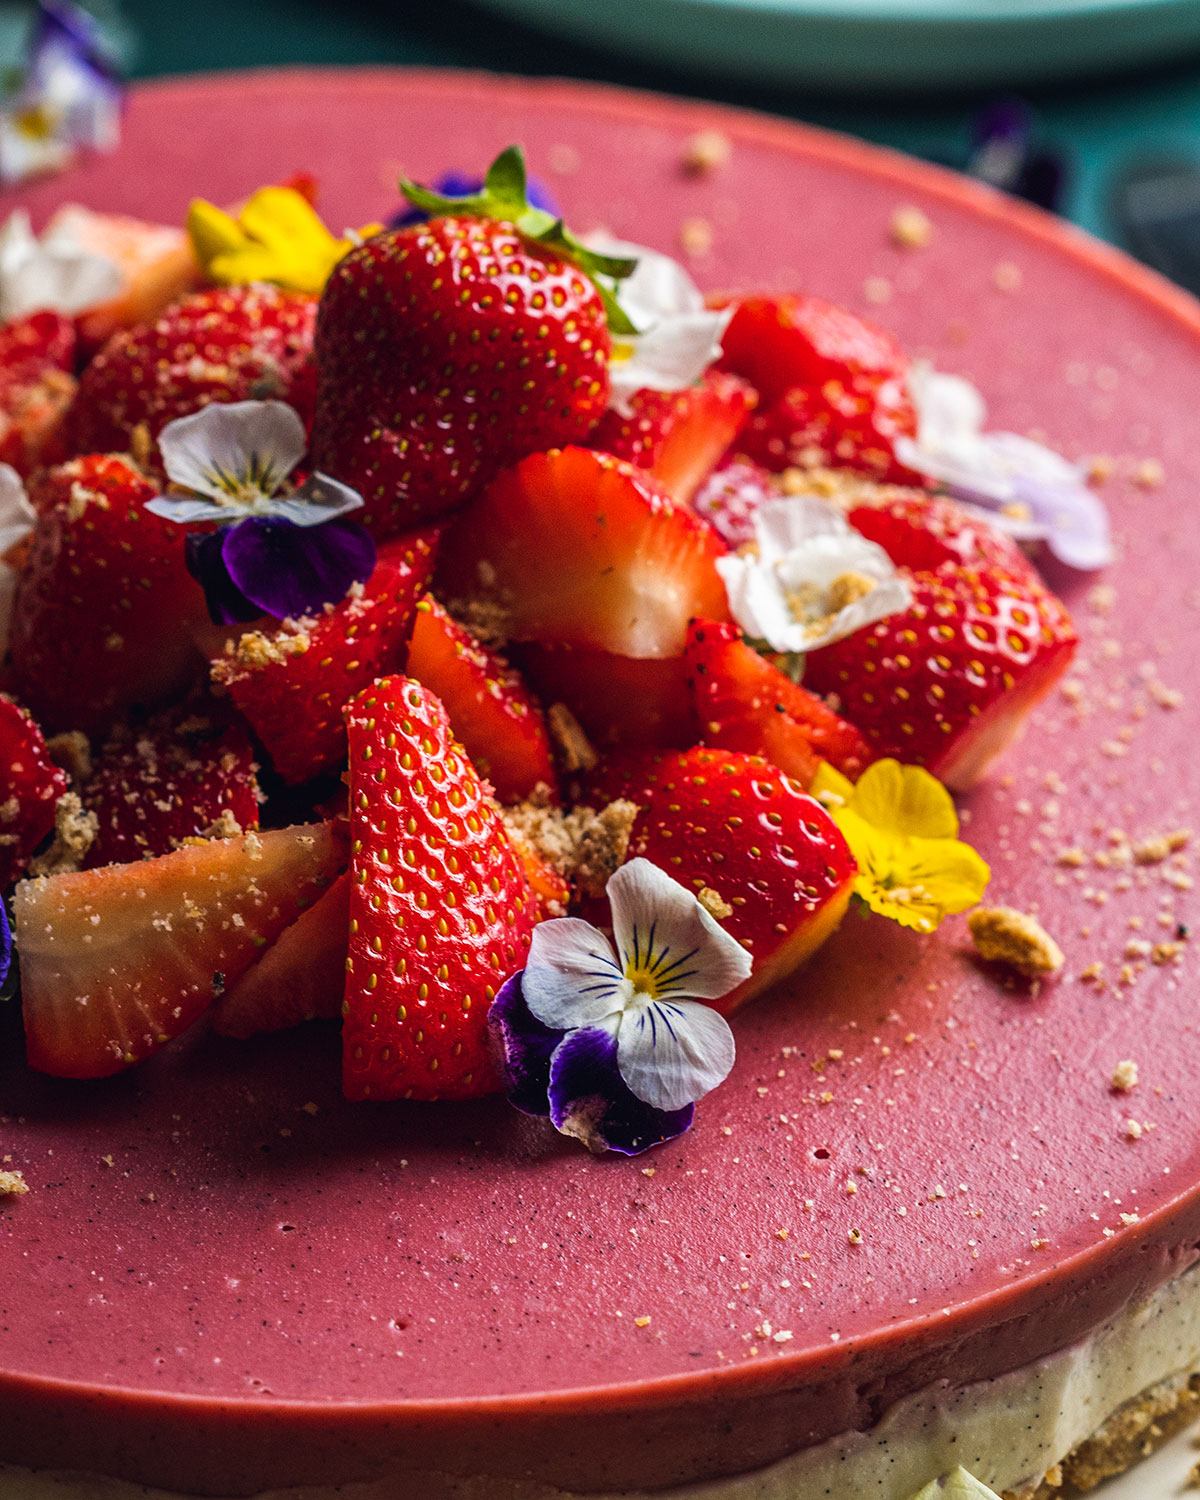
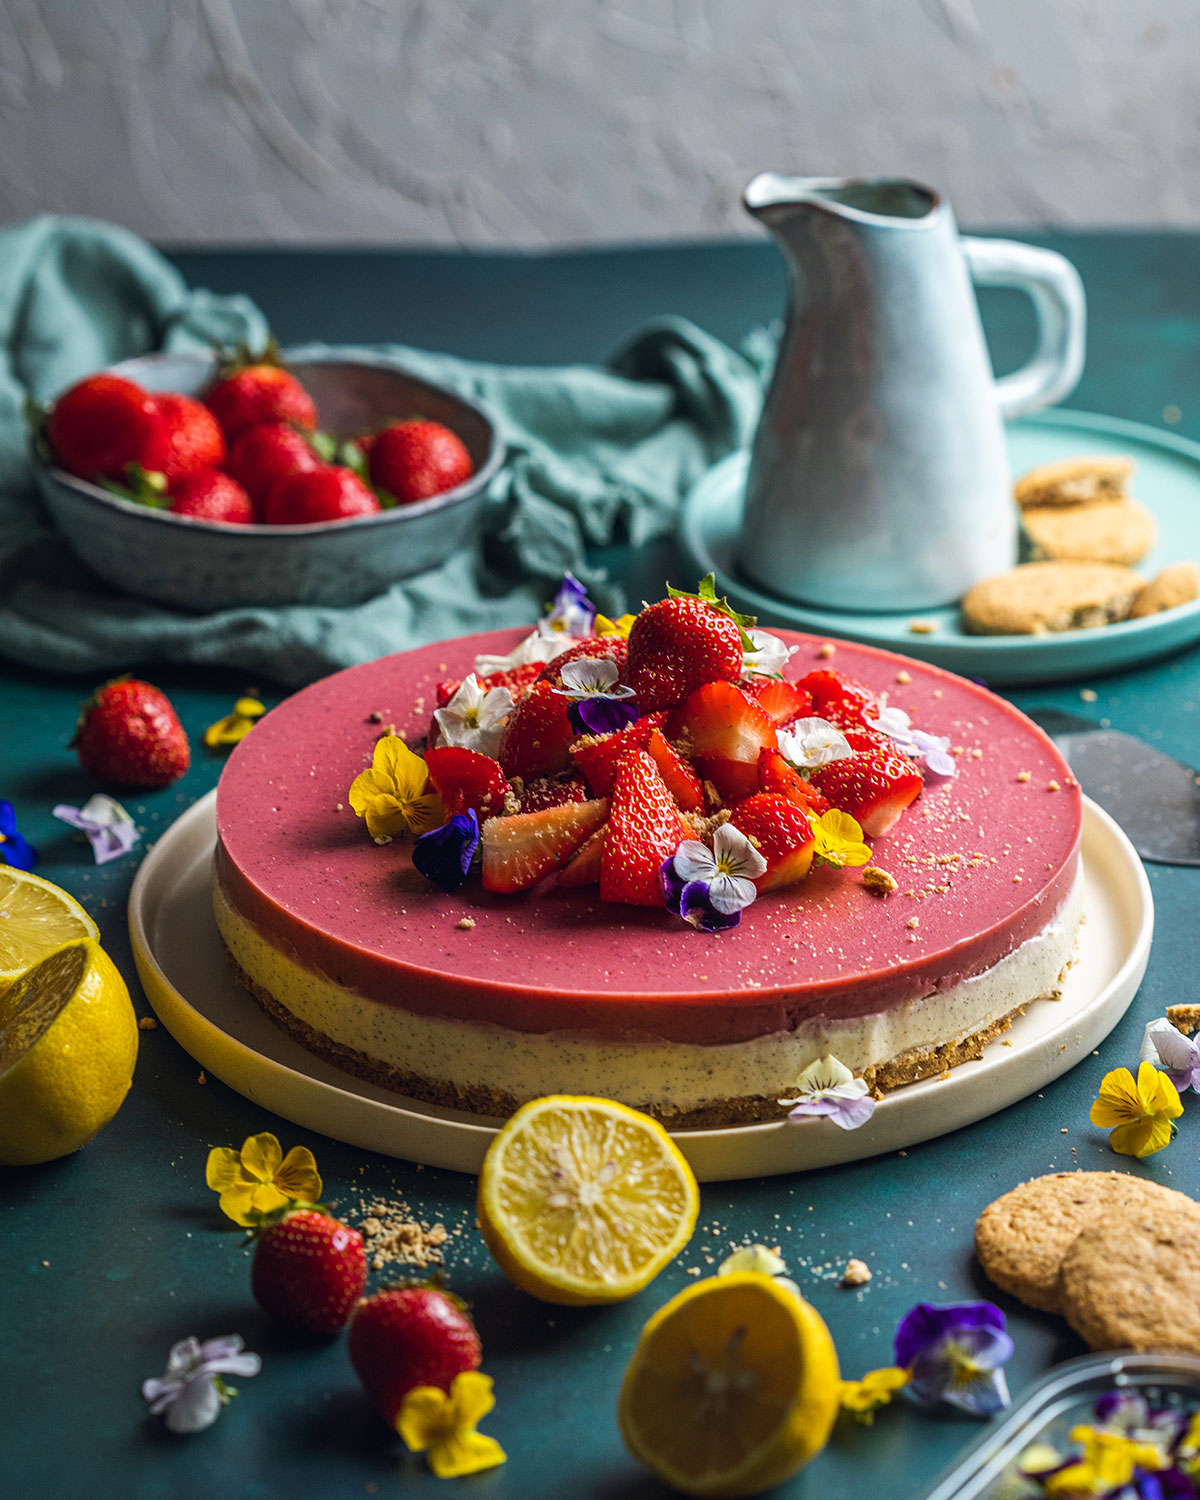
How to make Vegan Strawberry Cheesecake
This cheesecake is super easy to make - and as it doesn't require baking, it's pretty much fool-proof! For a detailed breakdown of all the recipe steps, please see below.
The cheesecake base
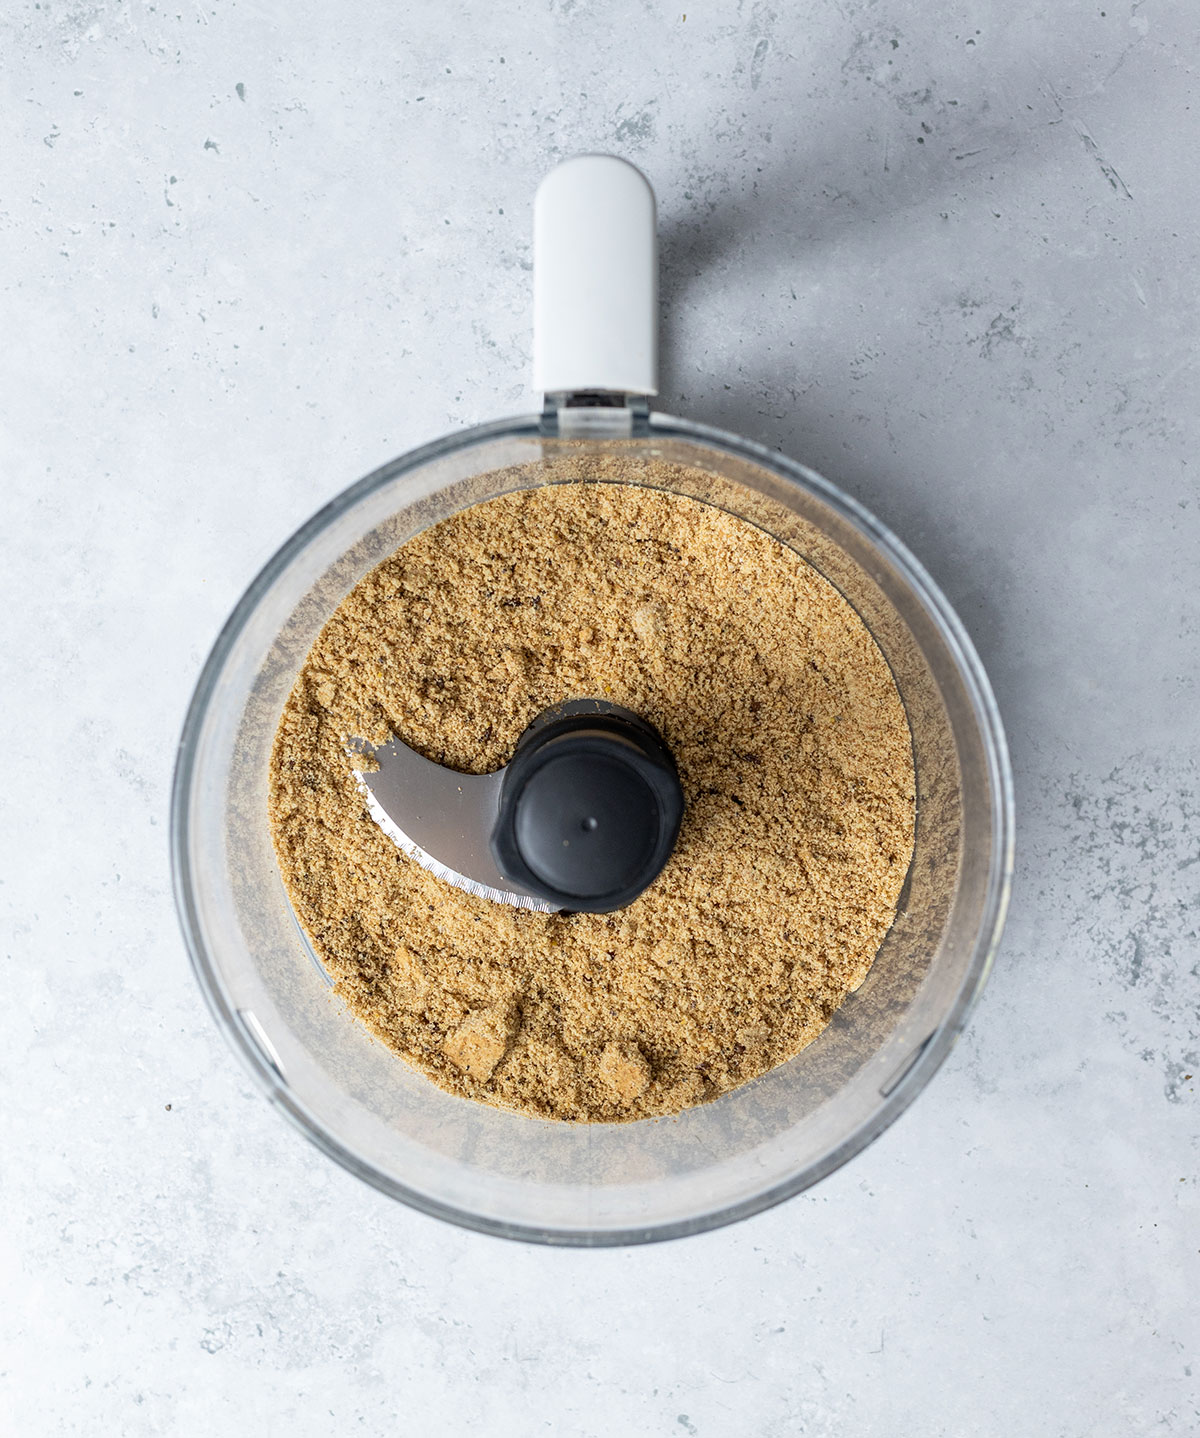
To make the strawberry cheesecake base, start by crushing the biscuits. You can do this by placing them into a freezer bag and squashing them with a rolling pin. Alternatively, - and this is what I've done - place them in a food processor and pulse until the biscuits are broken down into small chunks.
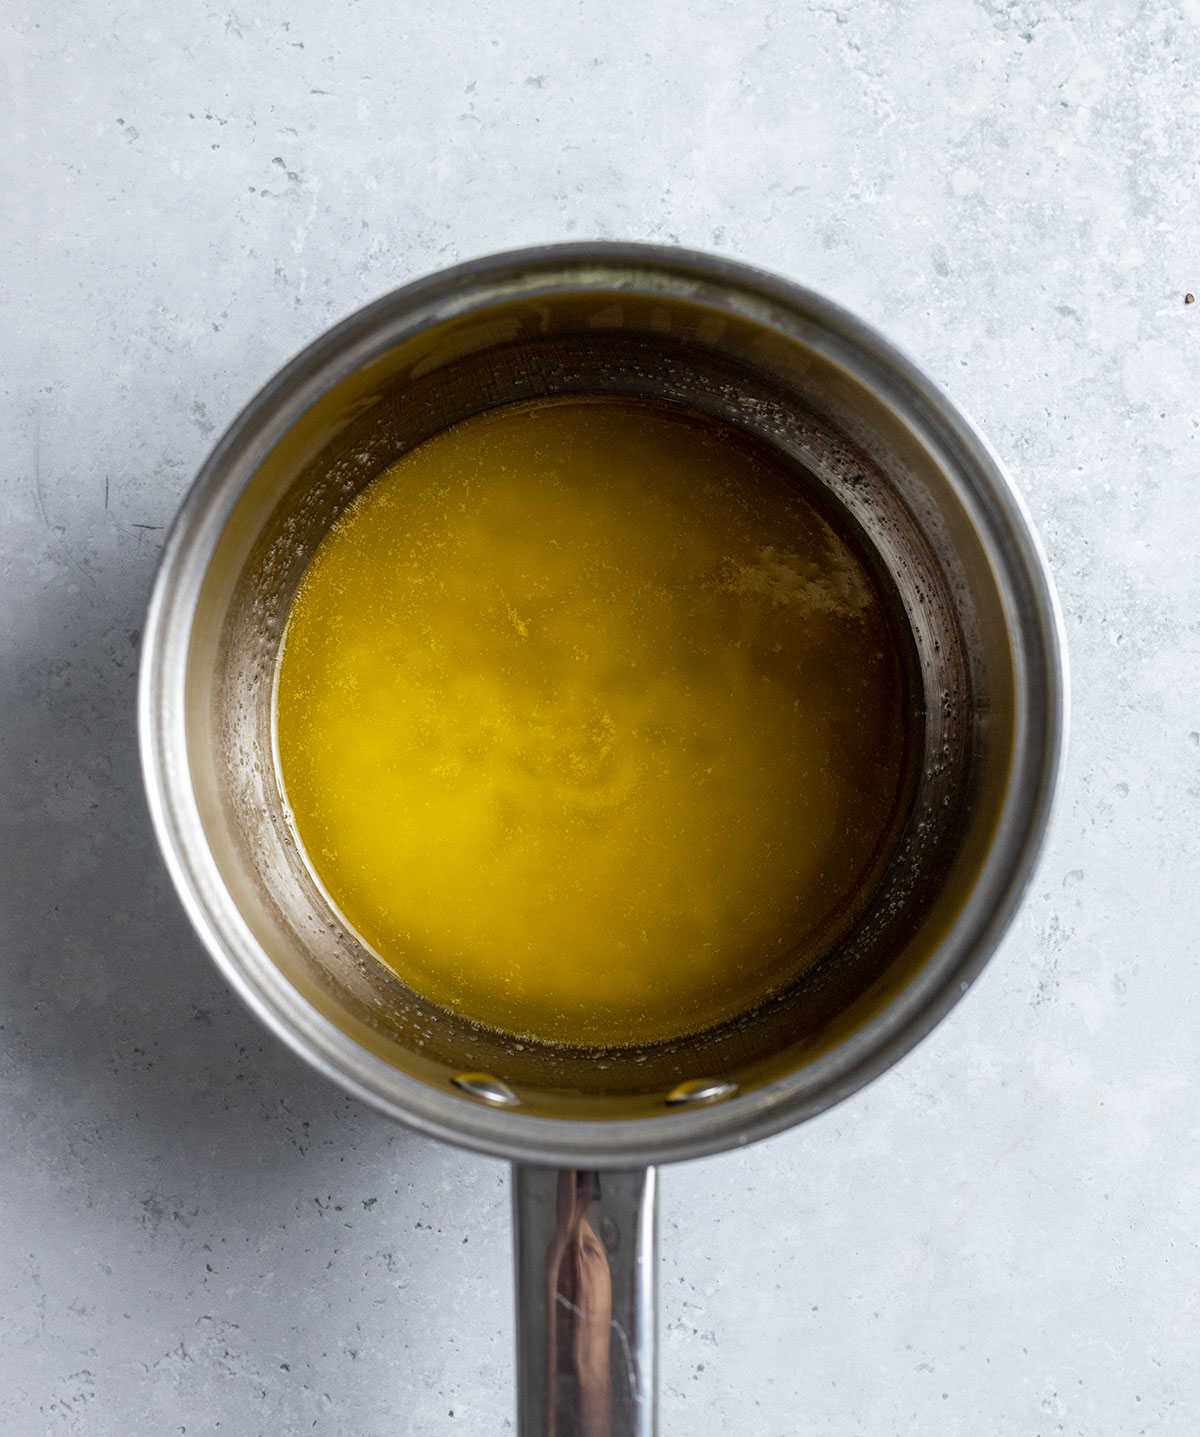
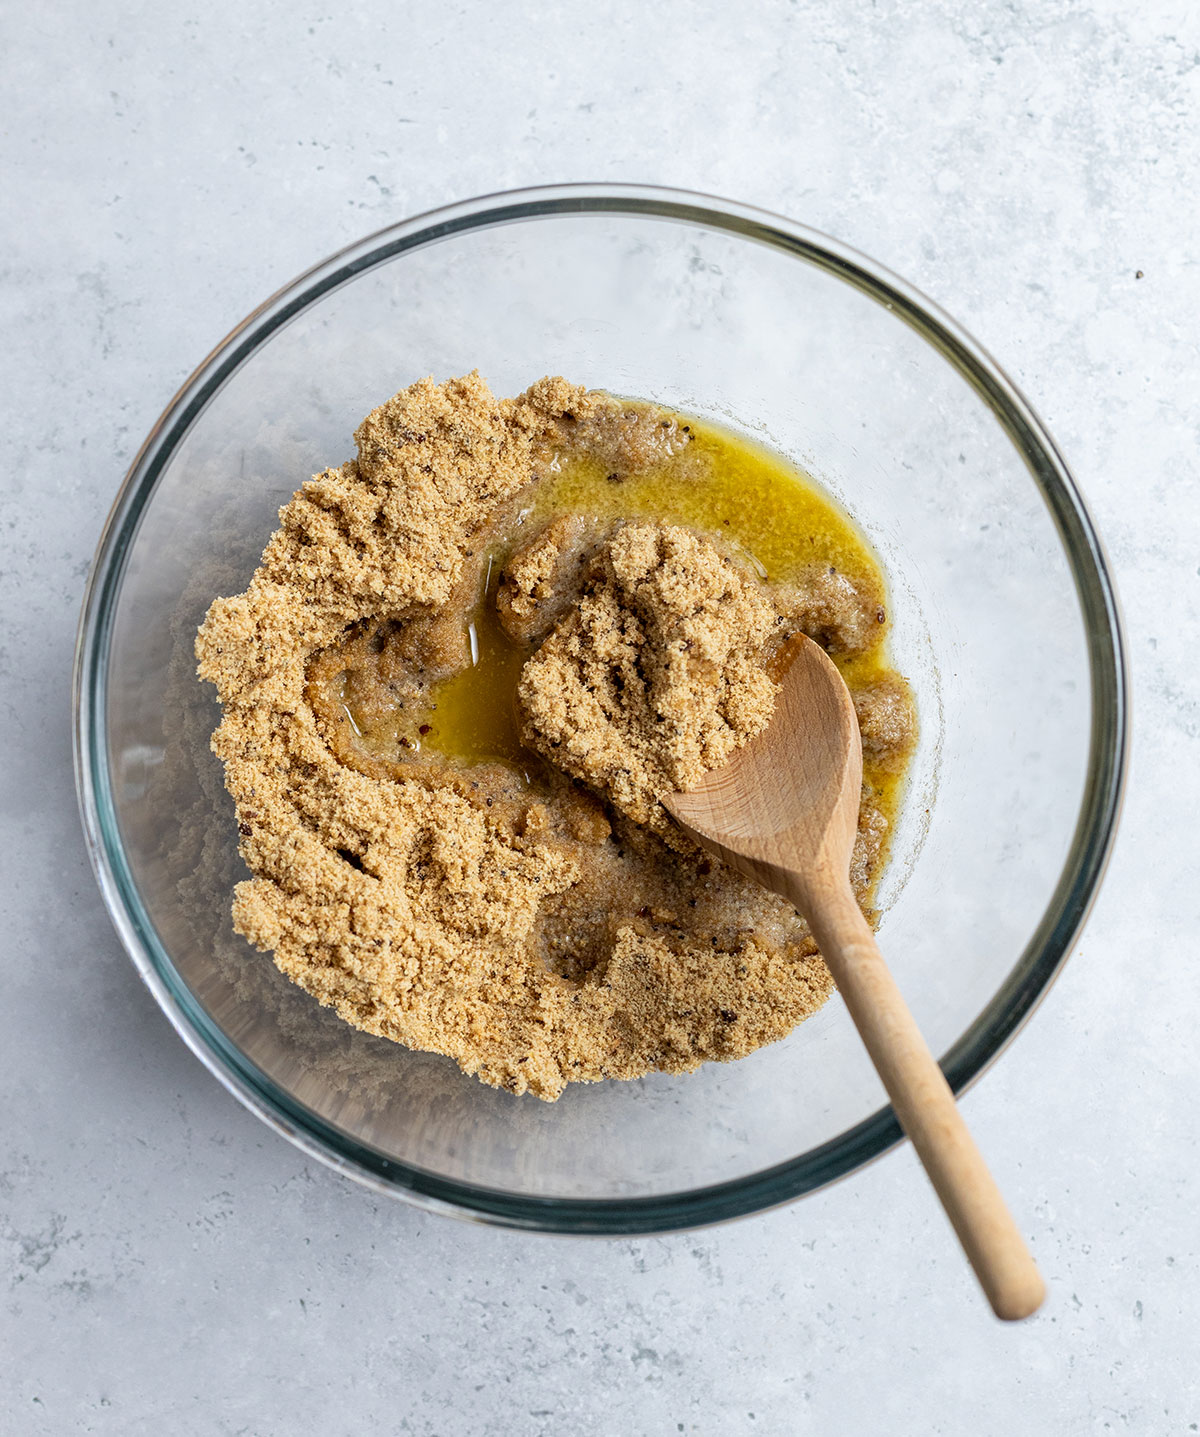
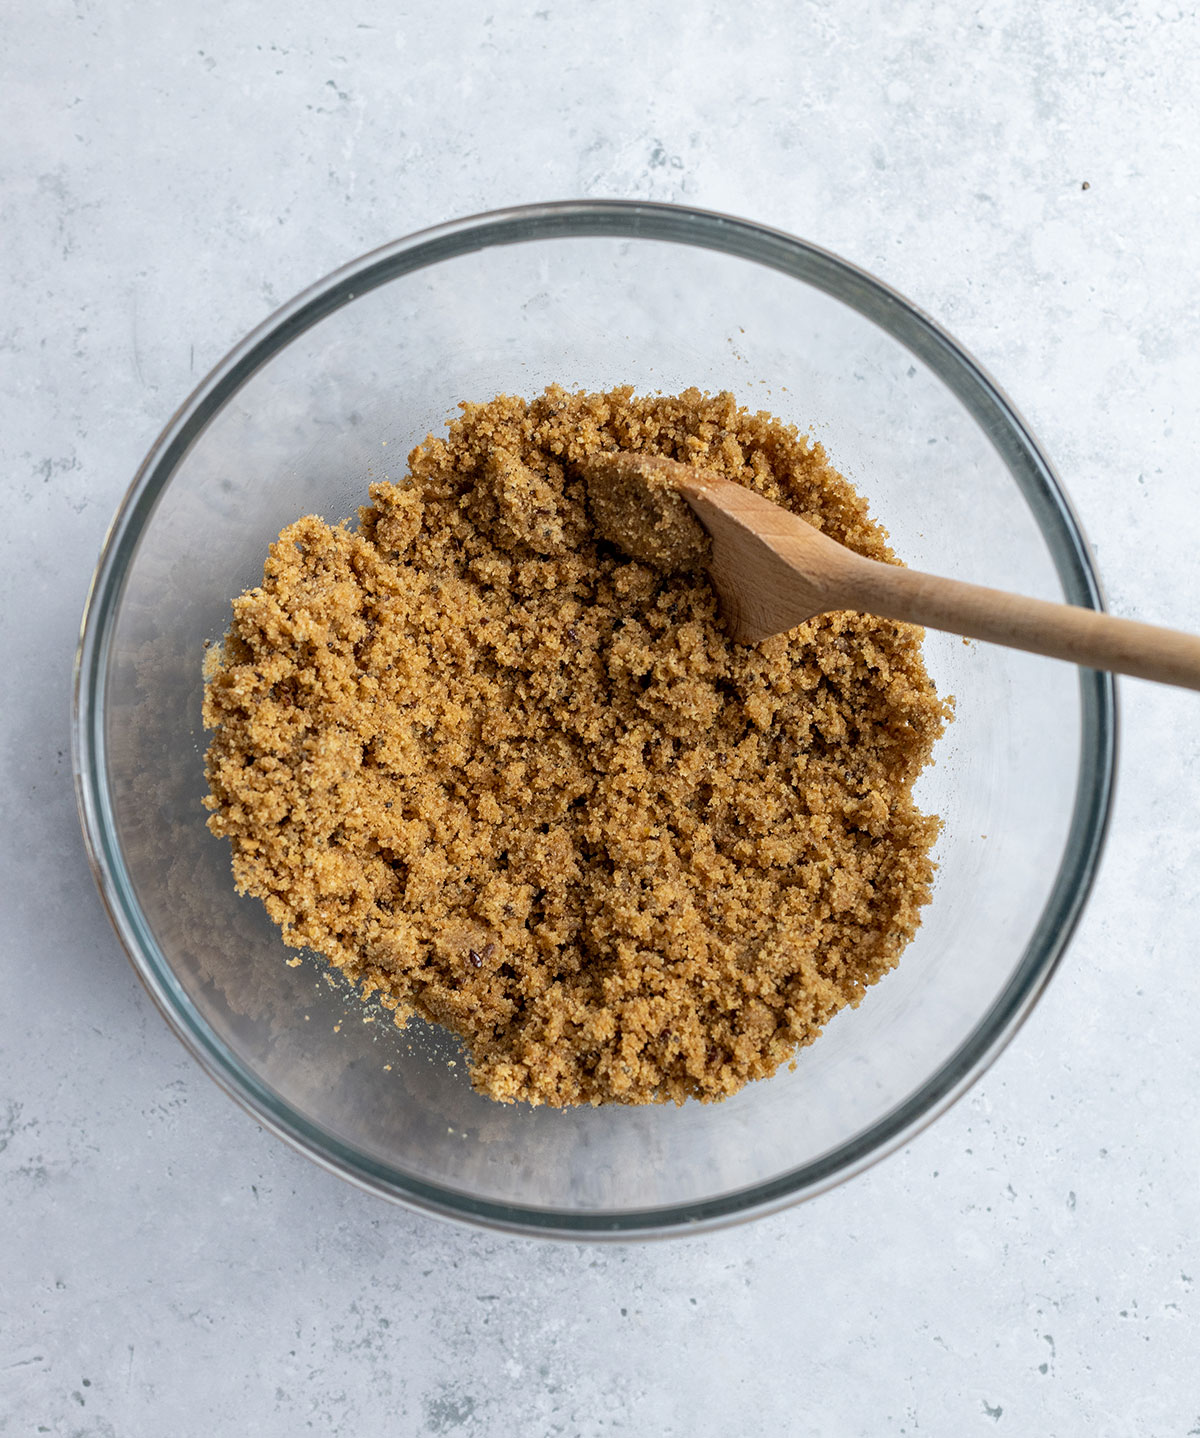
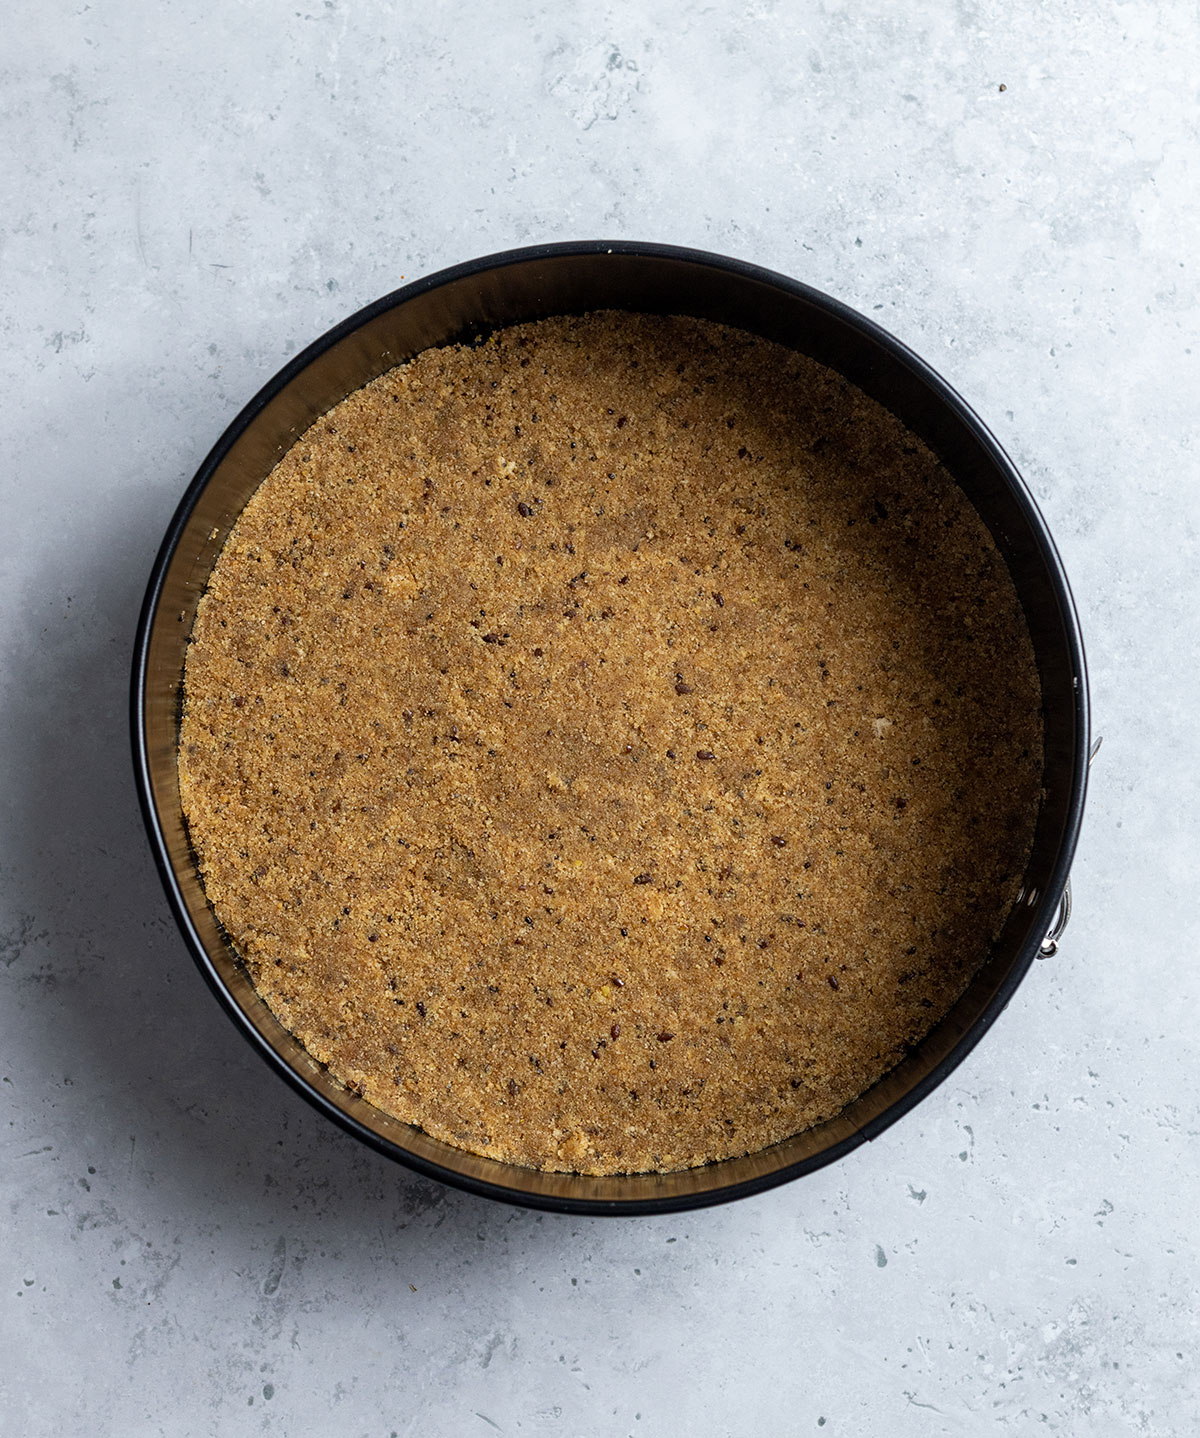
In a small saucepan, melt the vegan butter for the cheesecake base and pour it over the biscuit crumbles in a medium-size mixing bowl. Stir to combine until you get a crumbly, yet slightly sticky mixture.
Line the bottom of an 8-inch round cake tin and press the biscuit mix onto the bottom to create the cheesecake base. Transfer to the fridge for at least 30 minutes or overnight to set and prepare the rest of your cheesecake in the meantime.
Extra tip: if you're finding that your biscuits are extremely crumbly, add 1-2 dates to the food processor to make the cake base stickier and hold together easier.
The cheesecake filling
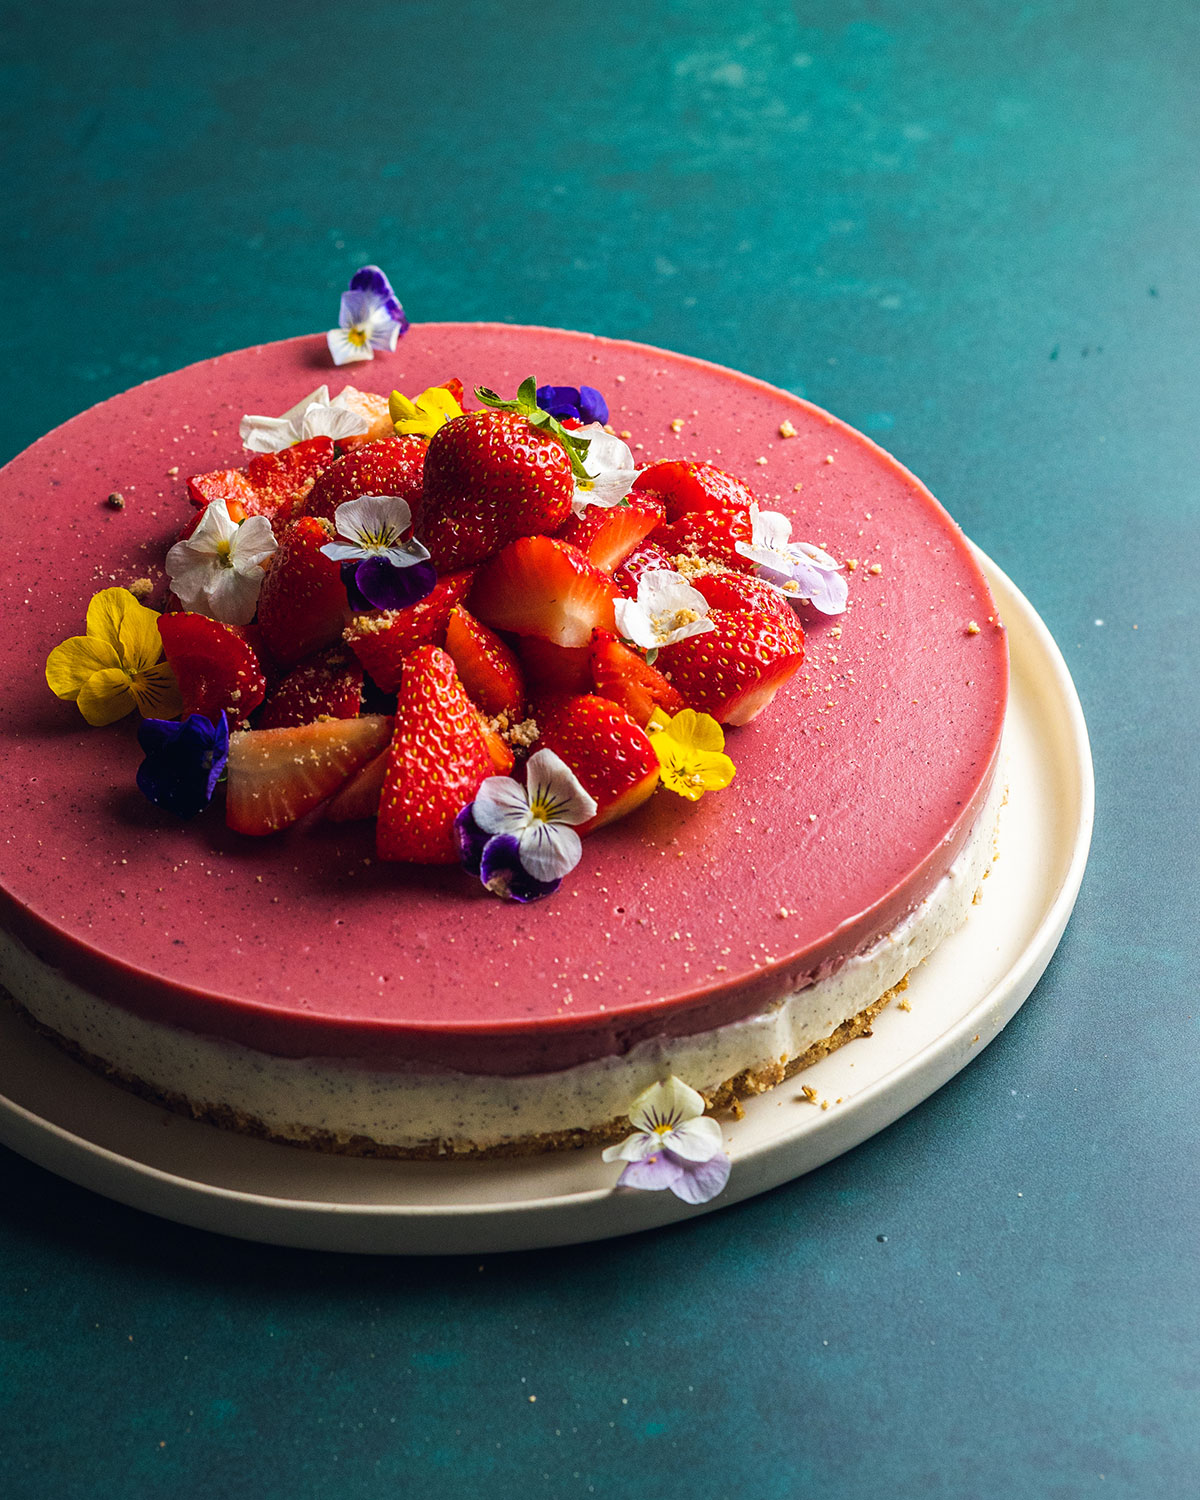
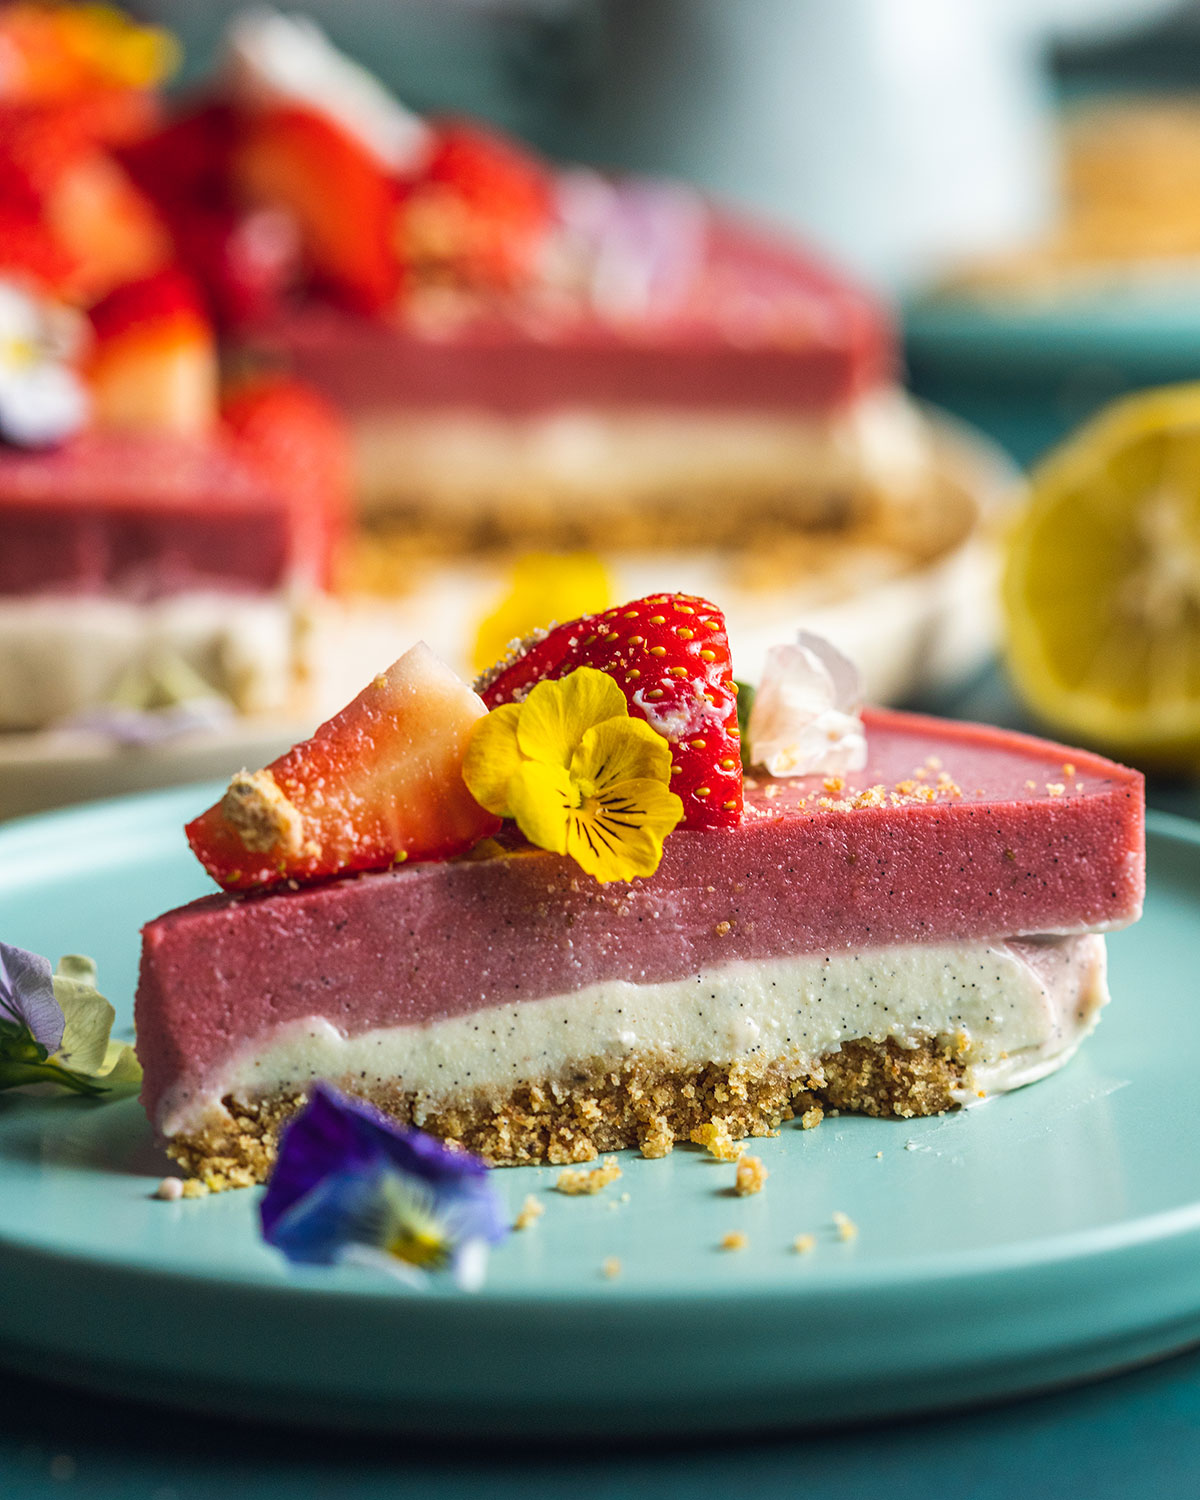
For the cheesecake filling, we're creating 2 layers - one white, one red. I loved this effect to make the cake look a little more interesting colour-wise, but you can just as well make it all strawberry flavoured as well.
White layer
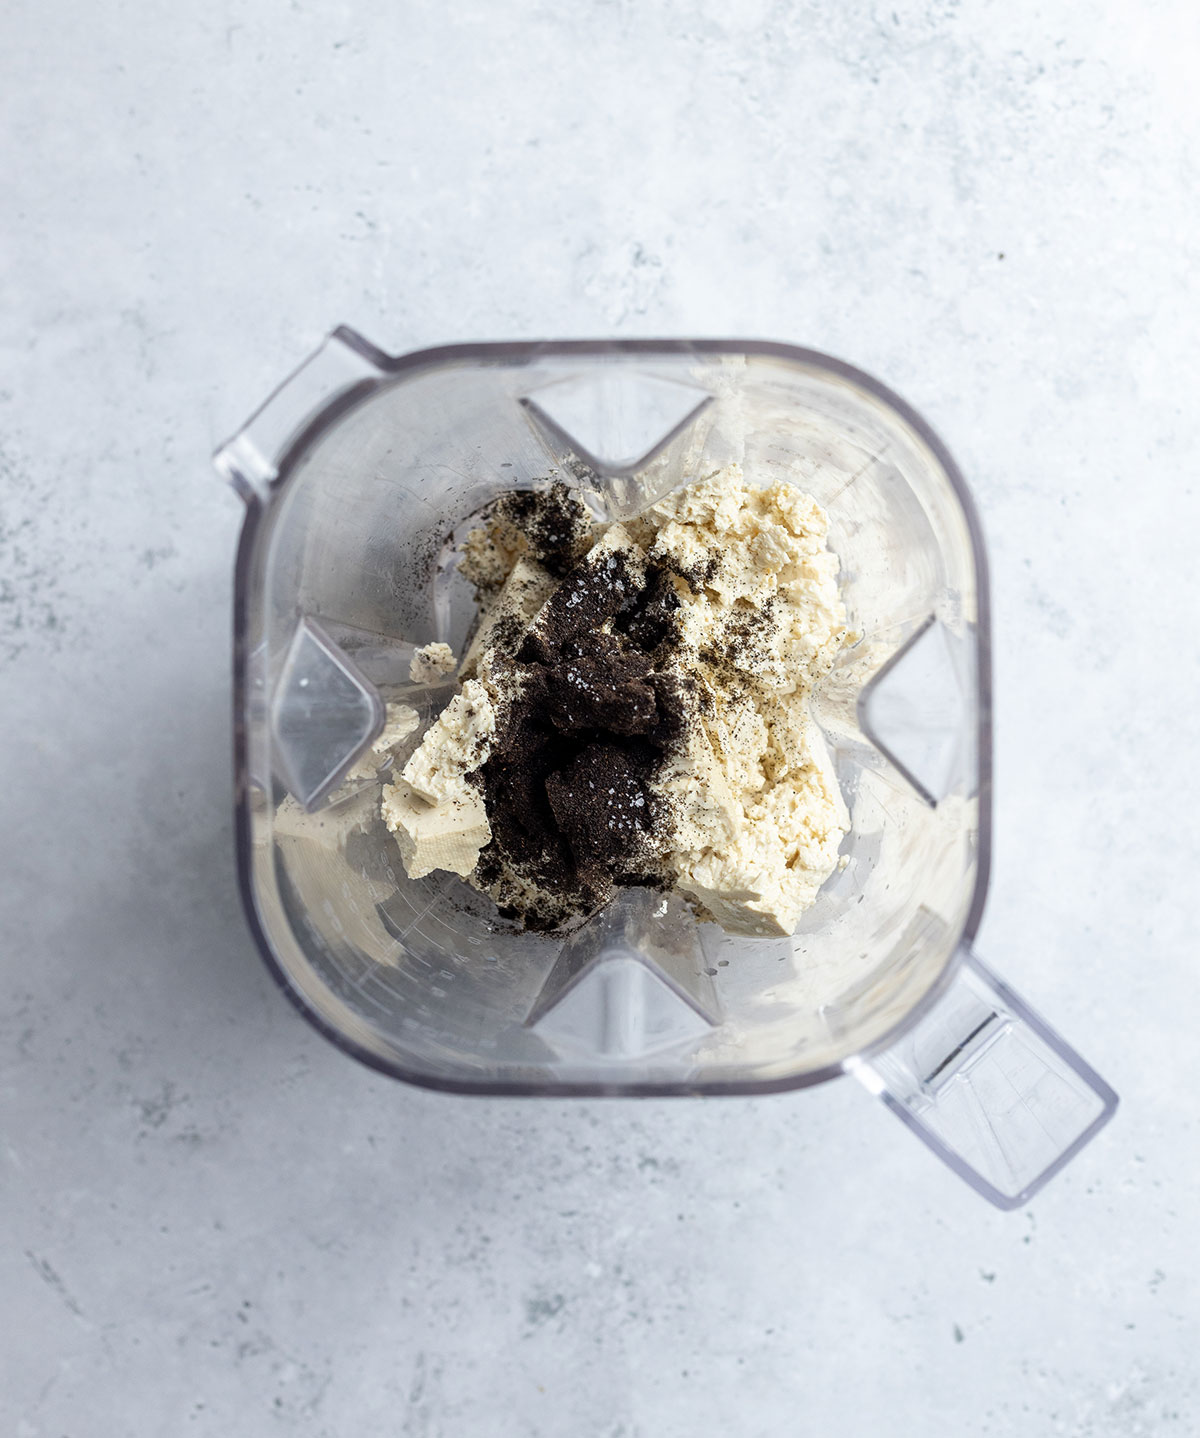
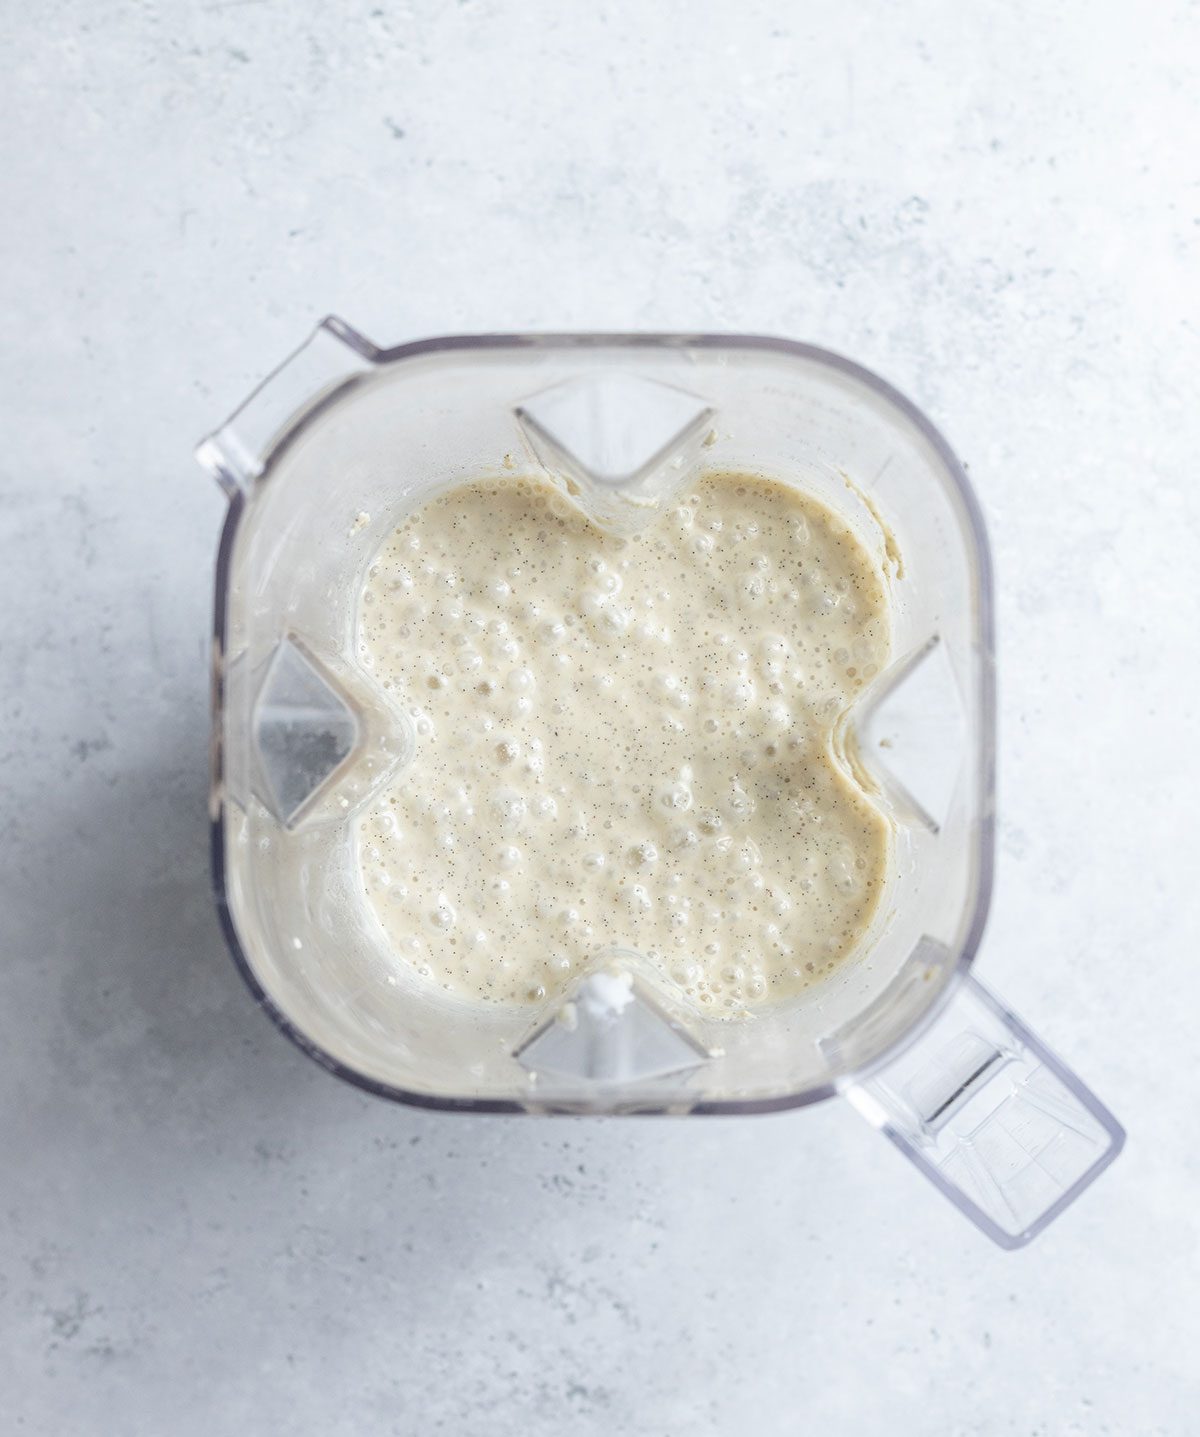
To make the filling, place the tofu into a high-speed blender, pour in the maple syrup, lemon juice and sprinkle in the vanilla powder, then blend on a medium speed until smooth. Add the vegan cream cheese and blend until it's combined, then add the icing sugar to the running blender spoon by spoon.
In a small bowl, whisk up the agar agar powder in a little water - just enough to dissolve it - and pour it into the blender. Blend for another minute to thoroughly combine it with the rest of the ingredients, then pour 250ml of the cheesecake mixture into a bowl and set aside.
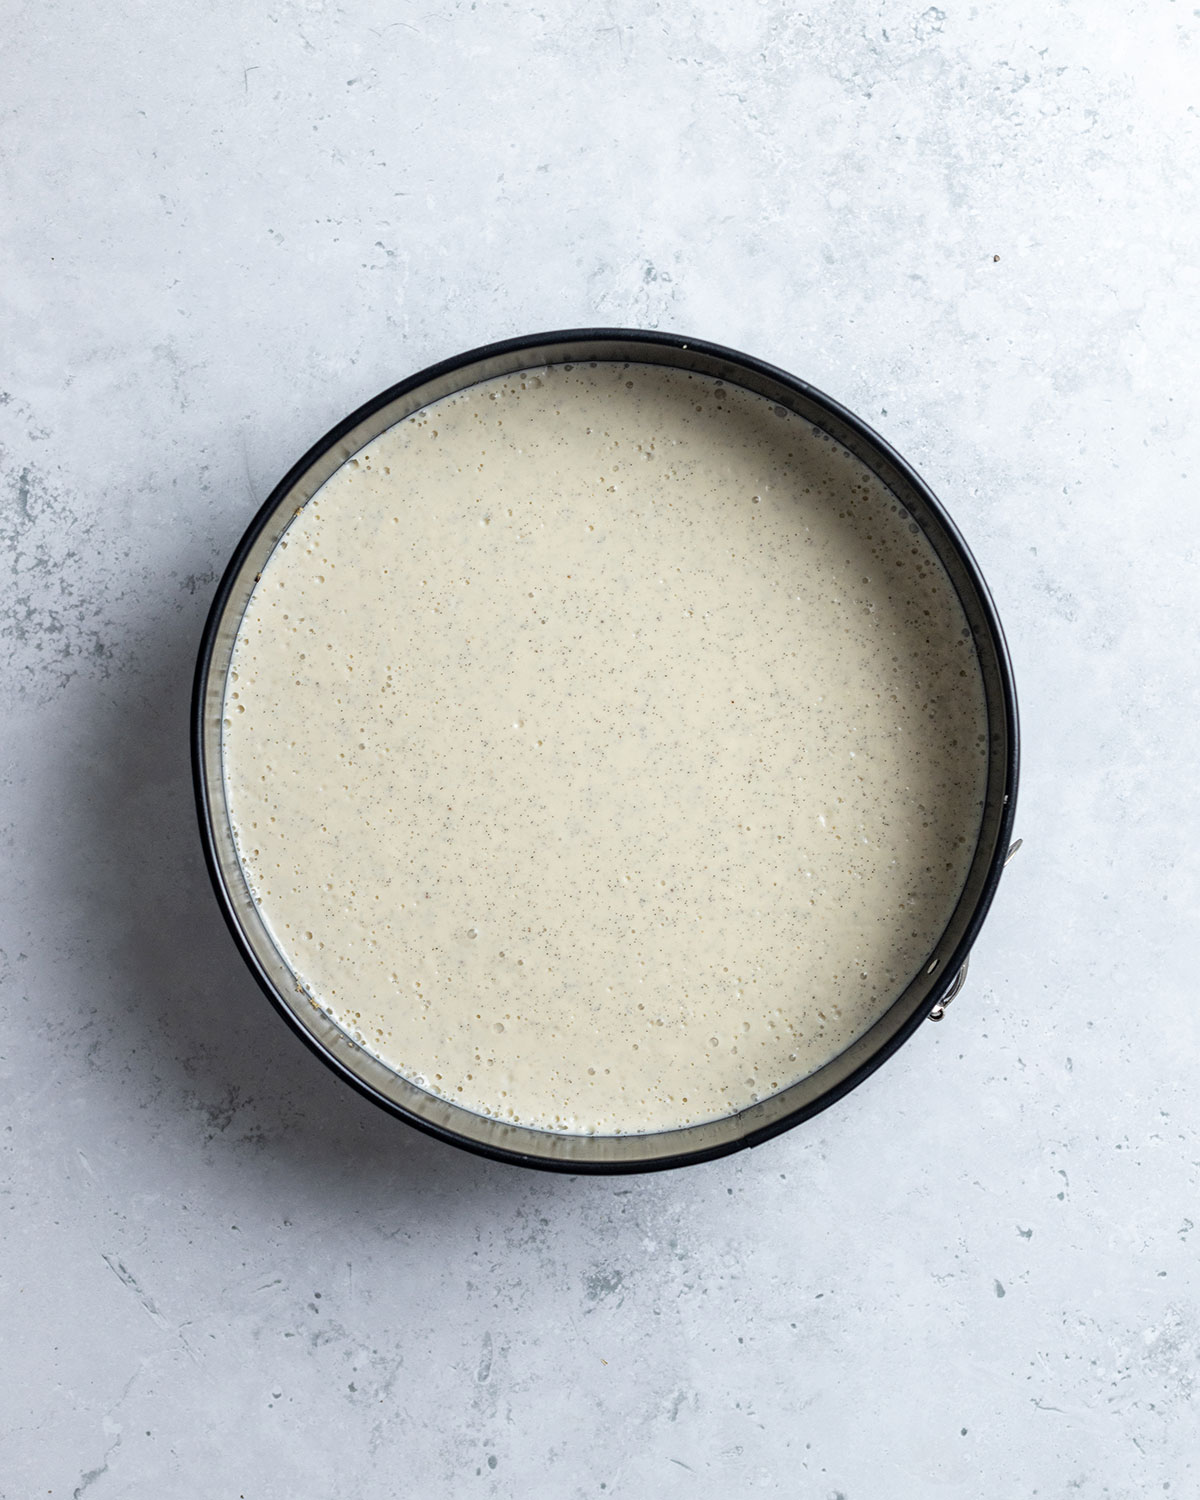
Pour the rest of the cheesecake mixture into a small saucepan and whisk it for 3-4 minutes over medium heat to activate the agar agar. Once the mix begins to thicken, remove your cheesecake base from the fridge and pour the mix onto the base. Smooth out the top and gently tap the cake tin onto the counter to remove any air bubbles. Transfer the cake tin back into the fridge for at least 30 minutes, whilst you prepare the strawberry layer.
Red layer
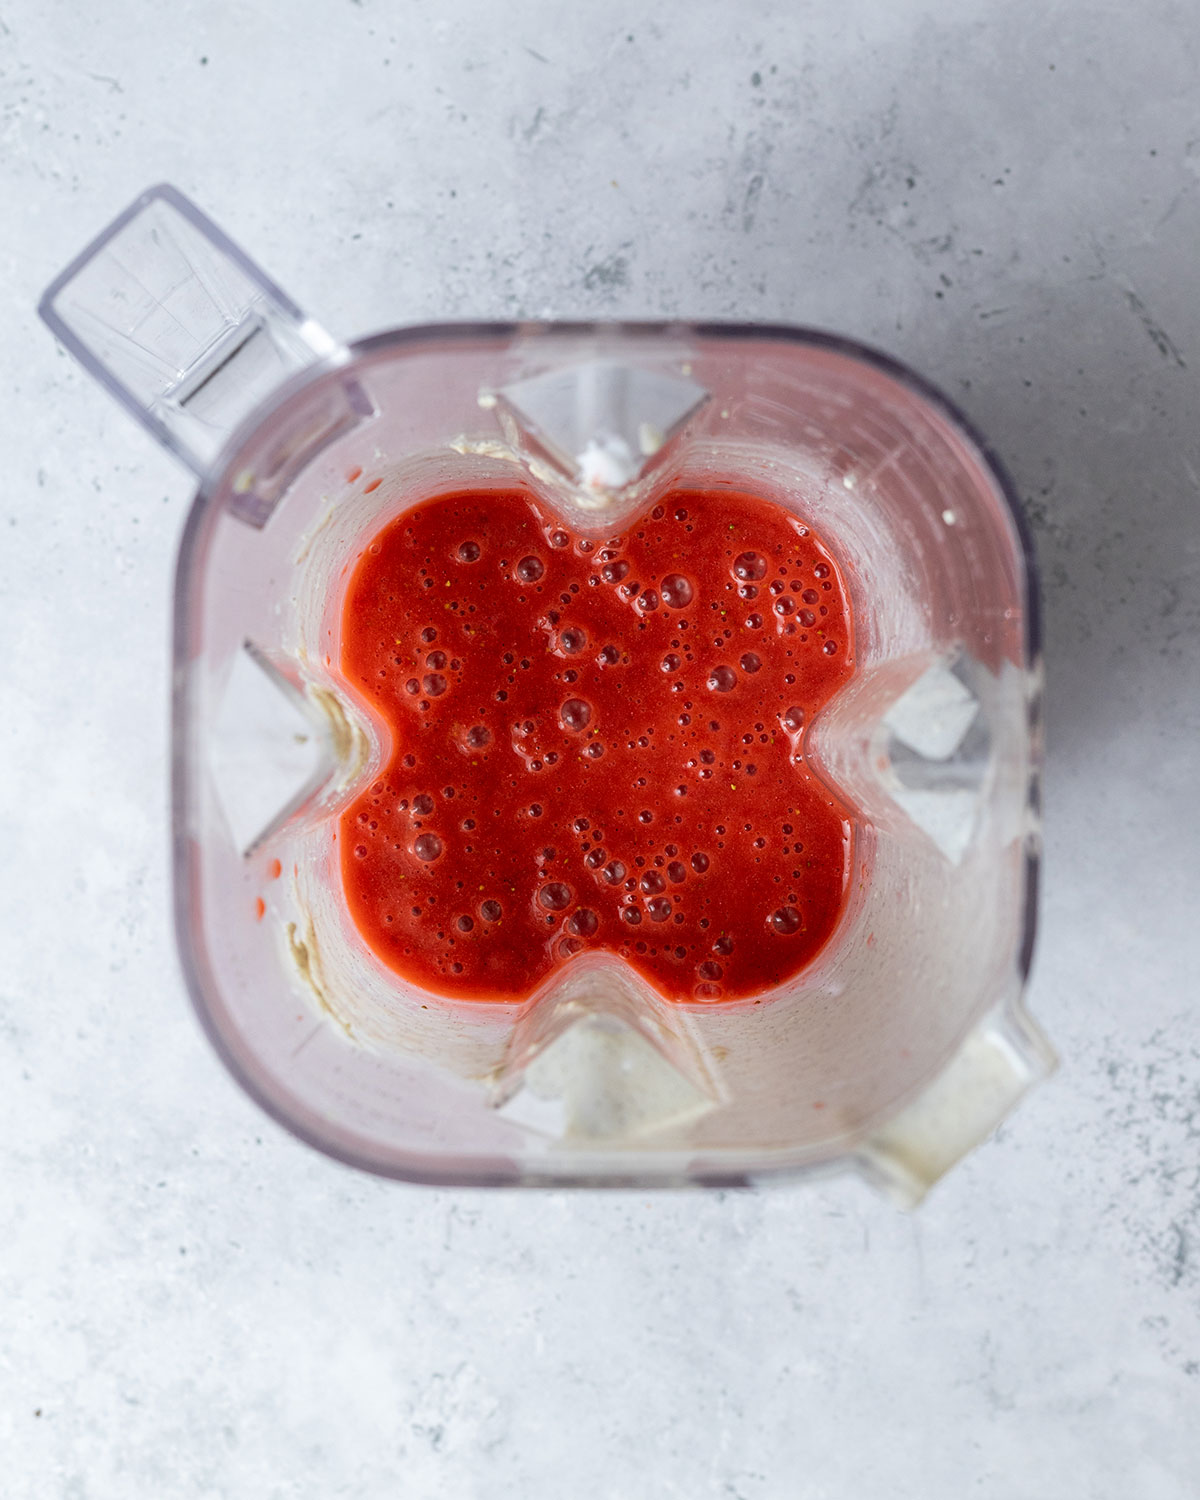
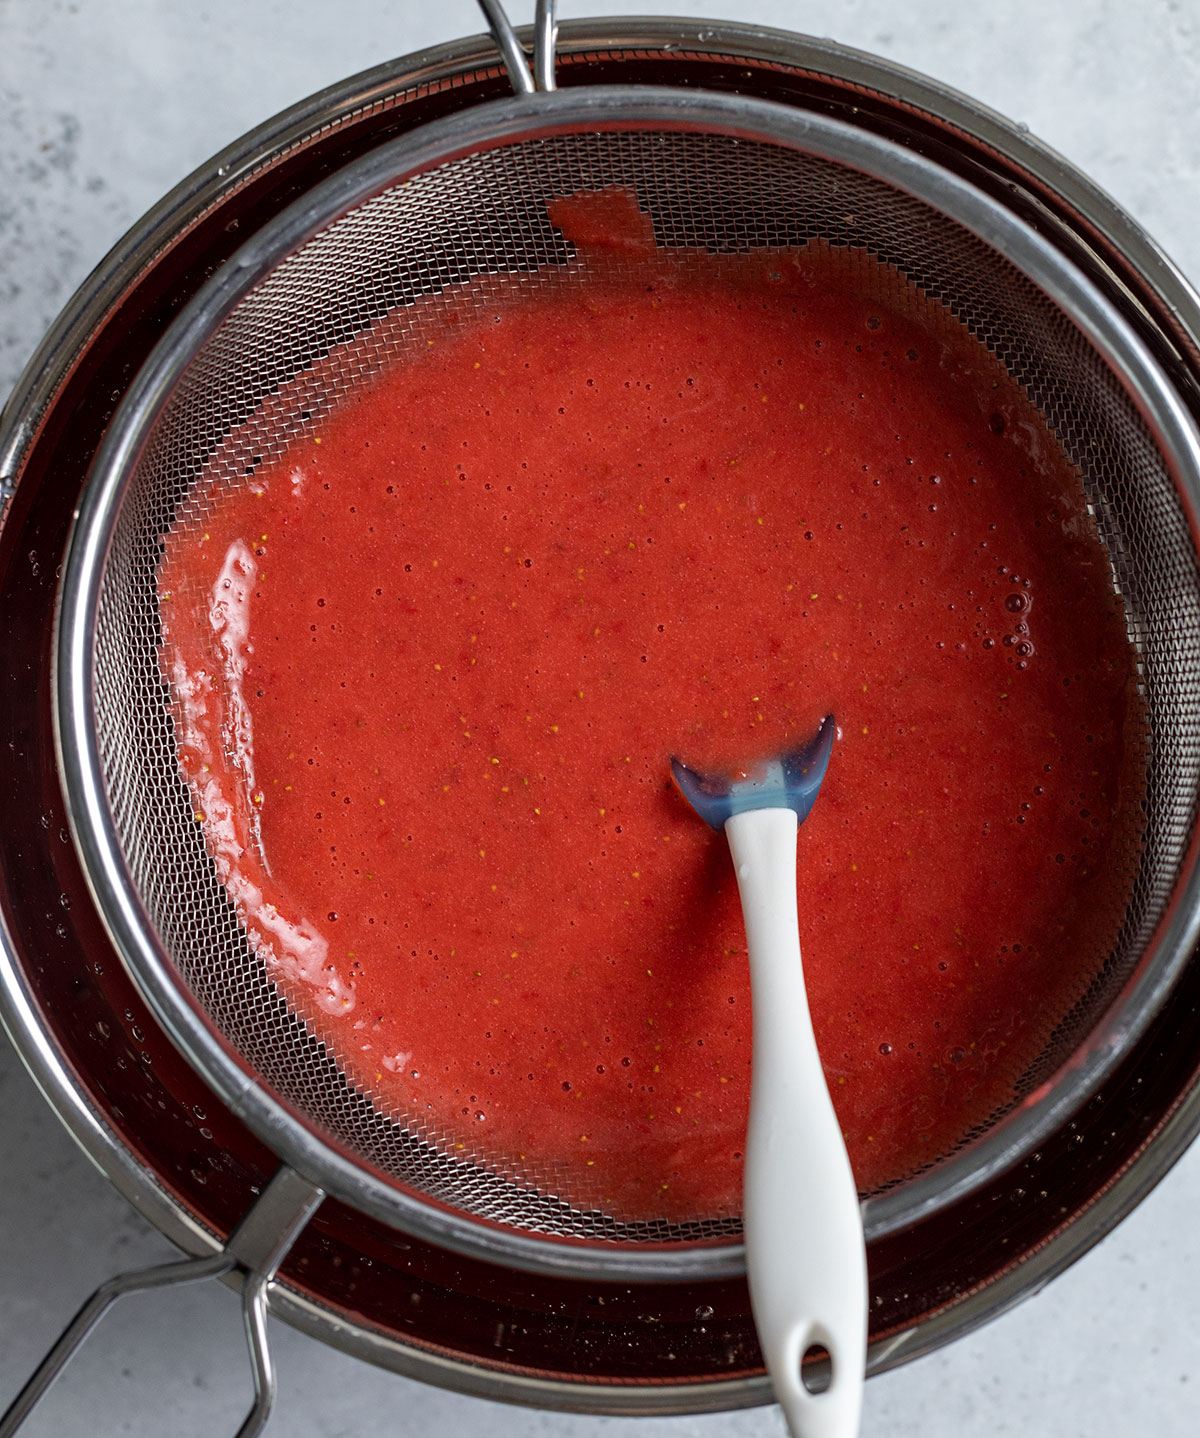
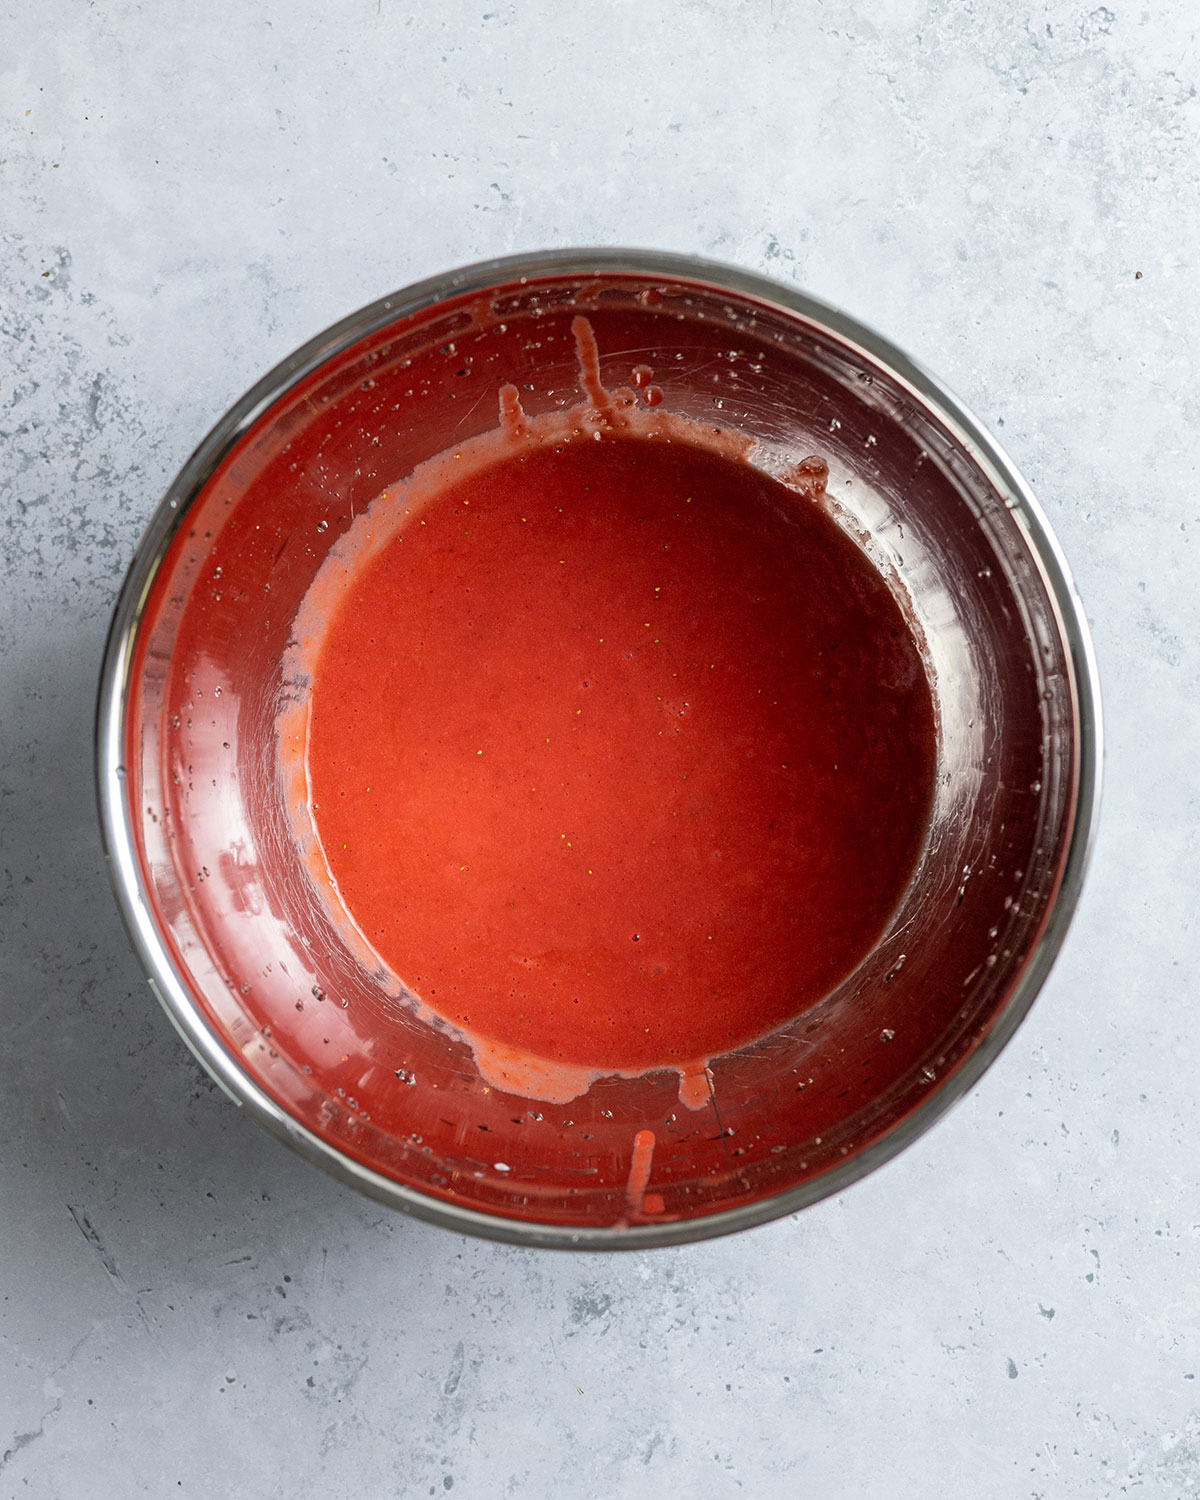
To create the red strawberry layer for your vegan cheesecake, remove all the stalks from your strawberries and place them in a high-speed blender. There is no need to clean the blender after pouring the white layer out, as we'll be mixing the strawberries with the leftover white cheesecake mix shortly. For now, just add the strawberries to the blender though, alongside the lemon juice and blend the mix on a high speed until the strawberries are broken down into strawberry juice. Run the liquid through a fine sieve and stir with a spoon to remove any strawberry pips.
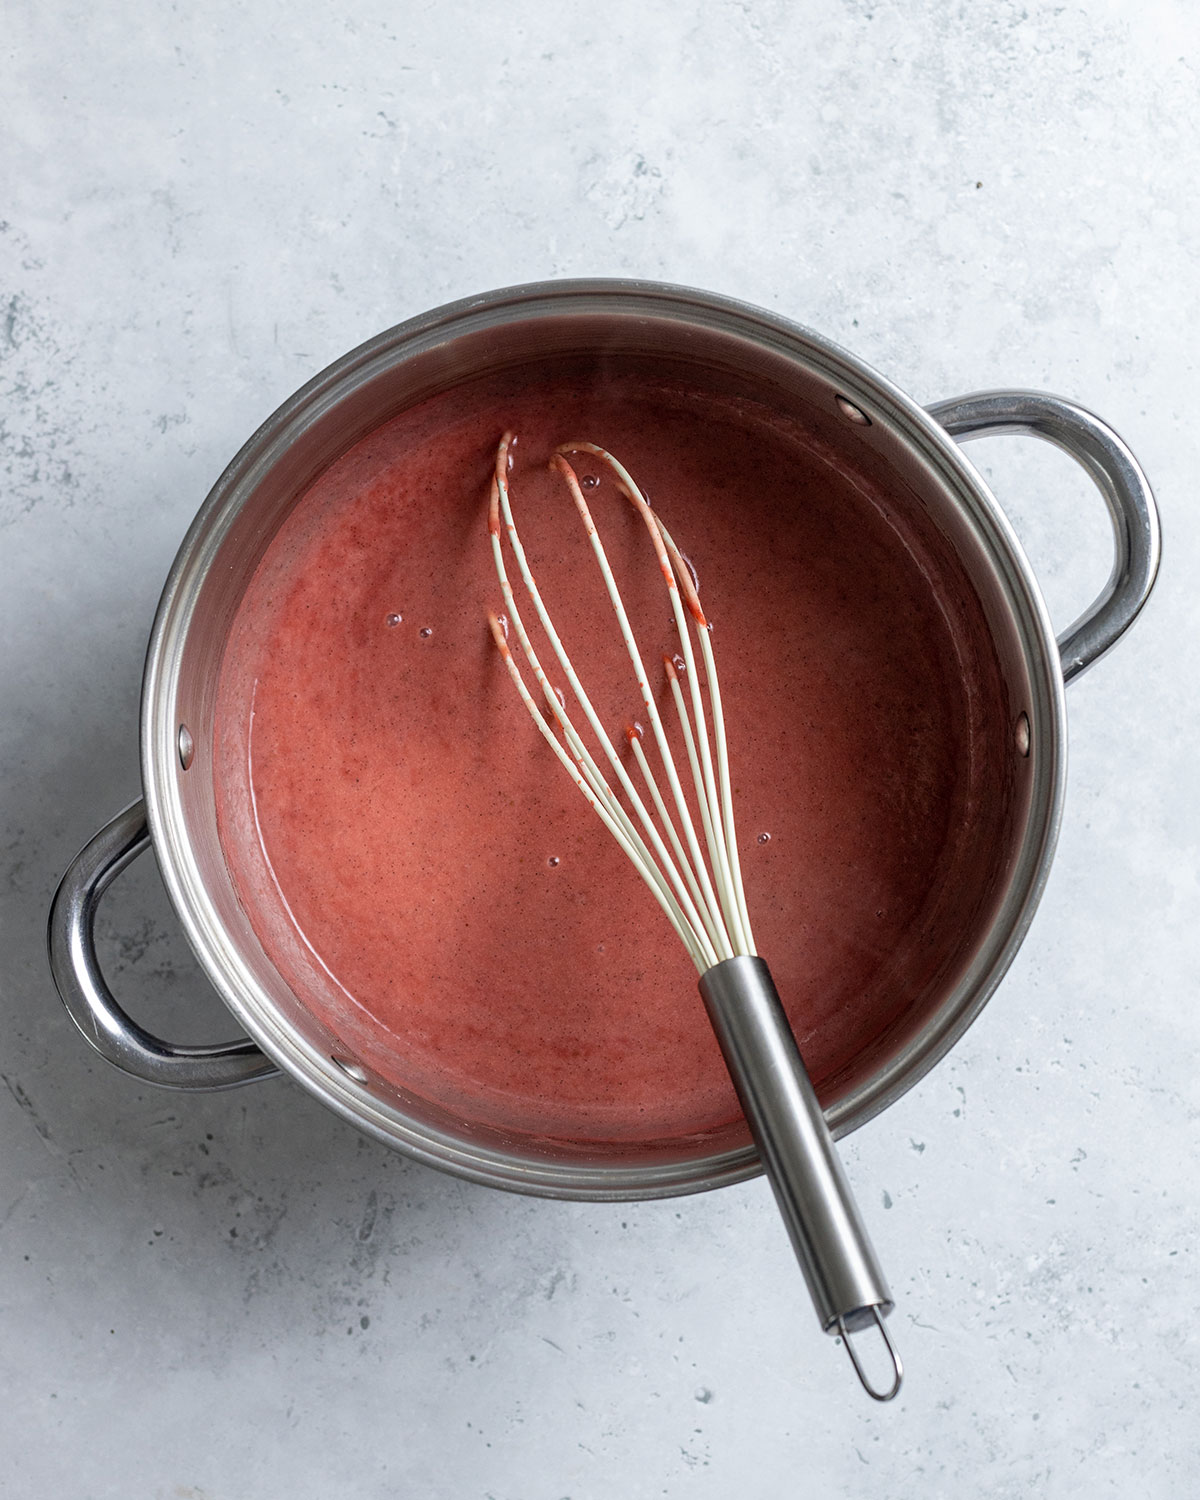
Transfer the mix to a saucepan over medium heat and stir in the light brown sugar and the remainder of the cheesecake mix. In a small bowl, dissolve another teaspoon of agar agar powder in a little water and whisk it into the saucepan mixture. Heat everything for 5 minutes whilst continuously stirring, then remove the mix from the heat.
Assembling the cake
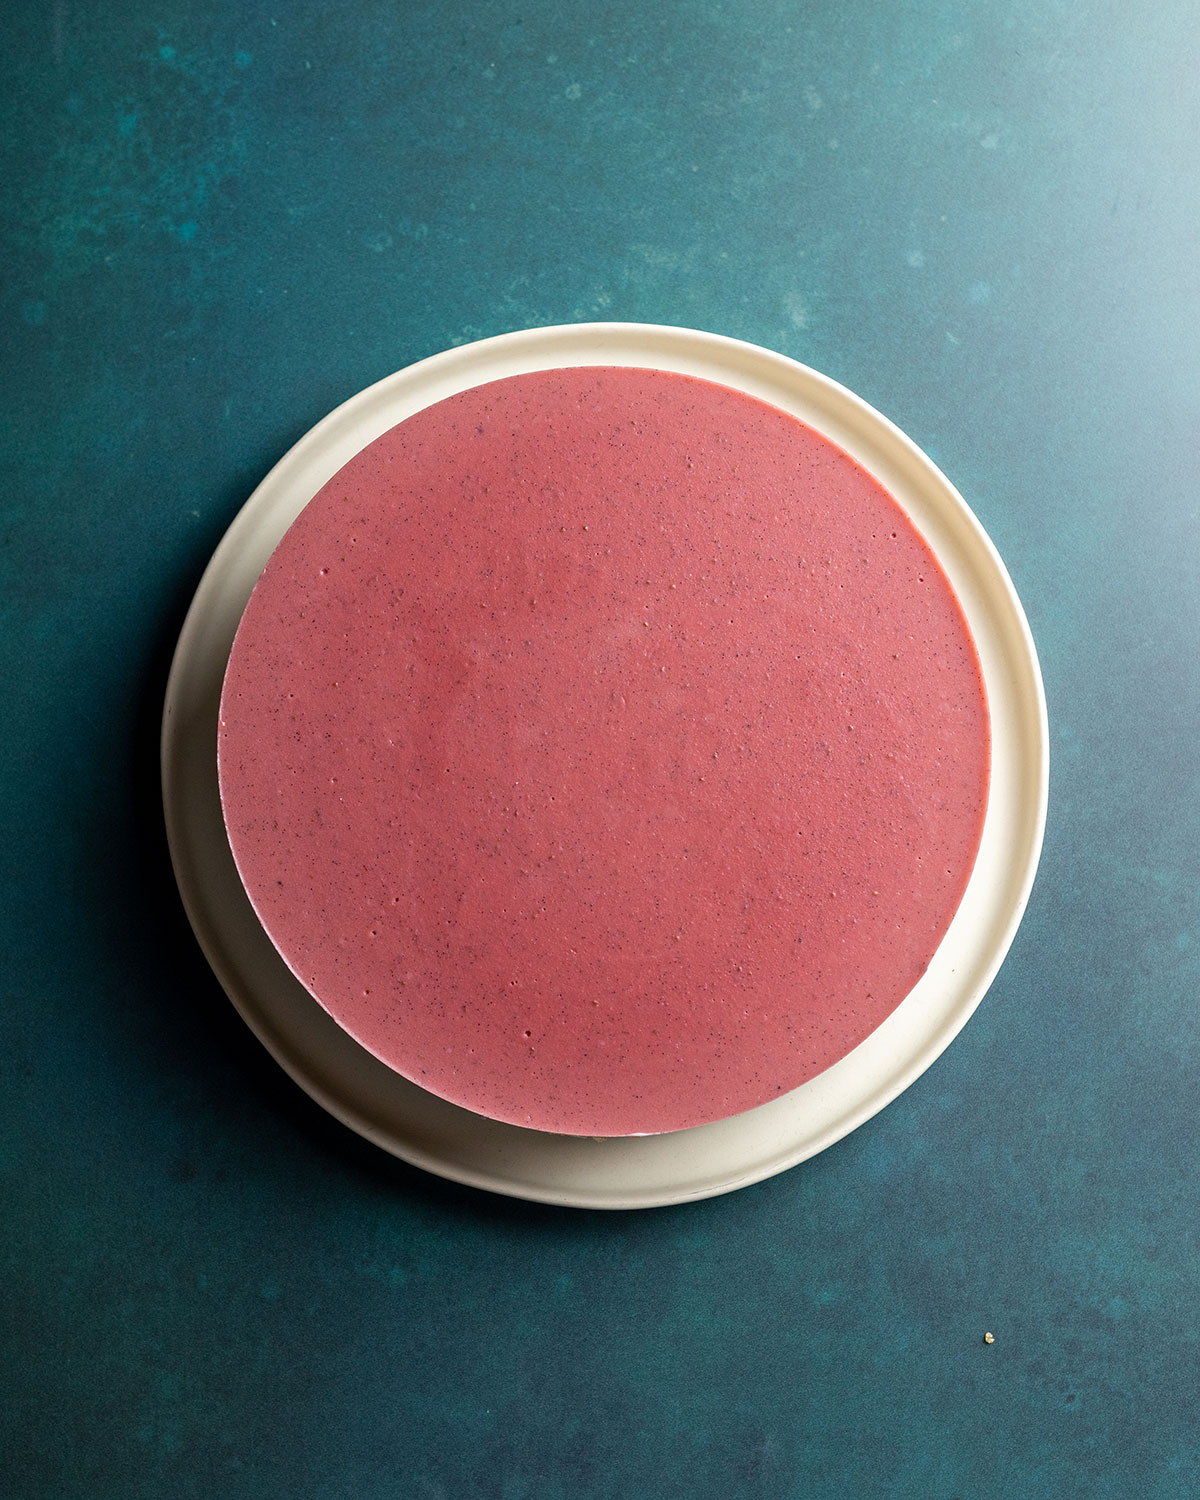
Pour the strawberry mixture onto the white cheesecake mix in your cake tin. Be very slow and careful to not melt or mess up the layer below. It's best to pour gently and pour the mix all over the cake instead of pouring only in one spot. Carefully smooth out the top of the cheesecake and place it into the fridge for at least 2 hrs to set. During this time it will become firm enough to be able to cut it and it's best to wait until the cake is firmed up before adding any kind of decoration on top.
Serving the cake
Once the cake is set, you can remove it from the cake tin. Be gently to not damage the cheesecake. I've found that it's best to start with a long, thin knife and run it carefully around the edge of the cake tin to release the walls of the cake from the tin and then remove the ring. Carefully lift the edges of the cake base and push a cake lifter or two large knives under the cake, then gently lift it into a serving plate.
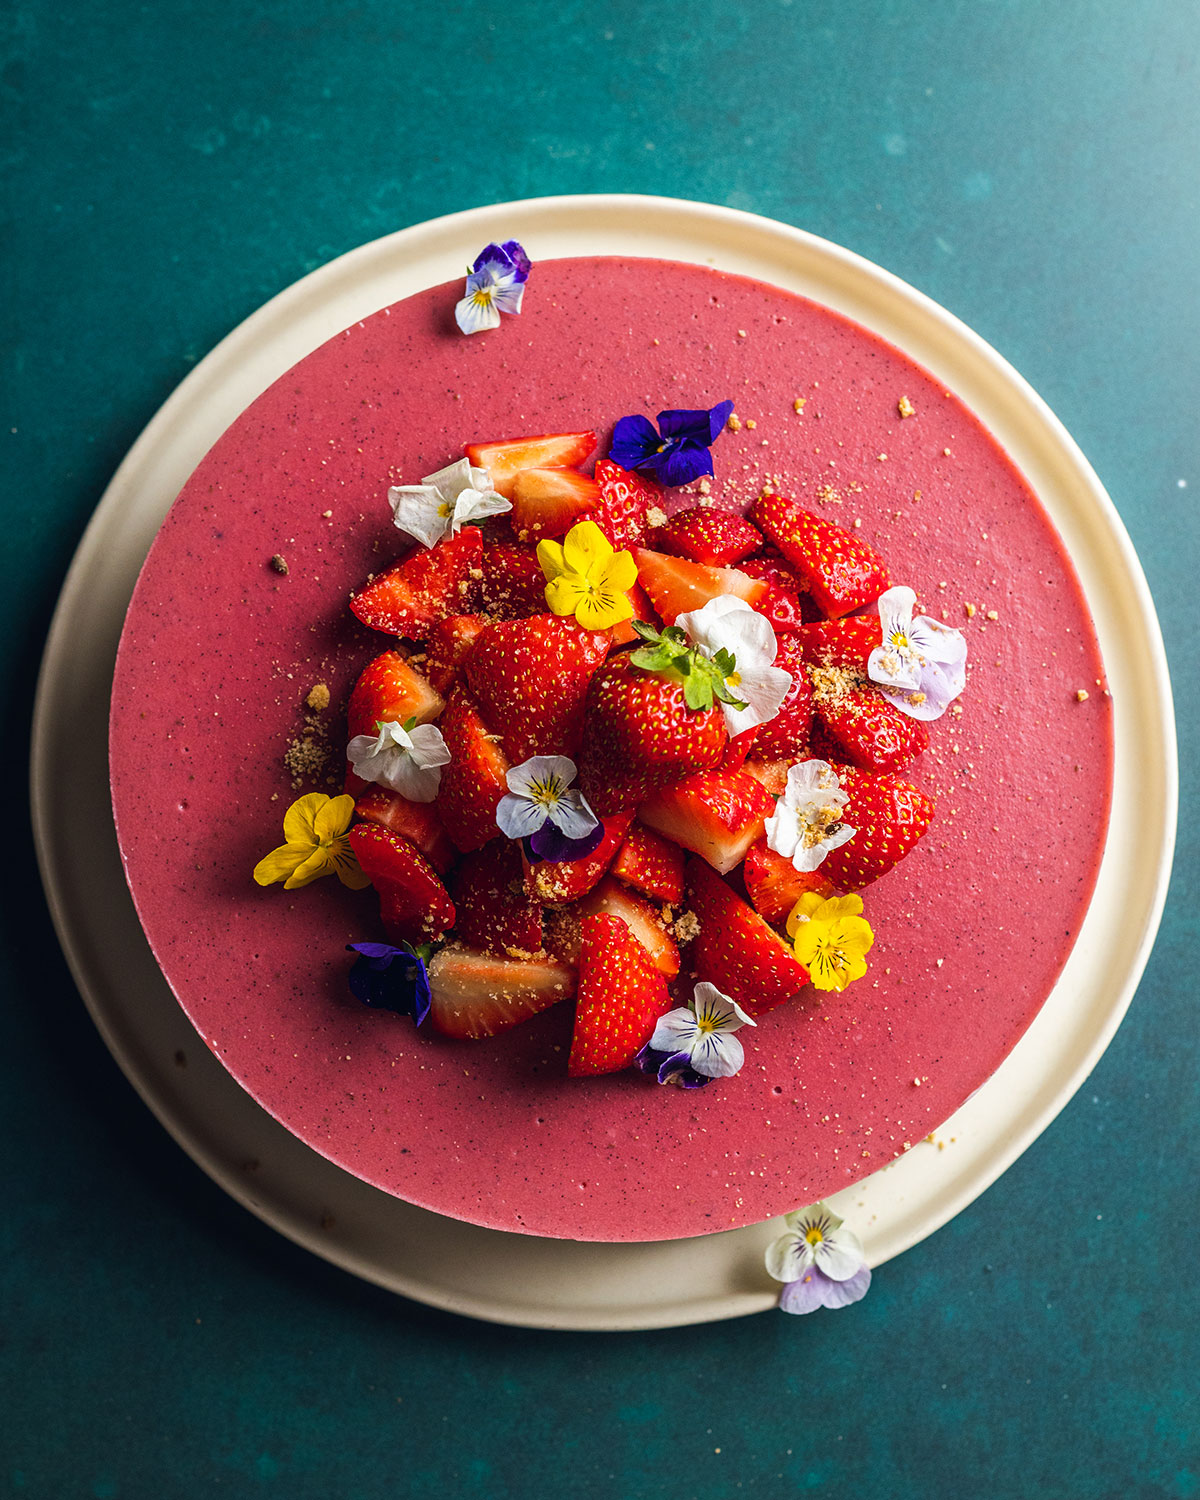
Now it's time to decorate! I love adding a bunch of fresh strawberries on top of the cheesecake, but you can decorate your cake to your liking. A few ideas: whipped vegan cream, chocolate shavings, nuts, edible flours, fresh mint leaves... the options are endless, so feel free to go all out!
Slice the cake with a sharp knife and serve the slices on their own or with a dollop of whipped vegan cream.
Storage
Of course, you can enjoy the entire cake at once (I would lie if I didn't say that was my favourite option, ha!), but you can also keep it in your fridge for up to 3 days or freeze the cake for up to 3 months. To freeze, best divide the cheesecake into individual slices and freeze them separately - that way it's much easier to portion the cake and enjoy it on multiple occasions.
Vegan Strawberry Cheesecake - Frequently Asked Questions
Can I make this strawberry cheesecake with frozen strawberries?
I personally have only made this cake with fresh strawberries, but I don't see why it wouldn't work with frozen ones! Make sure to defrost them before using them in this recipe, so your blender can do its job properly for the recipe.
Can I freeze the cheesecake?
Absolutely! You can freeze and keep this cheesecake in your freezer for up to 3 months - for ease, I recommend slicing and individually wrapping and freezing the cake - it makes defrosting portion-sizes so much easier afterwards!
This vegan cheesecake recipe is:
- 100% vegan
- easy to make
- made without cashews
- super delicious
- smooth & creamy
- made with tofu
- high in protein
- perfect for a special occasion!
Got any strawberries left over? Definitely try making my delicious & easy Vegan Strawberry Shortcake!
📖 Recipe Card
Vegan Strawberry Cheesecake
Ingredients
For the base:
- 200 g vegan biscuits I used Mr Organic Multigrain Biscuits
- 80 g dairy-free spread melted
For the cheesecake filling:
- 400 g block extra firm tofu drained
- 4 tablespoon ¼ cup, 60 ml maple syrup
- 3 tablespoon lemon juice
- 1 teaspoon vanilla powder or 4 teaspoon vanilla extract
- ¼ teaspoon salt
- 400 g vegan cream cheese I used 2 packs of Violife
- 130 g icing sugar
- 2 teaspoon agar agar powder + a little water to dissolve it
For the strawberry layer:
- 500 g fresh strawberries
- 50 g light brown sugar
- 2 tablespoon lemon juice
- 1 teaspoon agar agar powder + a little water to dissolve it
To decorate (optional):
- a handful of fresh strawberries
- fresh mint leaves
- vegan squeezy cream
- edible flowers
Instructions
- Let's start with the cheesecake base! Place your biscuits into a freezer bag and crush them - alternatively, you can process them in a food processor until they are broken down into crumbles. Pour the melted dairy-free spread over the biscuit crumbles and stir together until well combined. Line an 8-inch round cake tin and press the biscuit mixture into the bottom of the tin to create the base for your cake. Transfer to the fridge for at least 30 minutes or overnight, whilst you're preparing the rest of your vegan cheesecake.
- Place the tofu into a high-speed blender, pour in the maple syrup, lemon juice and sprinkle in the vanilla powder, then blend on a medium speed until smooth. Add the vegan cream cheese and blend until it's combined, then add the icing sugar to the running blender spoon by spoon.
- Lastly, whisk up the agar agar powder in a little water to just about dissolve it and pour it into the blender. Blend for another minute to evenly incorporate the agar mix.
- Pour 250ml of the cheesecake mixture into a bowl and set aside. Pour the rest of the cheesecake mix into a saucepan and heat it on the stove over low/medium heat whilst whisking continuously for 3-4 minutes. Remove from the heat and pour onto the biscuit base and smooth out the top. Gently tap the cake tin onto the counter to remove any air bubbles. Transfer the cake tin into the fridge for at least 30 minutes.
- In the meantime, remove the stalks from your strawberries and add them to the blender (no need to clean the blender in between!). Add 2 tablespoons of lemon juice and blend the mix at a high speed until all the strawberries are broken down. Run the mix through a fine sieve to remove any strawberry pips and transfer it to a saucepan over medium heat.
- Sprinkle in the light brown sugar and stir in the 250ml of cheesecake mix we set aside earlier. Heat over medium heat for 3 minutes, then mix the agar agar with a little water to dissolve and add it to the saucepan. Heat the mixture whilst continuously stirring for 5 minutes, then remove from the heat.
- Carefully pour the strawberry mix onto the cheesecake and transfer it back to the fridge for a minimum of 2 hrs to set.
- Gently, remove the cake from the cake tin and decorate with fresh strawberries, vegan whipped cream, mint leaves and/or edible flowers.
Notes
*Disclosure: This page may contain affiliate links and sponsored links that earn me a small commission, at no additional cost to you. You can find more information in my Privacy Policy.
© 2025 Romy London / Romina Callwitz | All images, videos, wordings and content are copyright protected and belong to Romina Callwitz. Please do not use any of my content without prior permission. If you wish to re-publish any (part of my) content, please get in touch via email. Thanks for your support!
*Disclosure: This page may contain affiliate links and sponsored links that earn me a small commission, at no additional cost to you. You can find more information in my Privacy Policy.


💭 Leave a Comment