


Making coconut milk at home is much easier than it sounds. All you need are unsweetened coconut flakes, water and a blender - no fresh coconut cracking required.
The coconut and water are blended until creamy, then strained to remove the pulp. The result is fresh, pourable coconut milk that you can use in smoothies, cereal, oatmeal, coffee and everyday cooking.
It has a noticeable coconut flavor and contains none of the gums, sweeteners or stabilizers you may find in some store-bought coconut milk. You can leave it completely plain or customize it with vanilla, maple syrup or cocoa.
🤍 Why You’ll Love This Recipe
- ✨ Just two ingredients: The basic recipe only requires coconut flakes and water.
- ⏱️ Ready in minutes: Blend, strain and your coconut milk is ready to use.
- 🛒 No fresh coconut needed: A bag of dried coconut flakes does all the hard work.
- 🥛 Smooth and creamy: Adjust the water to make the milk lighter or richer.
- 🌱 Dairy-free: A simple homemade plant milk ready to use for drinks, breakfast and cooking.
- ♻️ Less waste: Save the strained coconut pulp for smoothies, oatmeal or baking.
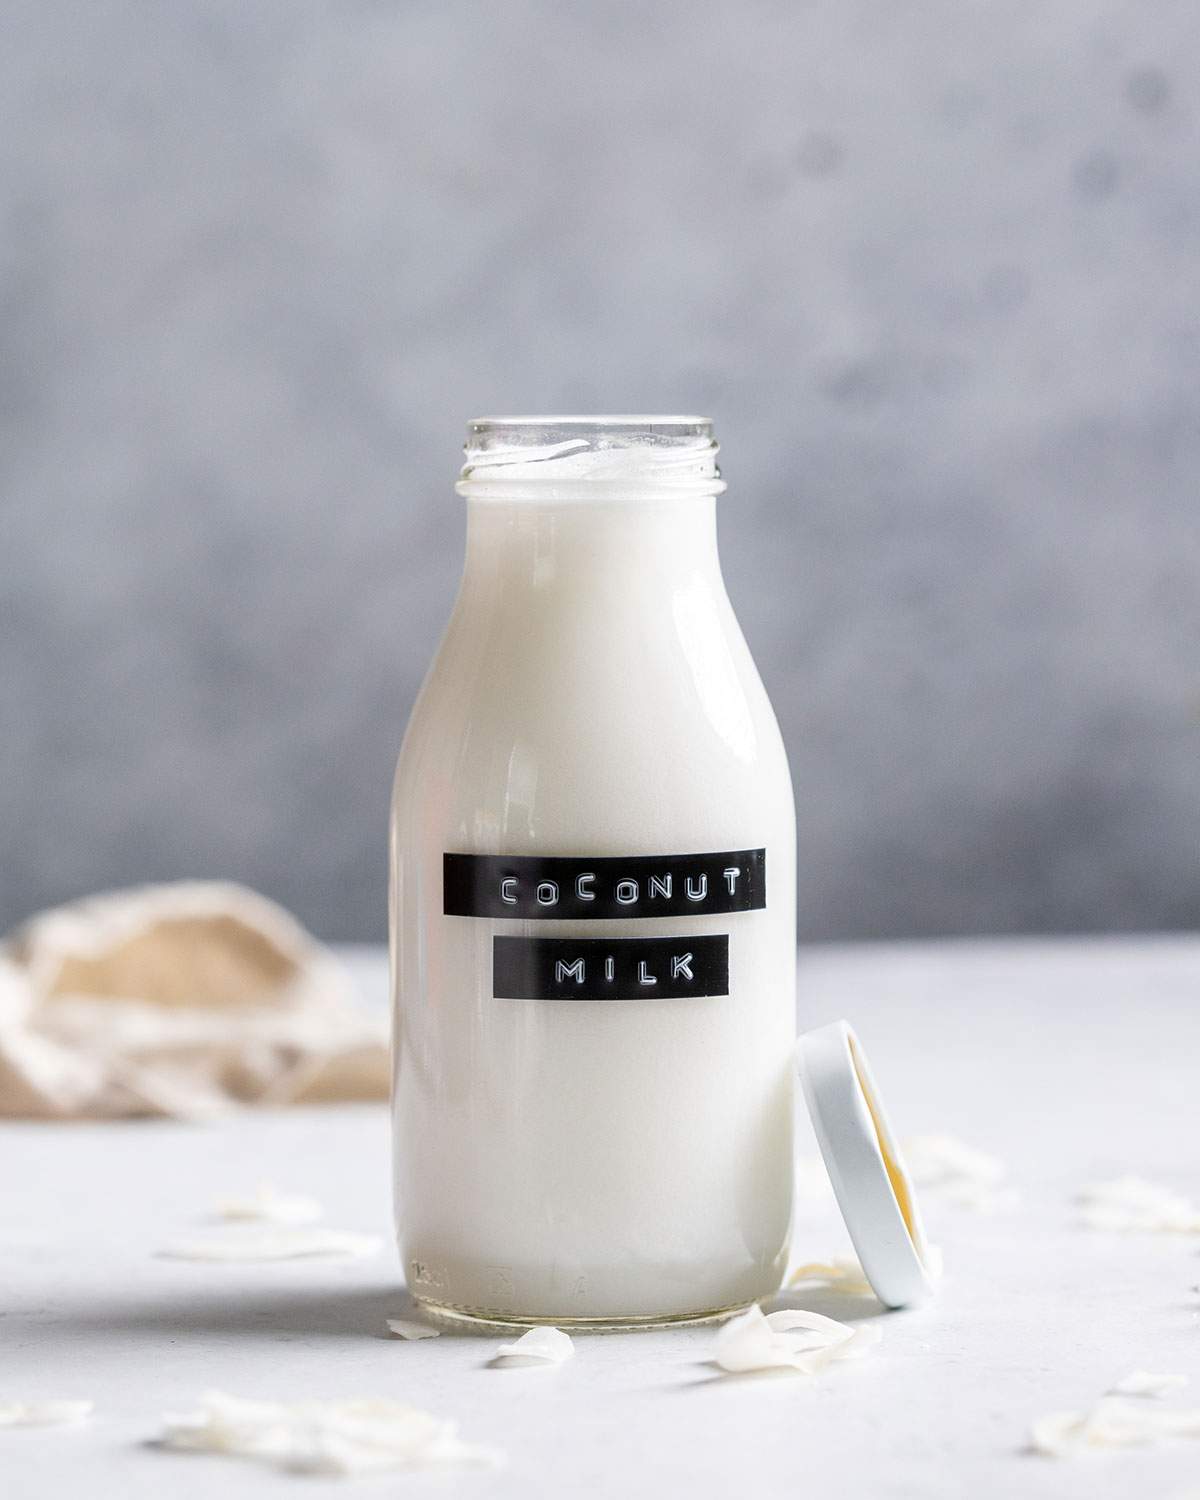
Jump to:
- 🤍 Why You’ll Love This Recipe
- 🥥 What Kind of Coconut Milk Does This Make?
- 🥛 Coconut Milk vs. Coconut Cream and Coconut Water
- 🌱 Ingredients and Notes
- 🧰 Equipment
- 🥣 How to Make Coconut Milk
- ✨ Flavor Variations
- 🍽️ How to Use Homemade Coconut Milk
- ♻️ What to Do with the Leftover Coconut Pulp
- 💡 Expert Tips and Troubleshooting
- ❄️ Storage and Freezing
- ❓ Frequently Asked Questions
- 🔜 Related Recipes
- 📖 Recipe Card
🥥 What Kind of Coconut Milk Does This Make?
This recipe makes a fresh, pourable coconut milk that you can drink or use much like plant milk from a carton.
It is not quite the same as the thick, full-fat coconut milk sold in cans. Canned coconut milk generally has a higher concentration of coconut fat and is commonly used to add richness to curries, sauces and desserts. Carton coconut milk is usually more diluted and may contain stabilizers, vitamins or sweeteners.
Your homemade version sits somewhere between the two, depending on how much water you use. With the proportions in this recipe, it is creamy but still easy to pour.
For something thicker and richer for curries, sauces and desserts, try my homemade coconut cream instead.
🥛 Coconut Milk vs. Coconut Cream and Coconut Water
These three coconut products sound similar but are not interchangeable.
Coconut milk
Coconut milk is made by blending or working coconut flesh with water before straining away the solids. It can range from light and drinkable to rich and creamy, depending on the ratio of coconut to water.
Coconut cream
Coconut cream is made in a similar way but uses less water, resulting in a thicker texture and higher concentration of coconut fat. It is better suited to recipes where you want richness without adding too much liquid.
Coconut water
Coconut water is the naturally occurring clear liquid found inside a coconut. It is not made from coconut flesh and has a completely different texture and flavor from coconut milk.
A simple way to remember it is:
| Product | What it is | Best used for |
|---|---|---|
| Coconut milk | Coconut flesh blended with more water | Drinks, cereal, smoothies and cooking |
| Coconut cream | Coconut flesh blended with less water | Curries, sauces and desserts |
| Coconut water | Clear liquid from inside a coconut | Drinking and smoothies |
🌱 Ingredients and Notes
You only need two ingredients for the basic coconut milk, plus a few optional extras if you would like to flavor or sweeten it.
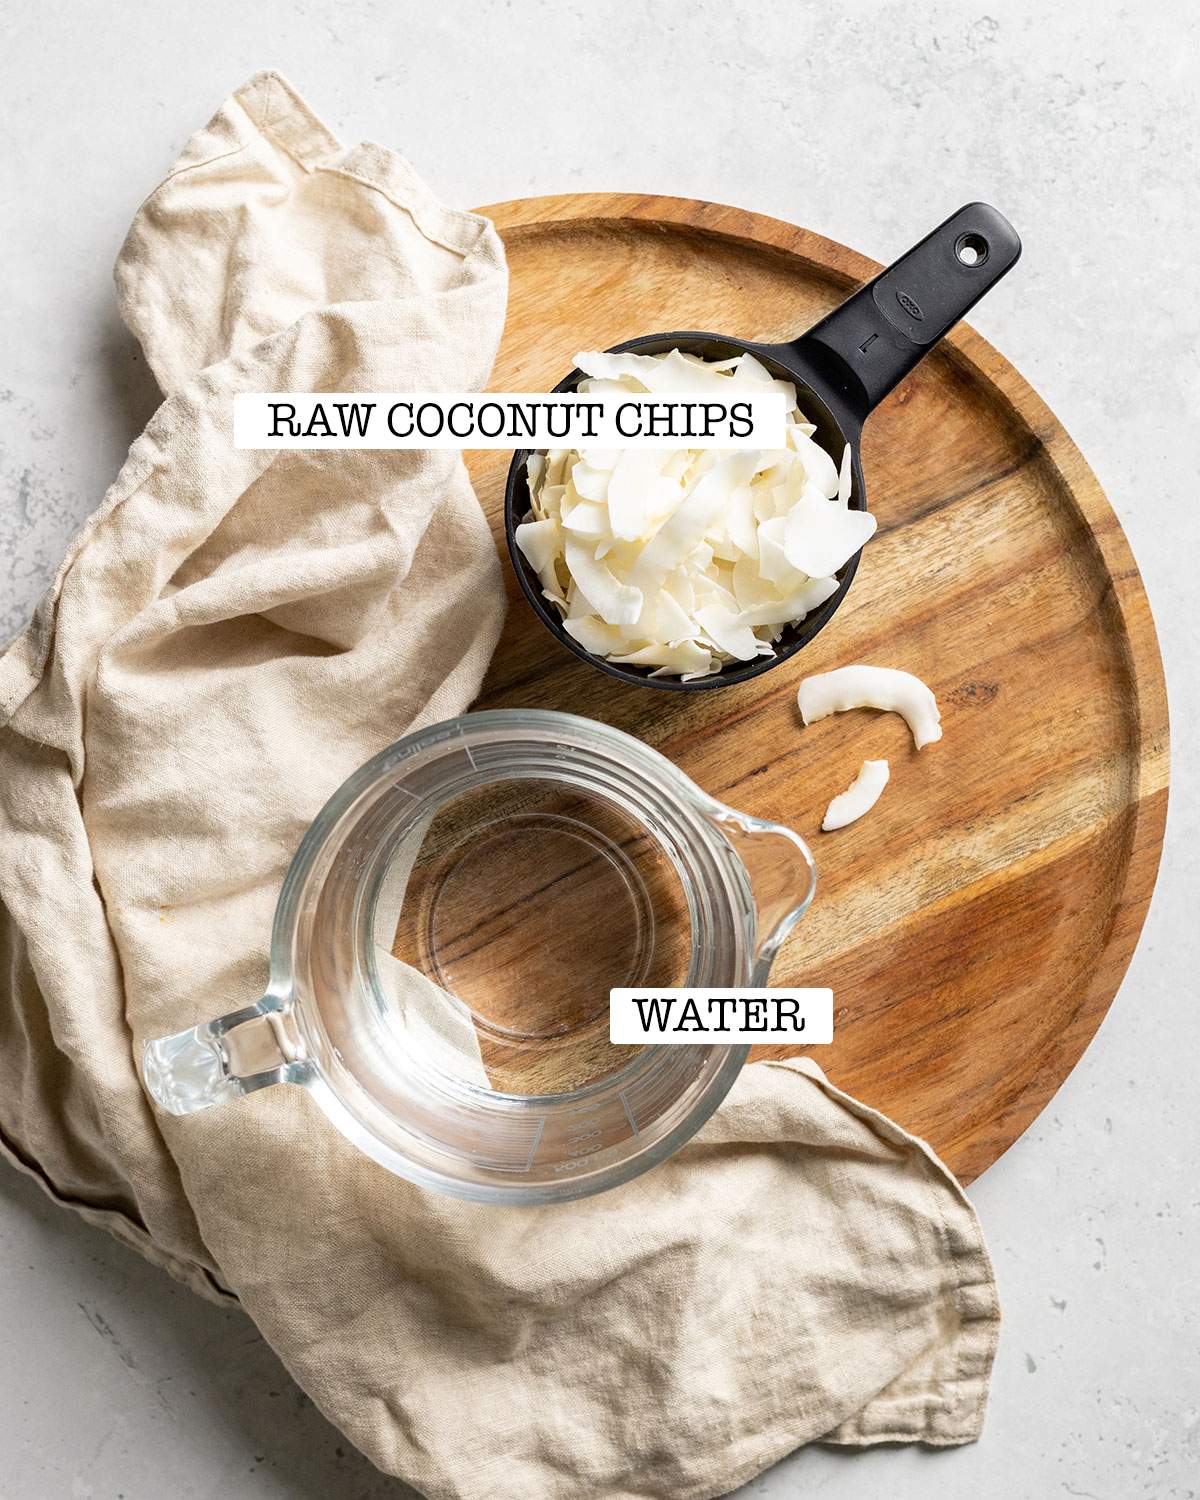
Scroll to the recipe card at the bottom of the post for detailed quantities and measurements.
Raw coconut flakes
Use raw, unsweetened coconut flakes or coconut chips.
Check the ingredients on the packet to make sure the coconut has not been sweetened, toasted or flavored. Sweetened coconut will make it harder to control the flavor of the finished milk.
Larger flakes or chips work well because they blend into small pieces without immediately turning into a dense paste.
Filtered water
Water makes up most of the finished coconut milk, so use water that tastes good on its own.
Cold or room-temperature filtered water works well for this recipe. The amount can also be adjusted depending on how rich you would like the milk to be:
- Use slightly less water for richer coconut milk.
- Add more water for a lighter, more drinkable consistency.
Optional sweeteners and flavors
The milk can be left completely unsweetened, particularly when you plan to use it in savory recipes.
For a lightly sweetened version, add:
- Maple syrup or agave: Start with one tablespoon, then add more to taste.
- Vanilla extract: Adds a soft vanilla flavor that works particularly well in coffee, cereal and smoothies.
- Cocoa powder: Blend it into the milk for an easy chocolate coconut milk.
- A small pinch of salt: Optional, but it can help balance a sweetened version.
🧰 Equipment
You will need:
- A high-speed blender for breaking down the coconut flakes
- A nut milk bag, cheesecloth or very fine sieve
- A large bowl or measuring jug for catching the milk
- A glass bottle, jar or airtight container for storage
A nut milk bag will give you the smoothest result, but several layers of cheesecloth placed inside a sieve will also work.
🥣 How to Make Coconut Milk
1. Add the ingredients to the blender
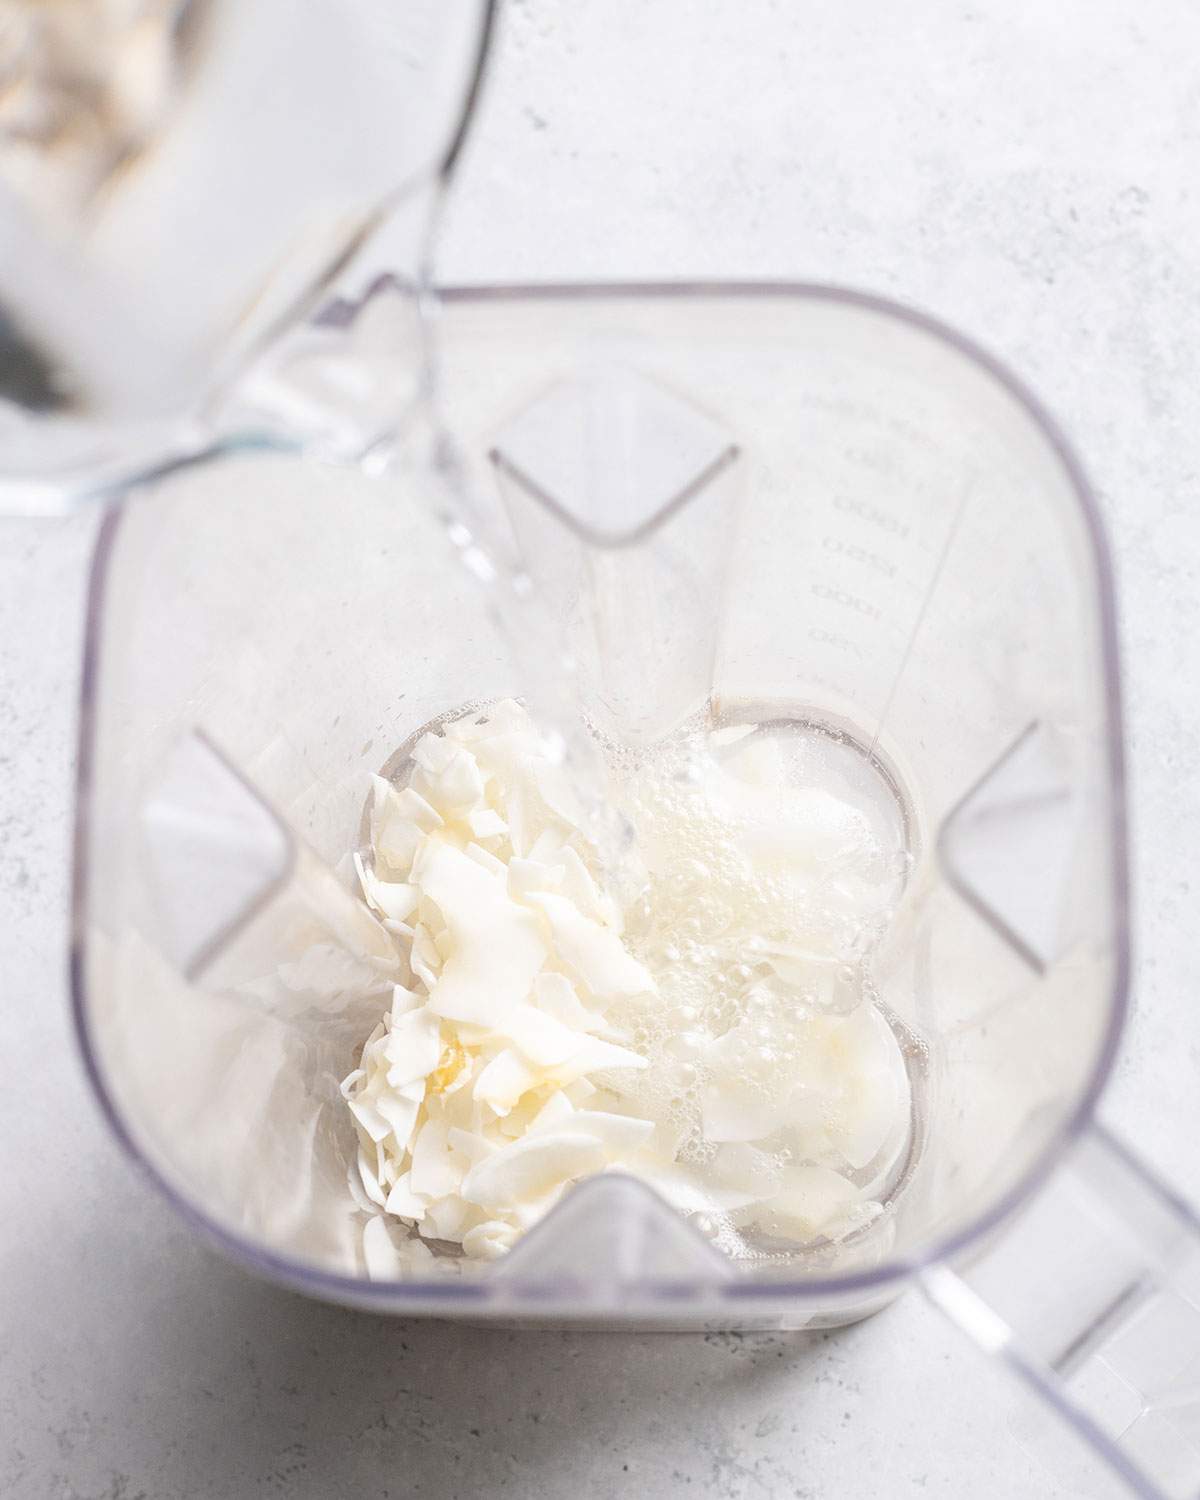
Place the raw coconut flakes into a high-speed blender and pour in the filtered water.
Make sure there is enough room inside the blender for the ingredients to move around freely. If you are doubling the recipe, it may be easier to blend it in two batches.
2. Blend until creamy
Blend on high speed for two to three minutes.
The water should turn opaque and creamy as the coconut flakes break down. Depending on your blender, you may need to pause once and scrape down any pieces clinging to the sides.
The coconut does not have to disappear completely. Small pieces of pulp will remain and will be removed during straining.
3. Strain the coconut milk
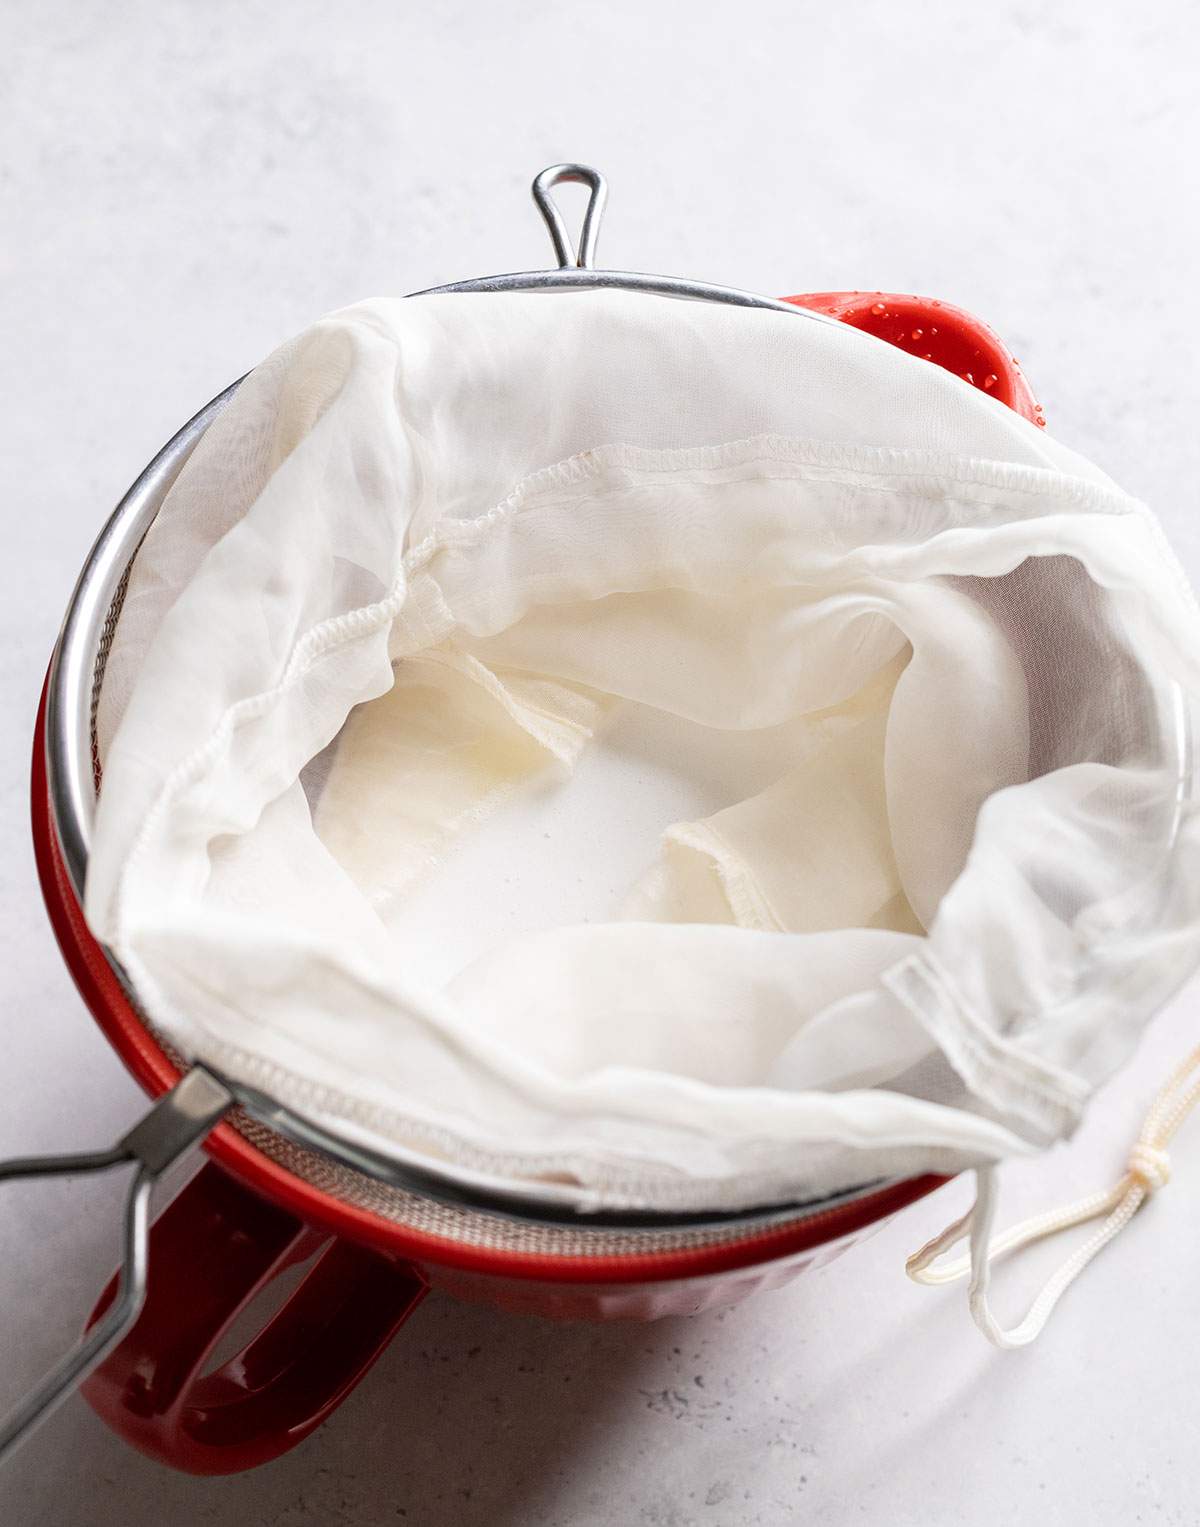
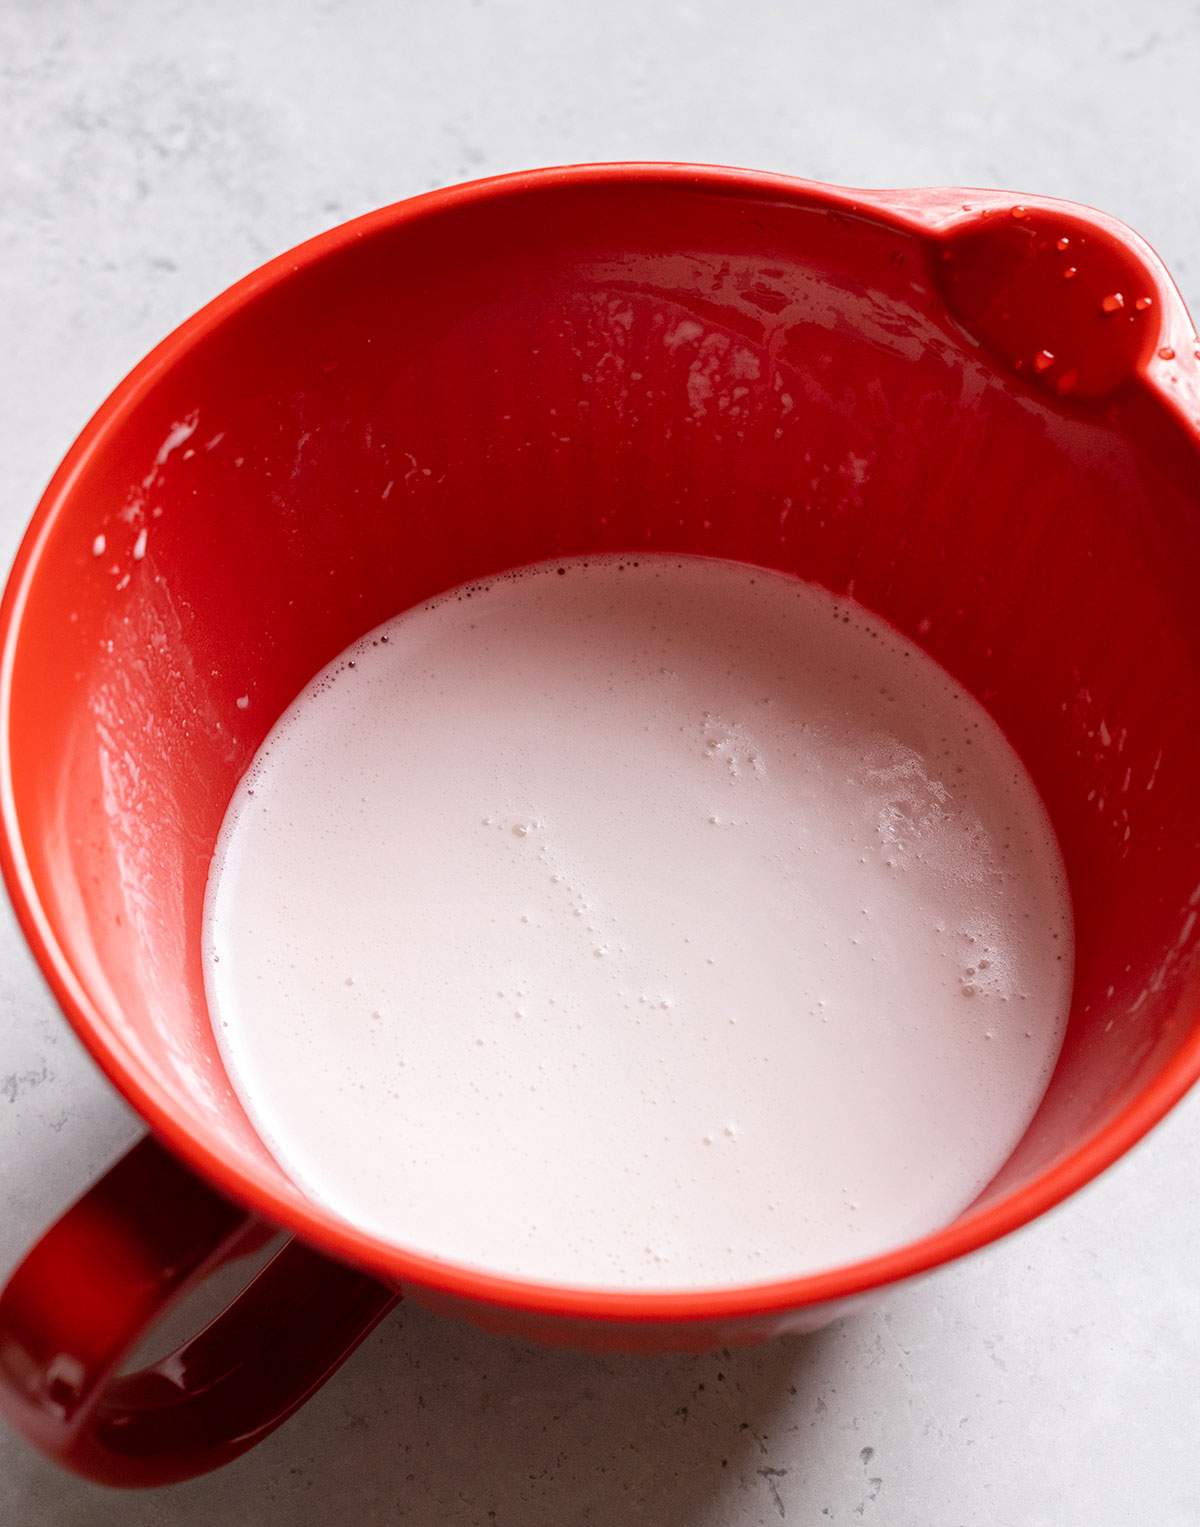
Position a nut milk bag over a large bowl or measuring jug and pour in the blended coconut mixture.
Gather the top of the bag and gently squeeze out as much liquid as possible. Continue until the pulp inside feels relatively dry and very little additional milk comes through.
Take your time with this step - the more thoroughly you squeeze the pulp, the more coconut milk you will collect.
Wait until the mixture is comfortable to handle before squeezing if your blender has warmed it during blending.
4. Add any optional flavors
Taste the coconut milk before adding anything else.
For a sweeter milk, return it to the blender with maple syrup or agave. Add vanilla extract for a simple vanilla version, or cocoa powder for chocolate coconut milk.
Blend briefly until everything is fully combined.
If you plan to use the milk in curries, soups or other savory recipes, leave it plain and unsweetened.
5. Transfer and chill
Pour the coconut milk into a clean glass bottle or airtight jar.
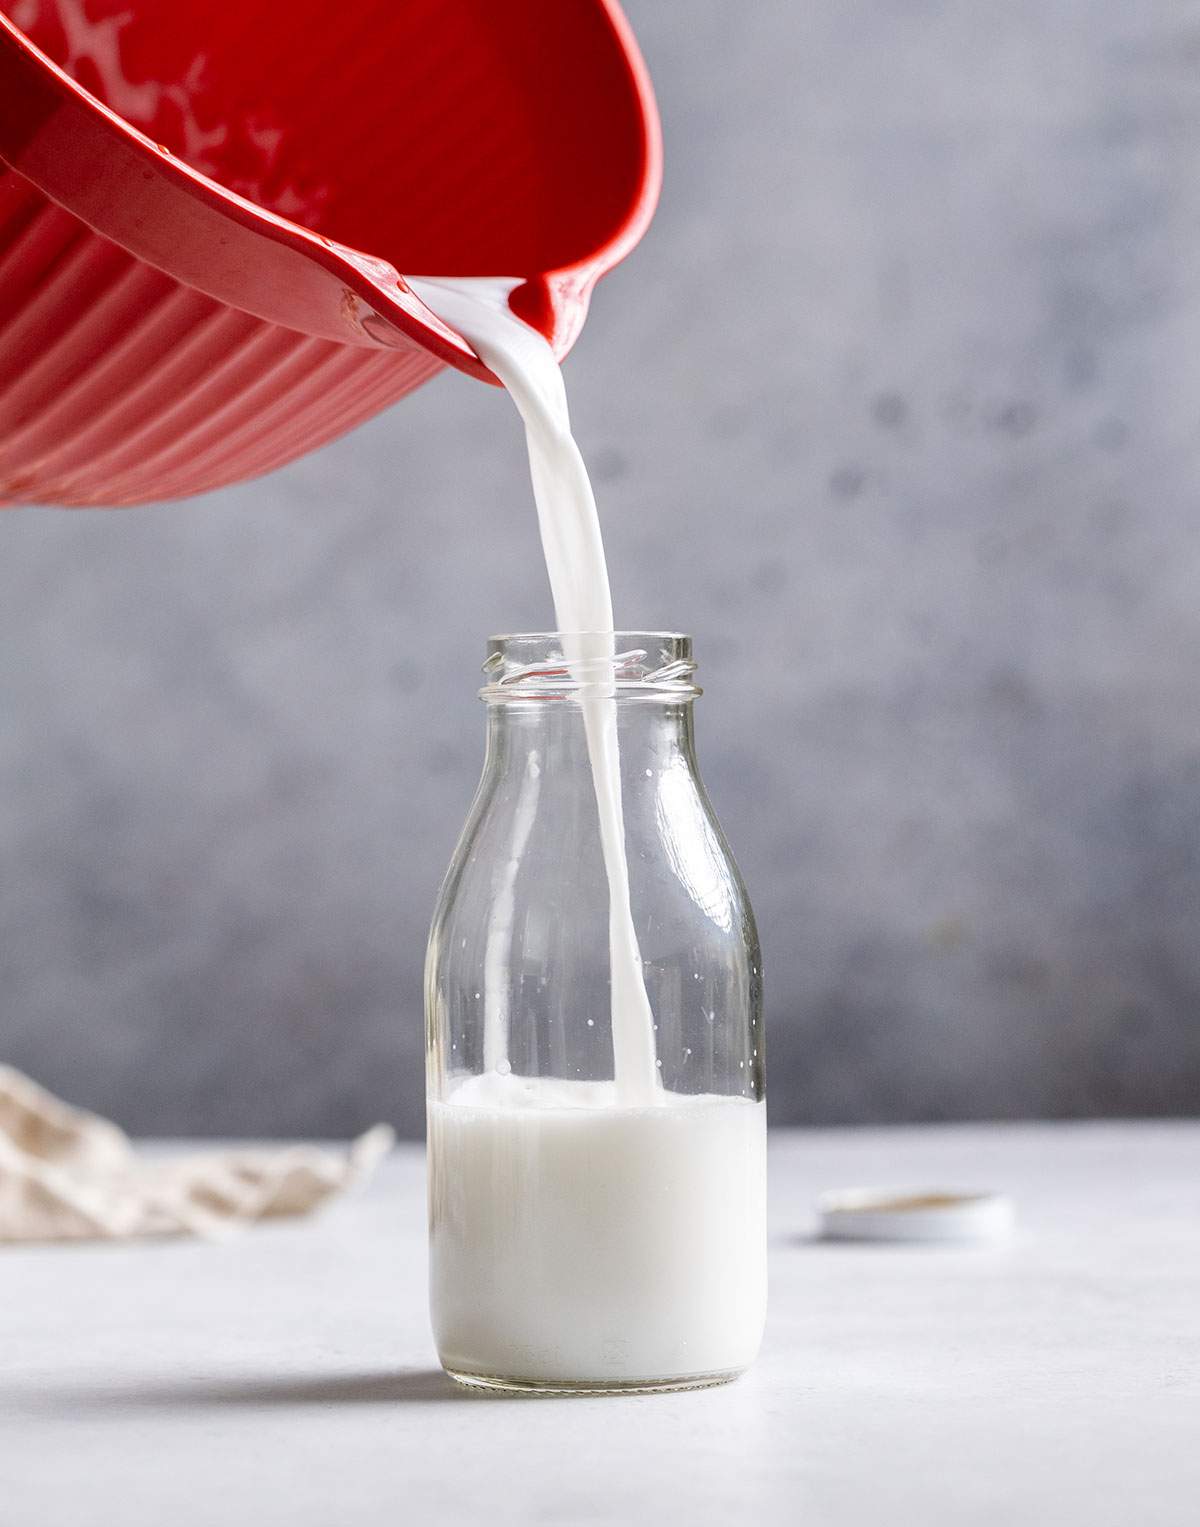
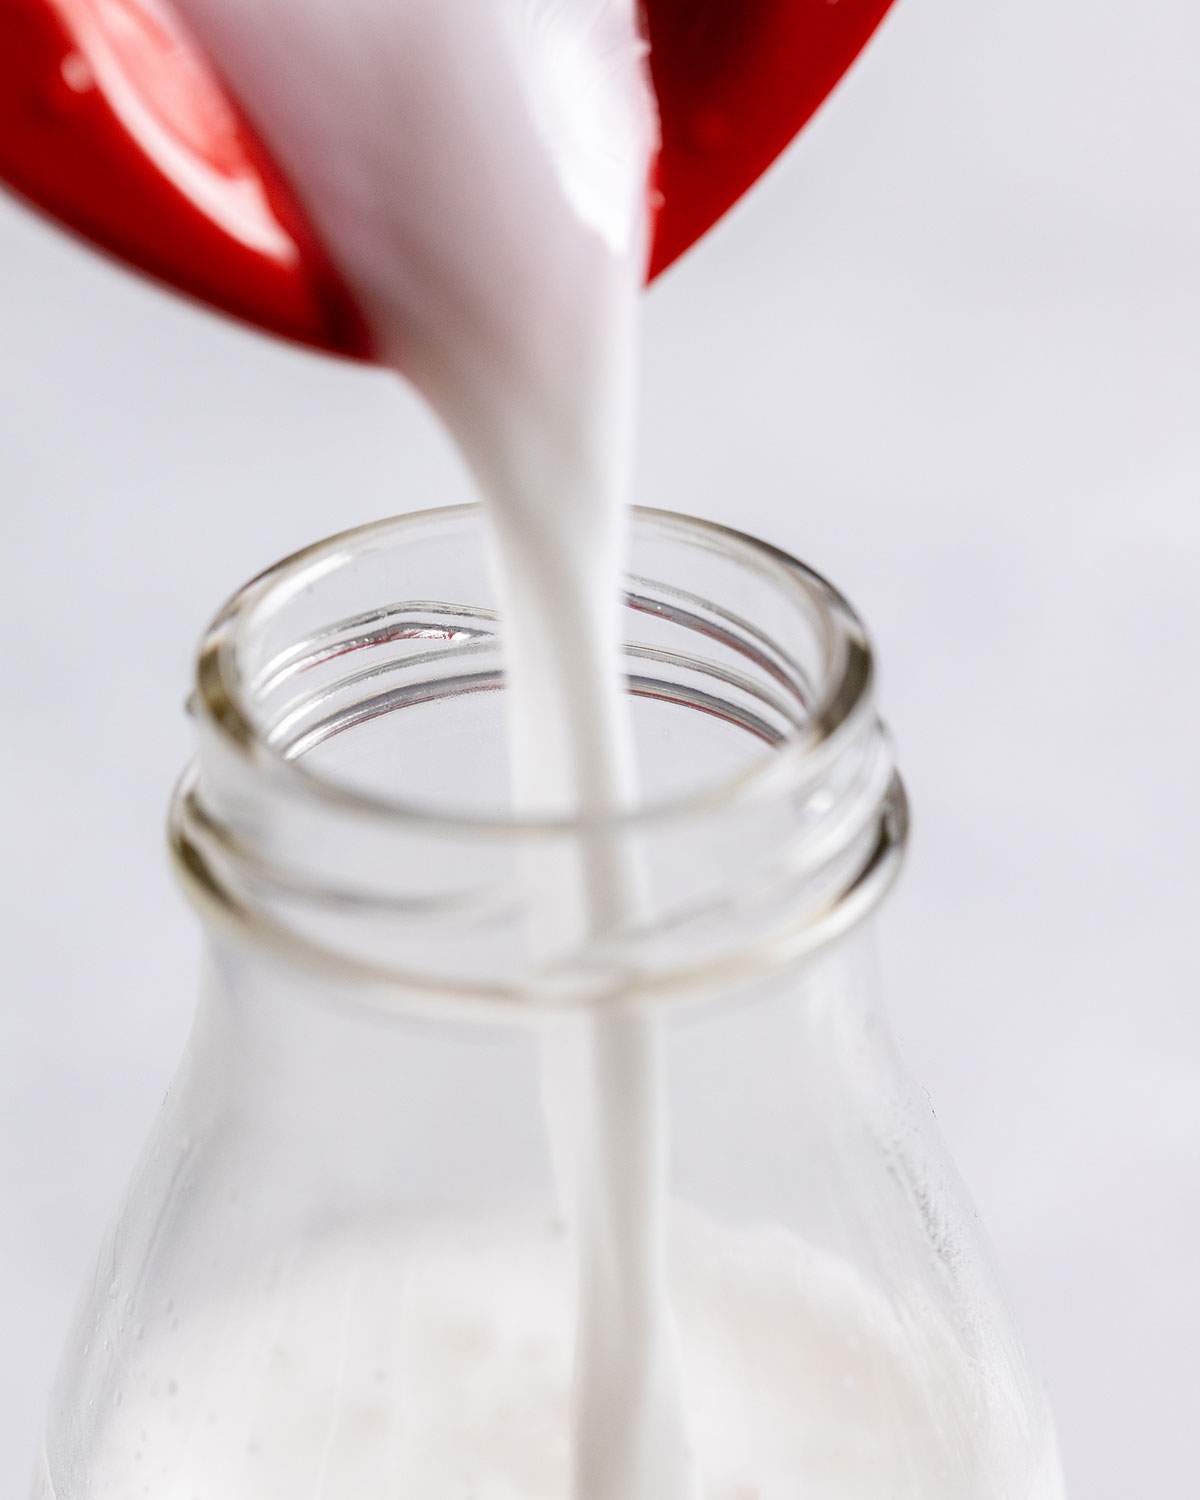
You can use it immediately, but chilling it for an hour or two gives it a more refreshing flavor and slightly creamier mouthfeel.
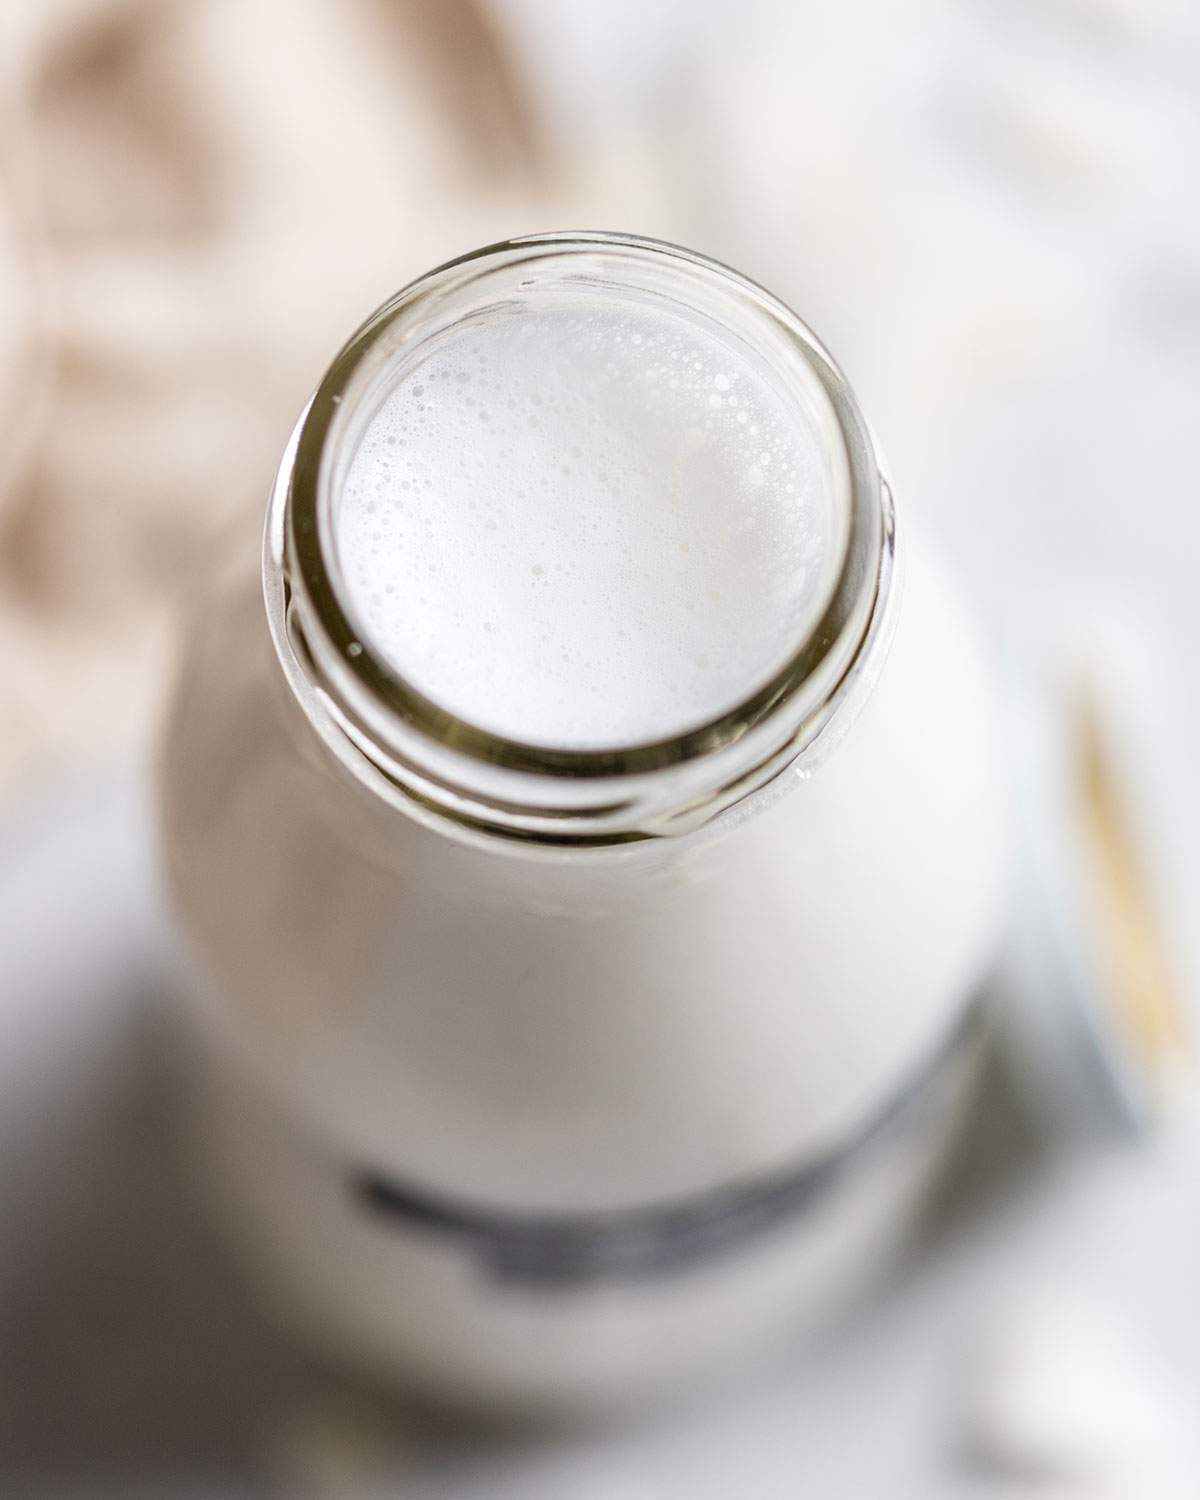
Natural separation will occur as the milk sits, so shake the container well before each use.
📌 If you love Pinterest you can pin any of the images to your boards!
✨ Flavor Variations
Once you have made the basic coconut milk, it is easy to turn it into different flavored drinks.
Vanilla coconut milk
Add one-half teaspoon of vanilla extract and one to two tablespoons of maple syrup. Or swap it for a spritz of homemade vanilla syrup.
This version works well in cereal, iced coffee, smoothies and overnight oats.
Chocolate coconut milk
Add two tablespoons of cocoa powder, one to two tablespoons of maple syrup and a small pinch of salt.
Blend again until smooth. Add more sweetener depending on how dark your cocoa powder tastes.
Cinnamon coconut milk
Add one-quarter to one-half teaspoon of ground cinnamon, a splash of vanilla and maple syrup to taste.
The cinnamon may settle as the milk stands, so shake it before pouring.
Coconut matcha milk
Whisk matcha with a small amount of warm water before adding it to the coconut milk. Sweeten as needed and serve over ice.
This gives you an easy internal-link opportunity to your vanilla matcha latte.
Creamier coconut milk
Reduce the amount of water slightly for richer milk.
For a substantially thicker result designed for sauces and desserts, use this coconut cream recipe rather than reducing the liquid too dramatically here.
🍽️ How to Use Homemade Coconut Milk
This homemade coconut milk is best used anywhere you would normally reach for a pourable, carton-style plant milk.
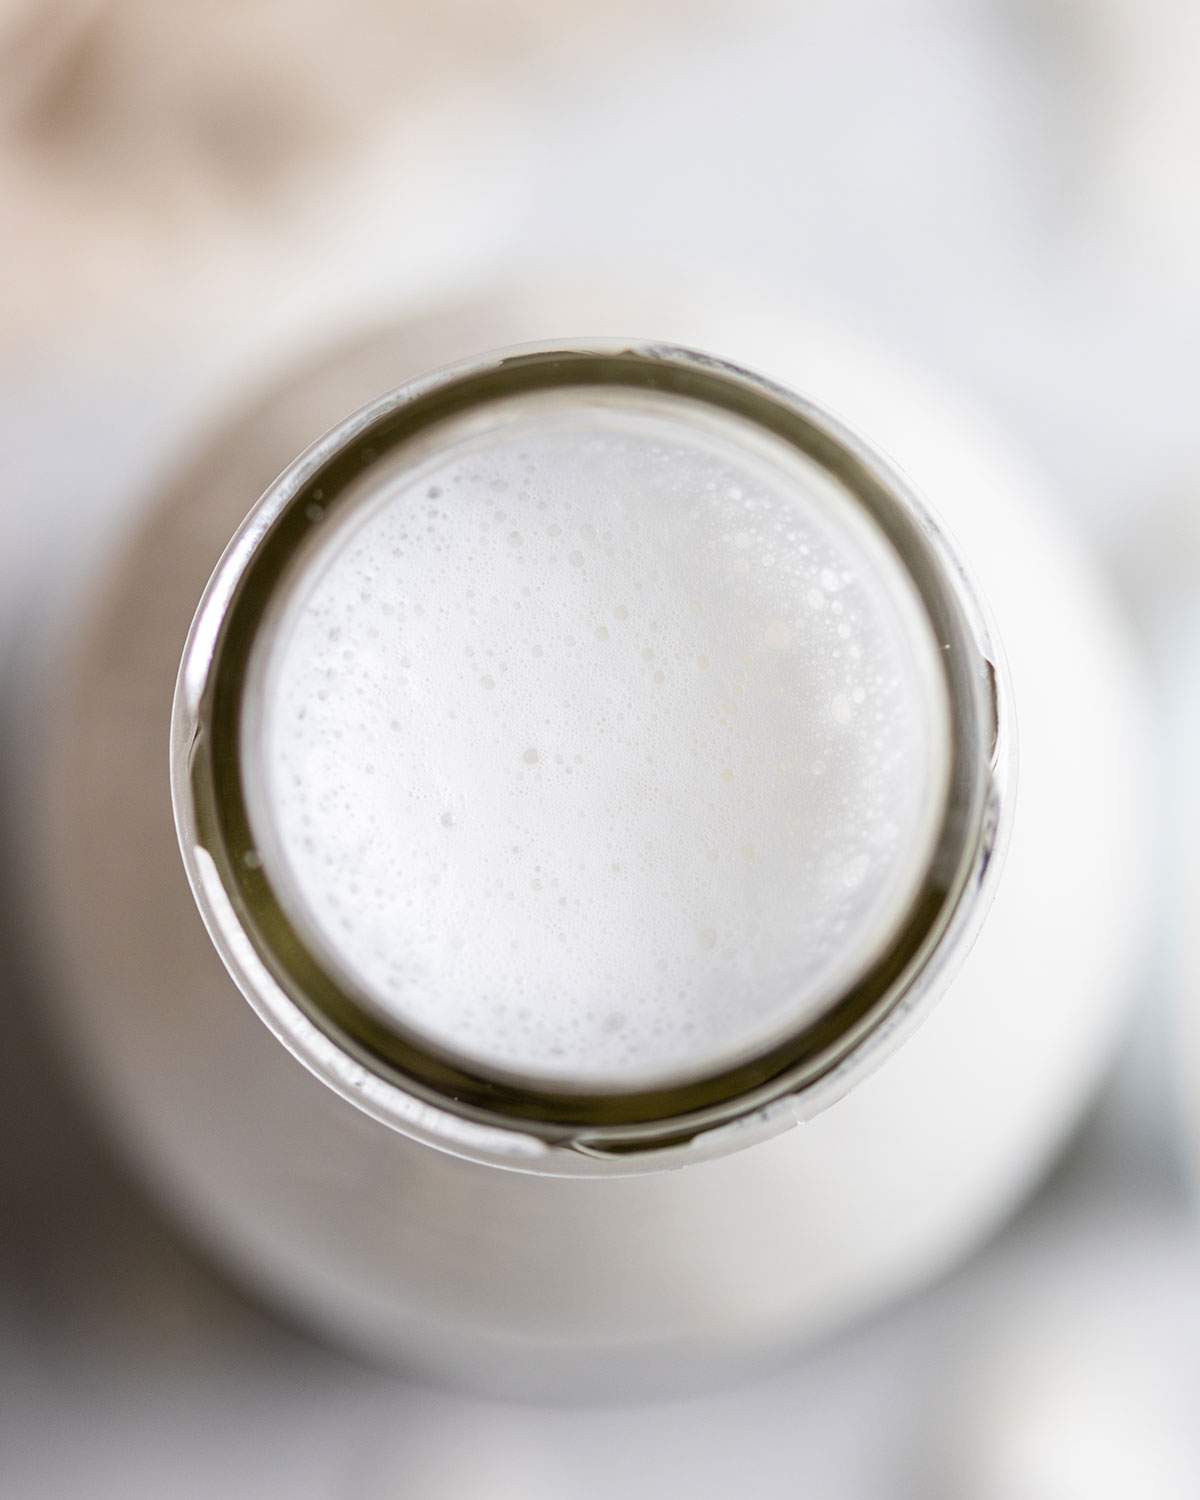
Its mild coconut flavor works especially well in my pineapple mango smoothie, where it complements the tropical fruit, or in an iced matcha latte for something cold and refreshing.
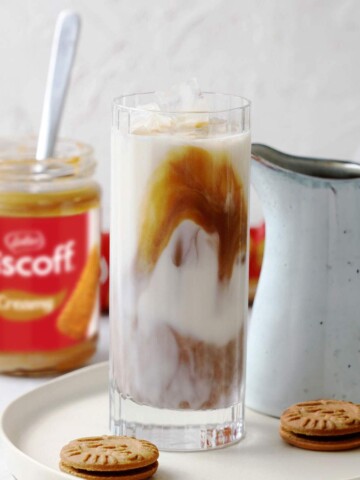
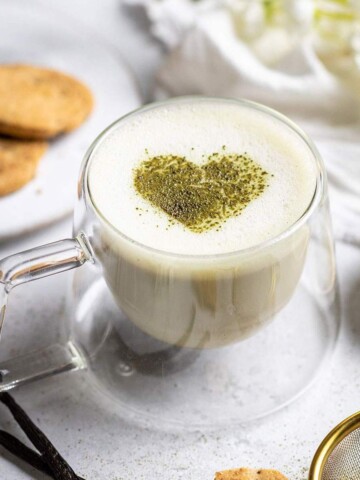
You can also use it in my vanilla matcha latte, ube latte or iced Biscoff latte in place of your usual plant milk.
For savory cooking, make a slightly richer batch by reducing the water. You can then use it in soups, sauces or recipes such as my one-pot coconut curry pasta.
It can also be used in my creamy butter bean curry, although you may need to simmer the sauce for a little longer because homemade coconut milk is generally thinner than full-fat canned coconut milk.
For rich curries, custards and creamy desserts, my homemade coconut cream is the better option.
Also try it in:
- 🥣 Cereal, granola and oatmeal
- 🥭 Smoothies and smoothie bowls
- ☕ Coffee and iced lattes
- 🍵 Hot or iced matcha
- 🥞 Pancakes, cakes and other bakes
- 🍚 Chia pudding or rice pudding
- 🍲 Light soups and sauces
- 🍛 Curries that do not rely on very thick coconut milk
♻️ What to Do with the Leftover Coconut Pulp
Do not throw away the coconut pulp left inside the nut milk bag. It still has a mild coconut flavor and can be used in plenty of recipes.
Try adding it to:
- Smoothies
- Oatmeal
- Homemade granola
- Energy balls
- Pancake or muffin batter
- Coconut cookies
- Crumble toppings
Because the pulp is damp, store it in the refrigerator and use it within one or two days.
For longer storage, spread it thinly over a lined baking tray and dry it at a low temperature until no moisture remains. Once fully dry and cool, transfer it to an airtight container.
💡 Expert Tips and Troubleshooting
Use raw, unsweetened coconut
Toasted or sweetened coconut will change the flavor and may make the milk overly sweet.
Blend for long enough
Give the coconut a full two to three minutes in the blender. The mixture should look white and creamy before you strain it.
Squeeze the pulp thoroughly
A surprising amount of milk can remain inside the coconut pulp. Keep squeezing until only a few drops come through.
Adjust the consistency after straining
If the milk tastes too rich, stir or blend in additional water.
If it is thinner than you would like, use less water in your next batch. Once strained, it is difficult to make the milk substantially thicker without adding more coconut.
Expect separation
Homemade coconut milk contains no stabilizers or emulsifiers, so the coconut fat and water will separate during storage. This is normal rather than a sign that the milk has spoiled. Shake it firmly before using.
Adjust the flavor to how you will use it
Leave the milk plain for savory cooking. For drinks, cereal and breakfast recipes, add vanilla or a small amount of maple syrup.
It is not a direct replacement for every canned coconut milk recipe
This homemade version is lighter than many full-fat canned products.
It works well in recipes where coconut milk mainly adds flavor and liquid, but may produce a thinner result in rich curries, custards or frozen desserts.
❄️ Storage and Freezing
Transfer the coconut milk to a clean, airtight bottle or jar and store it in the refrigerator for up to three to four days.
Separation is natural. The thicker coconut layer may gather at the top while the water settles underneath. Shake the bottle vigorously before pouring.
Discard the milk if it develops:
- A sour or fermented smell
- An unusual fizzy texture
- Visible mold
- A noticeably unpleasant taste
❓ Frequently Asked Questions
Yes. Freeze it in an ice cube tray or small freezer-safe containers.
Once the cubes are solid, transfer them to a sealed freezer bag or container. They are useful for smoothies, curries and sauces where a perfectly smooth texture is not essential.
Defrost the milk in the refrigerator and blend or shake it after thawing, as it may separate more noticeably once frozen.
Unsweetened desiccated coconut should also produce milk, but its finer, drier texture may affect the final yield and consistency.
No. This recipe was developed using cold or room-temperature filtered water.
Some coconut milk methods use hot water to soften dried coconut before blending, but it is not necessary for this version. Hot-water methods are also common among established homemade coconut milk recipes.
Homemade coconut milk naturally separates because it does not contain the stabilizers used in some commercial products. Shake or blend it again before using.
The mixture may not have been blended or strained thoroughly enough.
Blend for the full recommended time and use a fine nut milk bag rather than a coarse sieve. You can strain the finished milk a second time for an especially smooth consistency.
Yes, although coconut milk can sometimes separate when it meets very hot or acidic coffee.
Allow freshly brewed coffee to cool slightly and pour in the coconut milk slowly while stirring. A sweetened vanilla version works particularly well in iced coffee.
No. This homemade coconut milk is more pourable and is intended primarily as a drink or everyday plant milk.
Canned coconut milk normally has a higher concentration of coconut fat and is better for recipes that need a thick, rich result.
Yes, particularly in lighter curries and soups.
For a thick, rich curry sauce, use less water when making the milk or replace part of it with homemade coconut cream.
Yes. Line a fine-mesh sieve with several layers of cheesecloth and strain the blended mixture through it.
A clean, thin kitchen cloth can also work, provided it is tightly woven and does not contain any detergent or fabric-softener residue.
Store it in the refrigerator and use it within 3-4 days.
Because it contains no preservatives, it will not keep as long as unopened store-bought coconut milk.
Did you make this recipe? If so, will you do me a huge favor and leave a review and star rating & let me know how you liked this recipe? THANK YOU! ❤️
🔜 Related Recipes


Here's a handy recipe card that you can print out and keep in your kitchen for easy reference:
📖 Recipe Card
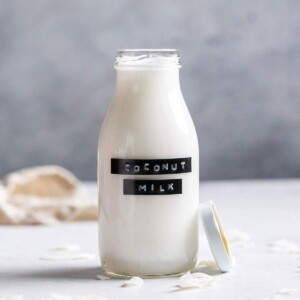
Homemade Coconut Milk from Coconut Flakes

Equipment
- high-speed blender
- Nut milk bag or cheesecloth
- Large bowl or measuring jug
- Airtight bottle or glass jar
Ingredients
- 1 cup raw unsweetened coconut flakes or coconut chips 80 g
- 2 cups filtered water 480 ml
Optional flavorings
- 1-2 tablespoons maple syrup or agave nectar to taste
- ½ teaspoon vanilla extract
- 1 pinch of salt optional
For chocolate coconut milk
- 2 tablespoons unsweetened cocoa powder 15 g
- 1-2 tablespoons maple syrup or agave nectar to taste
Instructions
- Add the coconut flakes and filtered water to a high-speed blender. Blend on high for 2-3 minutes, or until the liquid looks white and creamy and the coconut has broken down into very small pieces.
- Place a nut milk bag over a large bowl or measuring jug. Pour the blended coconut mixture into the bag.
- Gather the top of the nut milk bag and squeeze firmly until you have extracted as much coconut milk as possible.
- Taste the coconut milk. For a sweetened or flavoured version, return it to the blender with your chosen maple syrup, vanilla, salt or cocoa powder. Blend briefly until combined.
- Pour the coconut milk into a clean airtight bottle or jar. Use immediately or refrigerate until chilled. Shake well before each use, as natural separation will occur.
Notes
- Use raw, unsweetened coconut flakes or chips for the most neutral flavour. Do not use toasted or sweetened coconut.
- For thinner coconut milk, add a little extra water after straining and blend again.
- For a richer result, begin with slightly less water. For something considerably thicker, use my homemade coconut cream recipe instead.
- Homemade coconut milk naturally separates because it contains no added stabilisers. Shake the container well before pouring.
- Store the coconut milk in the refrigerator for up to 3-4 days.
- The milk can be frozen in an ice cube tray for use in smoothies, curries and sauces.
- Save the leftover coconut pulp for smoothies, oatmeal, granola or baking.
- This recipe produces a pourable homemade plant milk. It is lighter than most full-fat canned coconut milk and may not work as a direct substitute in recipes that rely on its thickness.
© 2026 Romy London / Romina Callwitz | All images, videos, wordings and content are copyright protected and belong to Romina Callwitz. Please do not use any of my content without prior permission. If you wish to re-publish any (part of my) content, please get in touch via email. Thanks for your support!
*Disclosure: This page may contain affiliate links and sponsored links that earn me a small commission, at no additional cost to you. You can find more information in my Privacy Policy.
💭 Leave a Comment