Looking for a festive vegan dessert to impress your guests this winter? Look no further than this Vegan Snowman Salted Caramel Cake! Made with a rich caramel cake batter and topped with a decadent salted caramel buttercream, this cake is sure to be a hit at any holiday gathering. And the cute snowman design is the perfect finishing touch to make your dessert stand out.
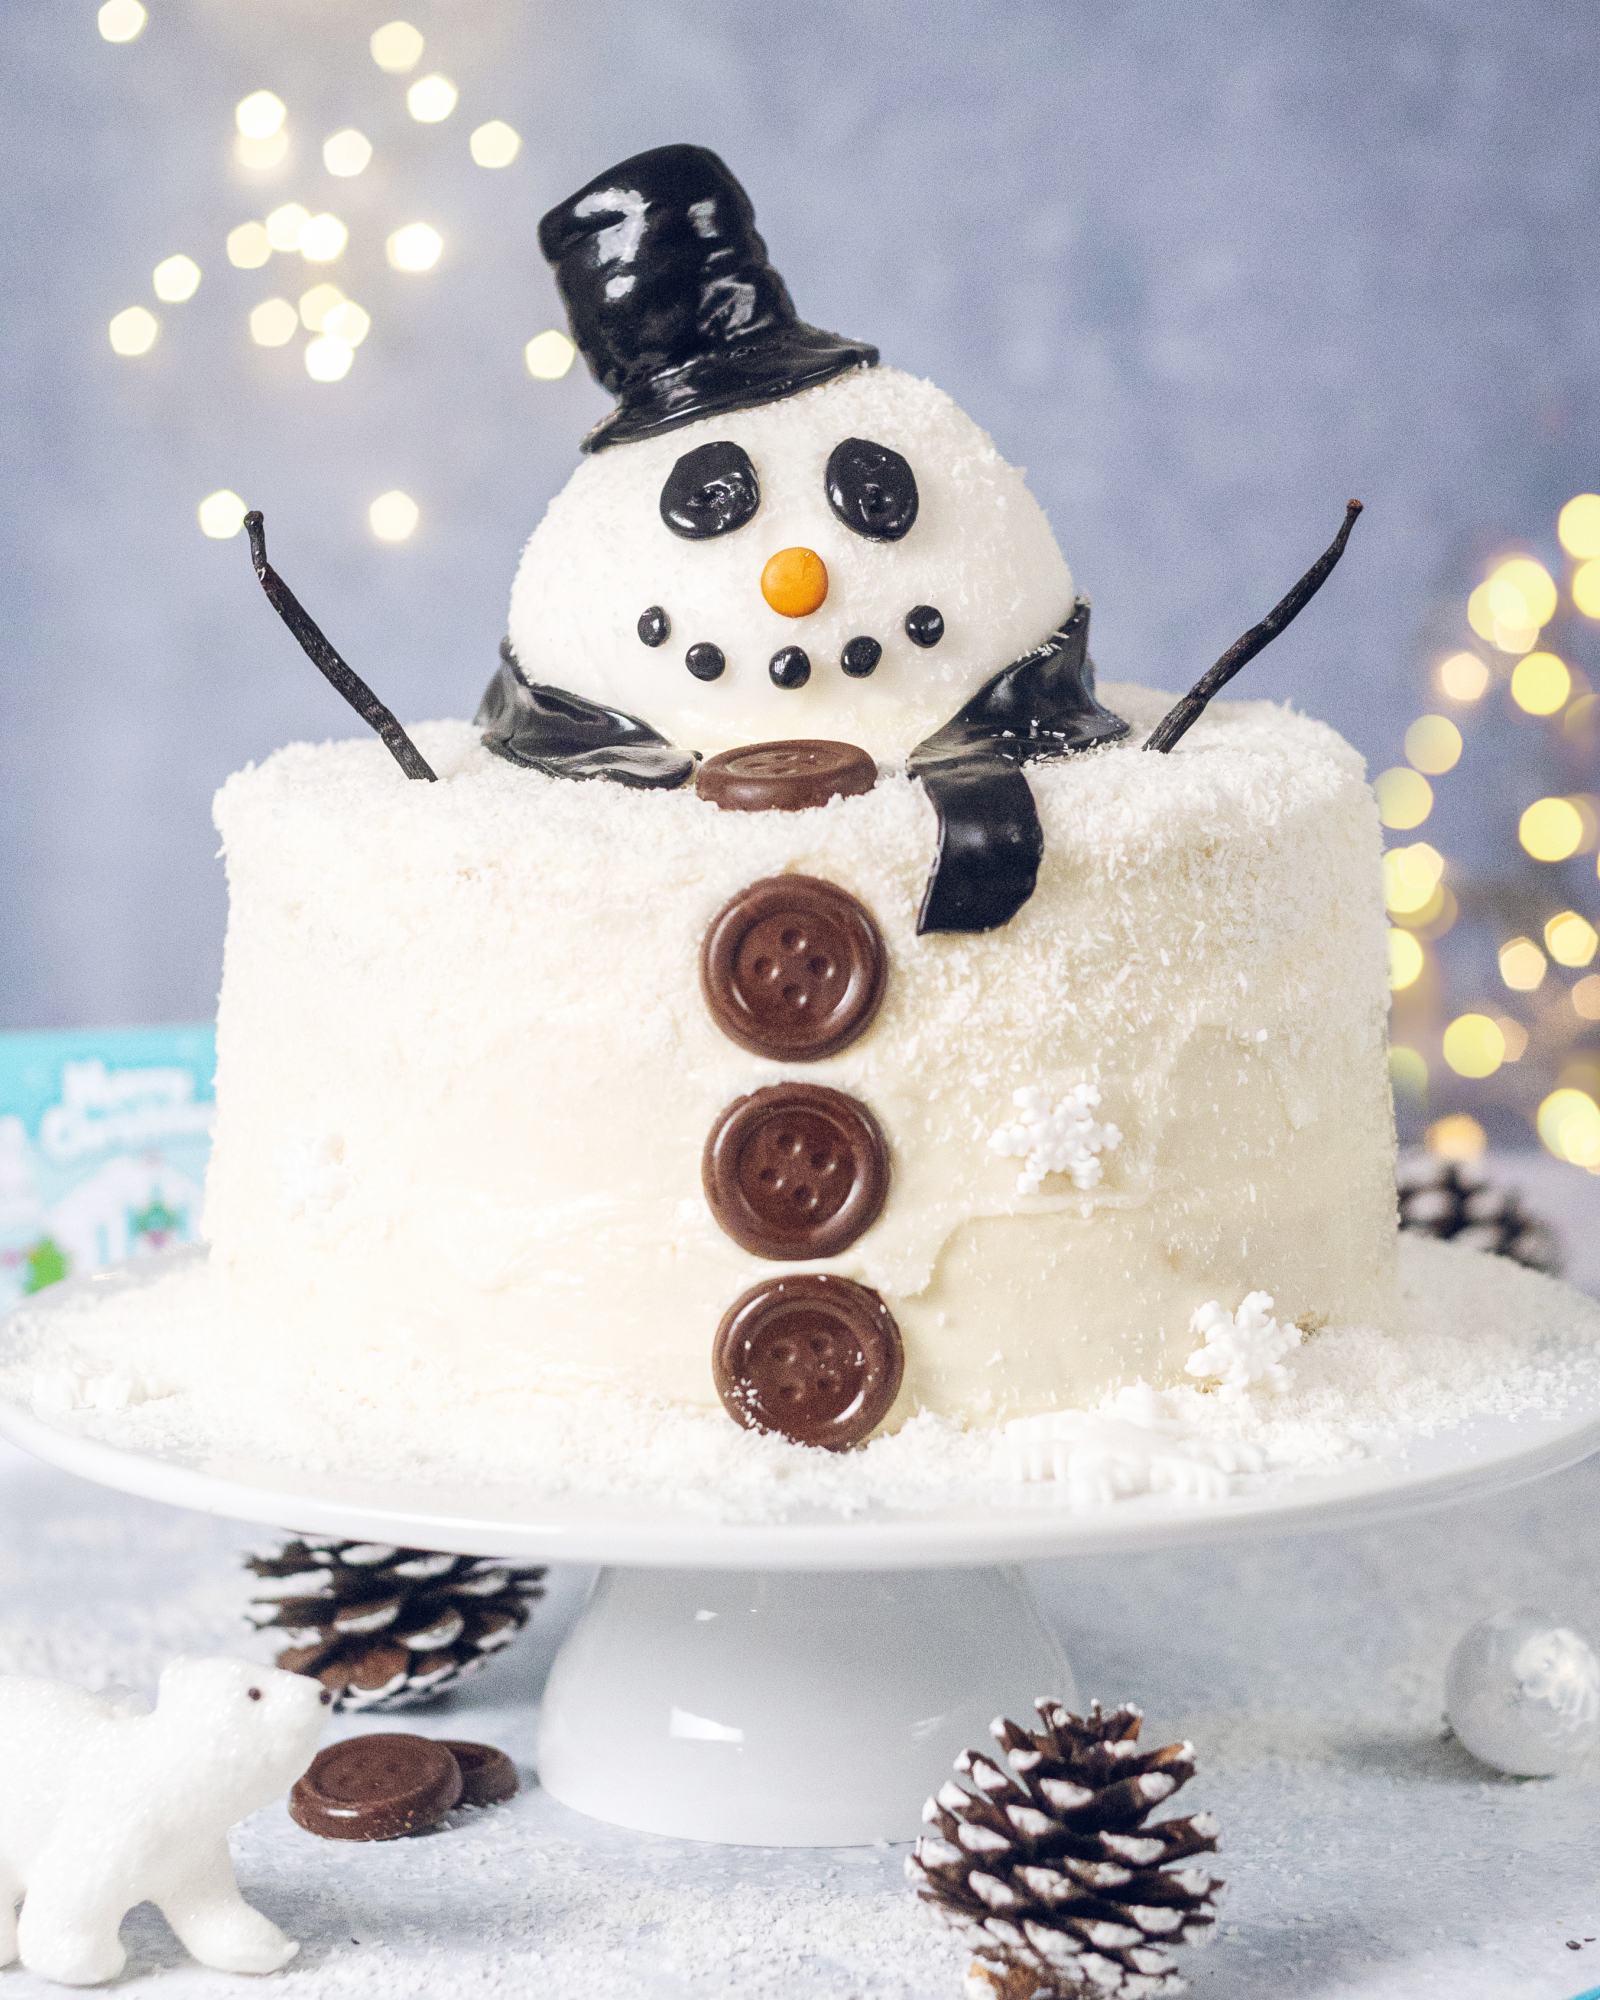
'tis the season! Well let's be honest, it's always a good season for cake, so we can technically say this at any point. I've first created this Vegan Snowman Salted Caramel Cake Recipe for MummyMeagz, who asked me to create a delicious cake recipe for them that will bring the wow-factor - all whilst making use of their new vegan chocolate buttons that they have launched just in time for Christmas.
The salted caramel flavor of the cake has been inspired by one of their other products: a dairy-free chocolate snowman filled with vegan caramel And that's how the idea for this Vegan Snowman Salted Caramel Cake Recipe was born!
Ingredients & Notes
For the cake layers and buttercream:
- flour - self-raising
- baking soda
- vegan butter - I like to use the unsalted vegan butter by Flora.
- vanilla extract
- sugar - soft brown sugar works best for the caramel flavor of this cake batter
- aquafaba - water from an unsalted tin of chickpeas
- icing sugar - or powdered sugar
- plant milk - I used soya milk
- dairy-free heavy cream - also called 'double cream' if you're in the UK. I used Elmlea Plant Double Cream.
Plus a little coconut oil for greasing your cake tins!
If you want to create the snowman decorations, you will also need:
- chocolate buttons
- black fondant for the hat and eyes
- red or orange frosting for the nose
- vanilla pods for the arms
- coconut shreds for the coating
Equipment
- electric whisk (e.g. for the aquafaba)
- sieve
- mixing bowls
- round cake tins
- spatula
- non-stick baking parchment
- small saucepan
- pallet knife to spread the vegan salted caramel buttercream
Instructions (Step-by-Step)
First, preheat your oven to 350°F (180°C). It's important that the oven is at the right temperature when the cake enters to ensure it can bake and rise as required.
Sift the flour and baking soda into a large mixing bowl and stir in the salt.
In a second bowl cream together vegan butter, sugar and vanilla using an electric hand mixer.
Whip up the aquafaba
Drain a tin of chickpeas, reserving the water. Transfer the chickpea water to a mixing bowl and whisk on high-speed for 5-10 minutes or until fluffy stiff peaks form. Use an electric whisk as it's near impossible to get to the stiff peaks stirring by hand.
Gradually stir the butter/sugar mixture into the aquafaba until well combined, then gently fold the dry mix into the wet ingredients.
Baking the cake layers
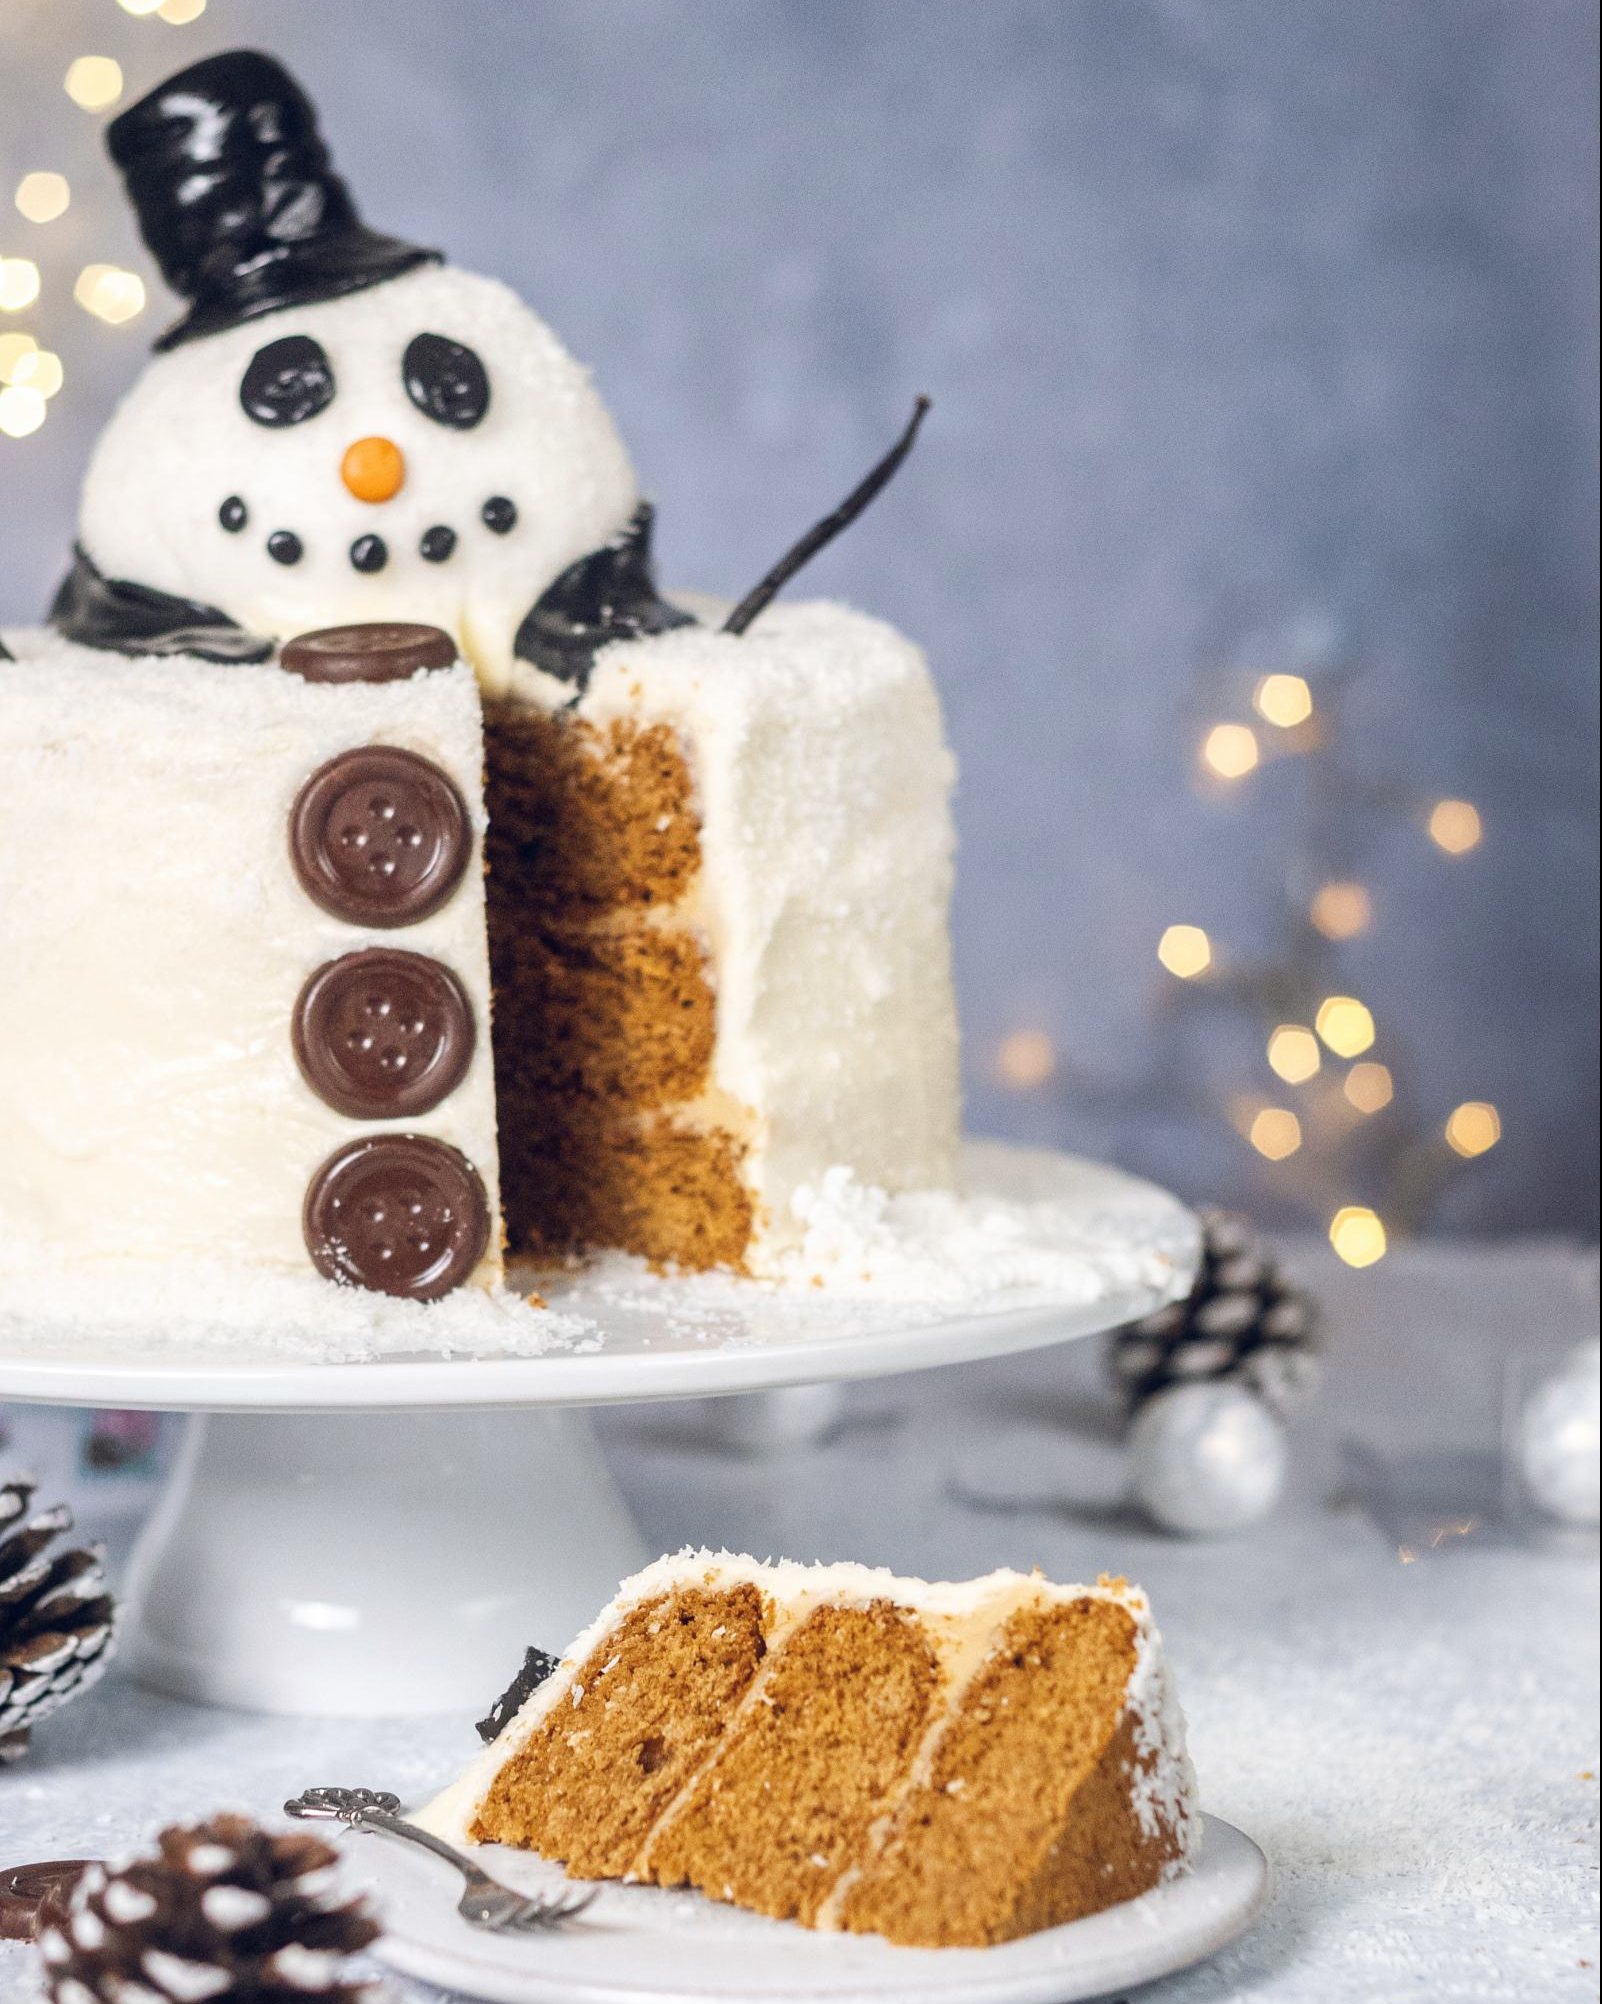
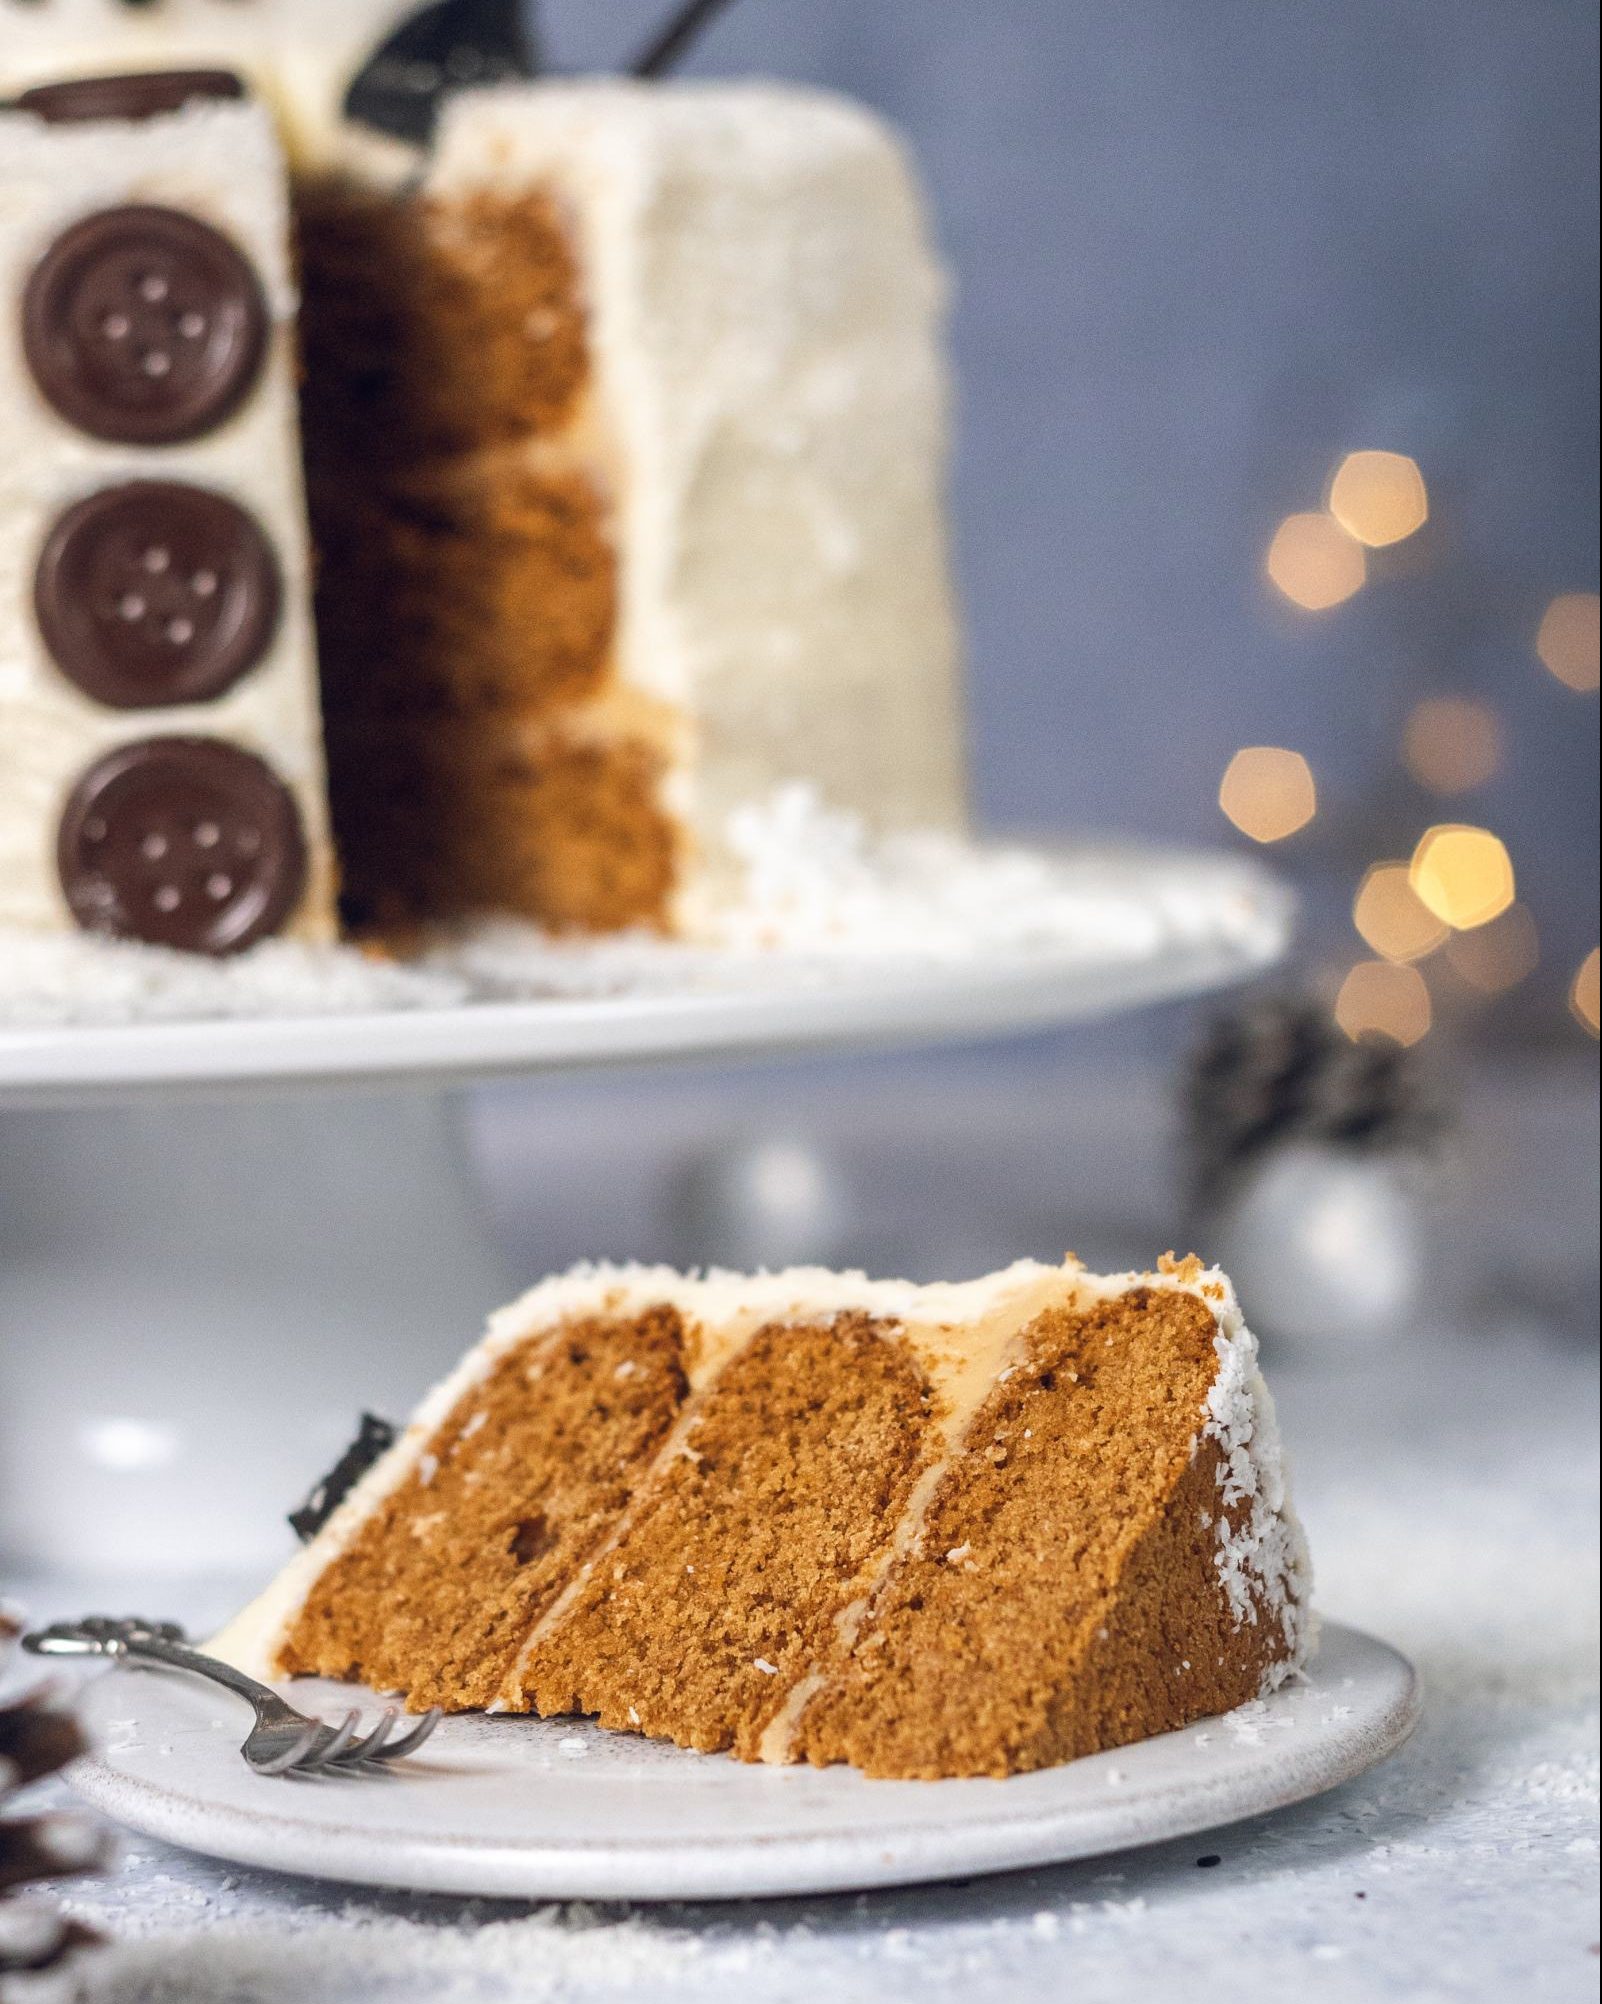
Pour the batter into 3 greased and lined round cake tins of equal size. Bake for 30 minutes or until the cake is baked all the way through (check with a skewer!). It's best to bake the cake in the middle of the oven, so for best results, bake the cake layers in batches.
Once done, remove the cake from the oven and set aside to cool down entirely.
How to make vegan salted caramel buttercream
Combine sugar and water over medium heat and bring to a simmer whilst stirring. Pour in the cream and reduce the heat. Continue to stir until the caramel begins to thicken. Add a generous sprinkle of sea salt before removing the caramel sauce from the heat.
In a large bowl, cream the vegan butter with an electric whisk. Gradually add in the icing sugar and mix until silky, if needed add a little bit of plant milk. Drizzle in the caramel and whisk to thoroughly combine.
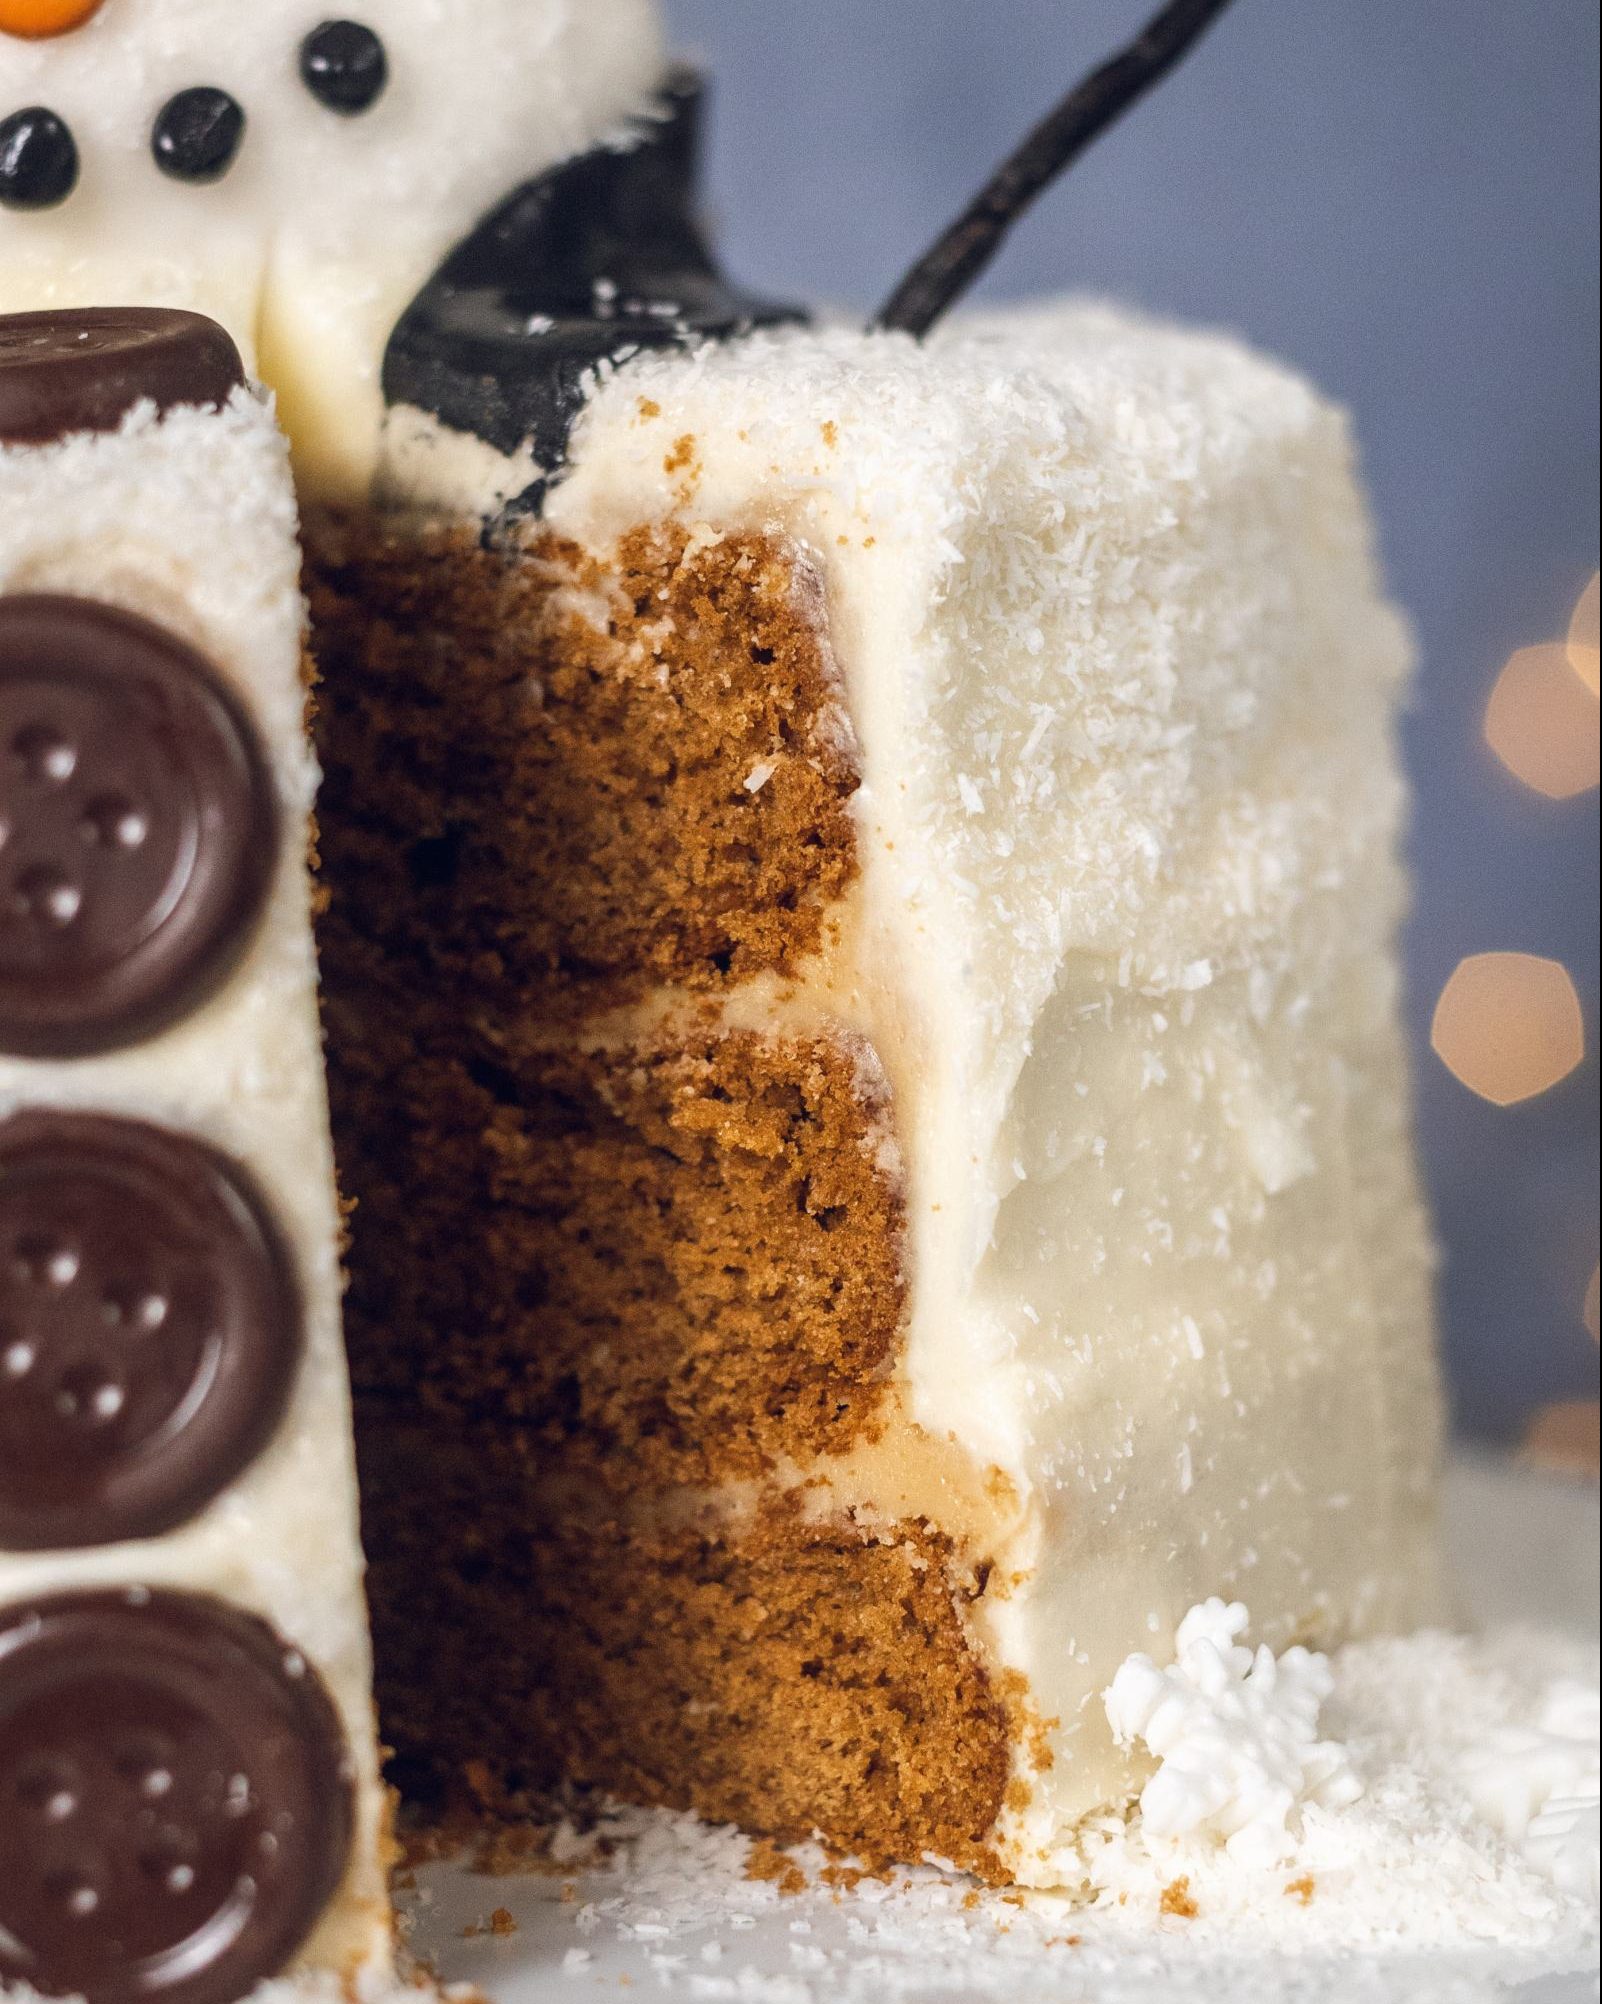
How to shape a snowman cake
To create the snowman design on this cake, the assembly is key.
Layering the cake
Make sure the cake layers are cooled entirely. If needed, cut your cake layers to size. It's important for the layers to sit comfortably on top of each other, to create a level cake.
Layer up the cake and spread a generous amount of the buttercream in between the layers.
Buttercream coating
Create a crumb coat by gently spreading buttercream around the outside of the cake. Carefully scrape off any excess - it doesn’t need to be neat at this point. Transfer the cake to the fridge for 30 minutes to set.
When the crumb coat is firm to the touch, spread another layer of buttercream, smoothing it with a spatula - this will create the neater outer edge of your cake. Place it in the fridge once more to set.
Snowman decorations
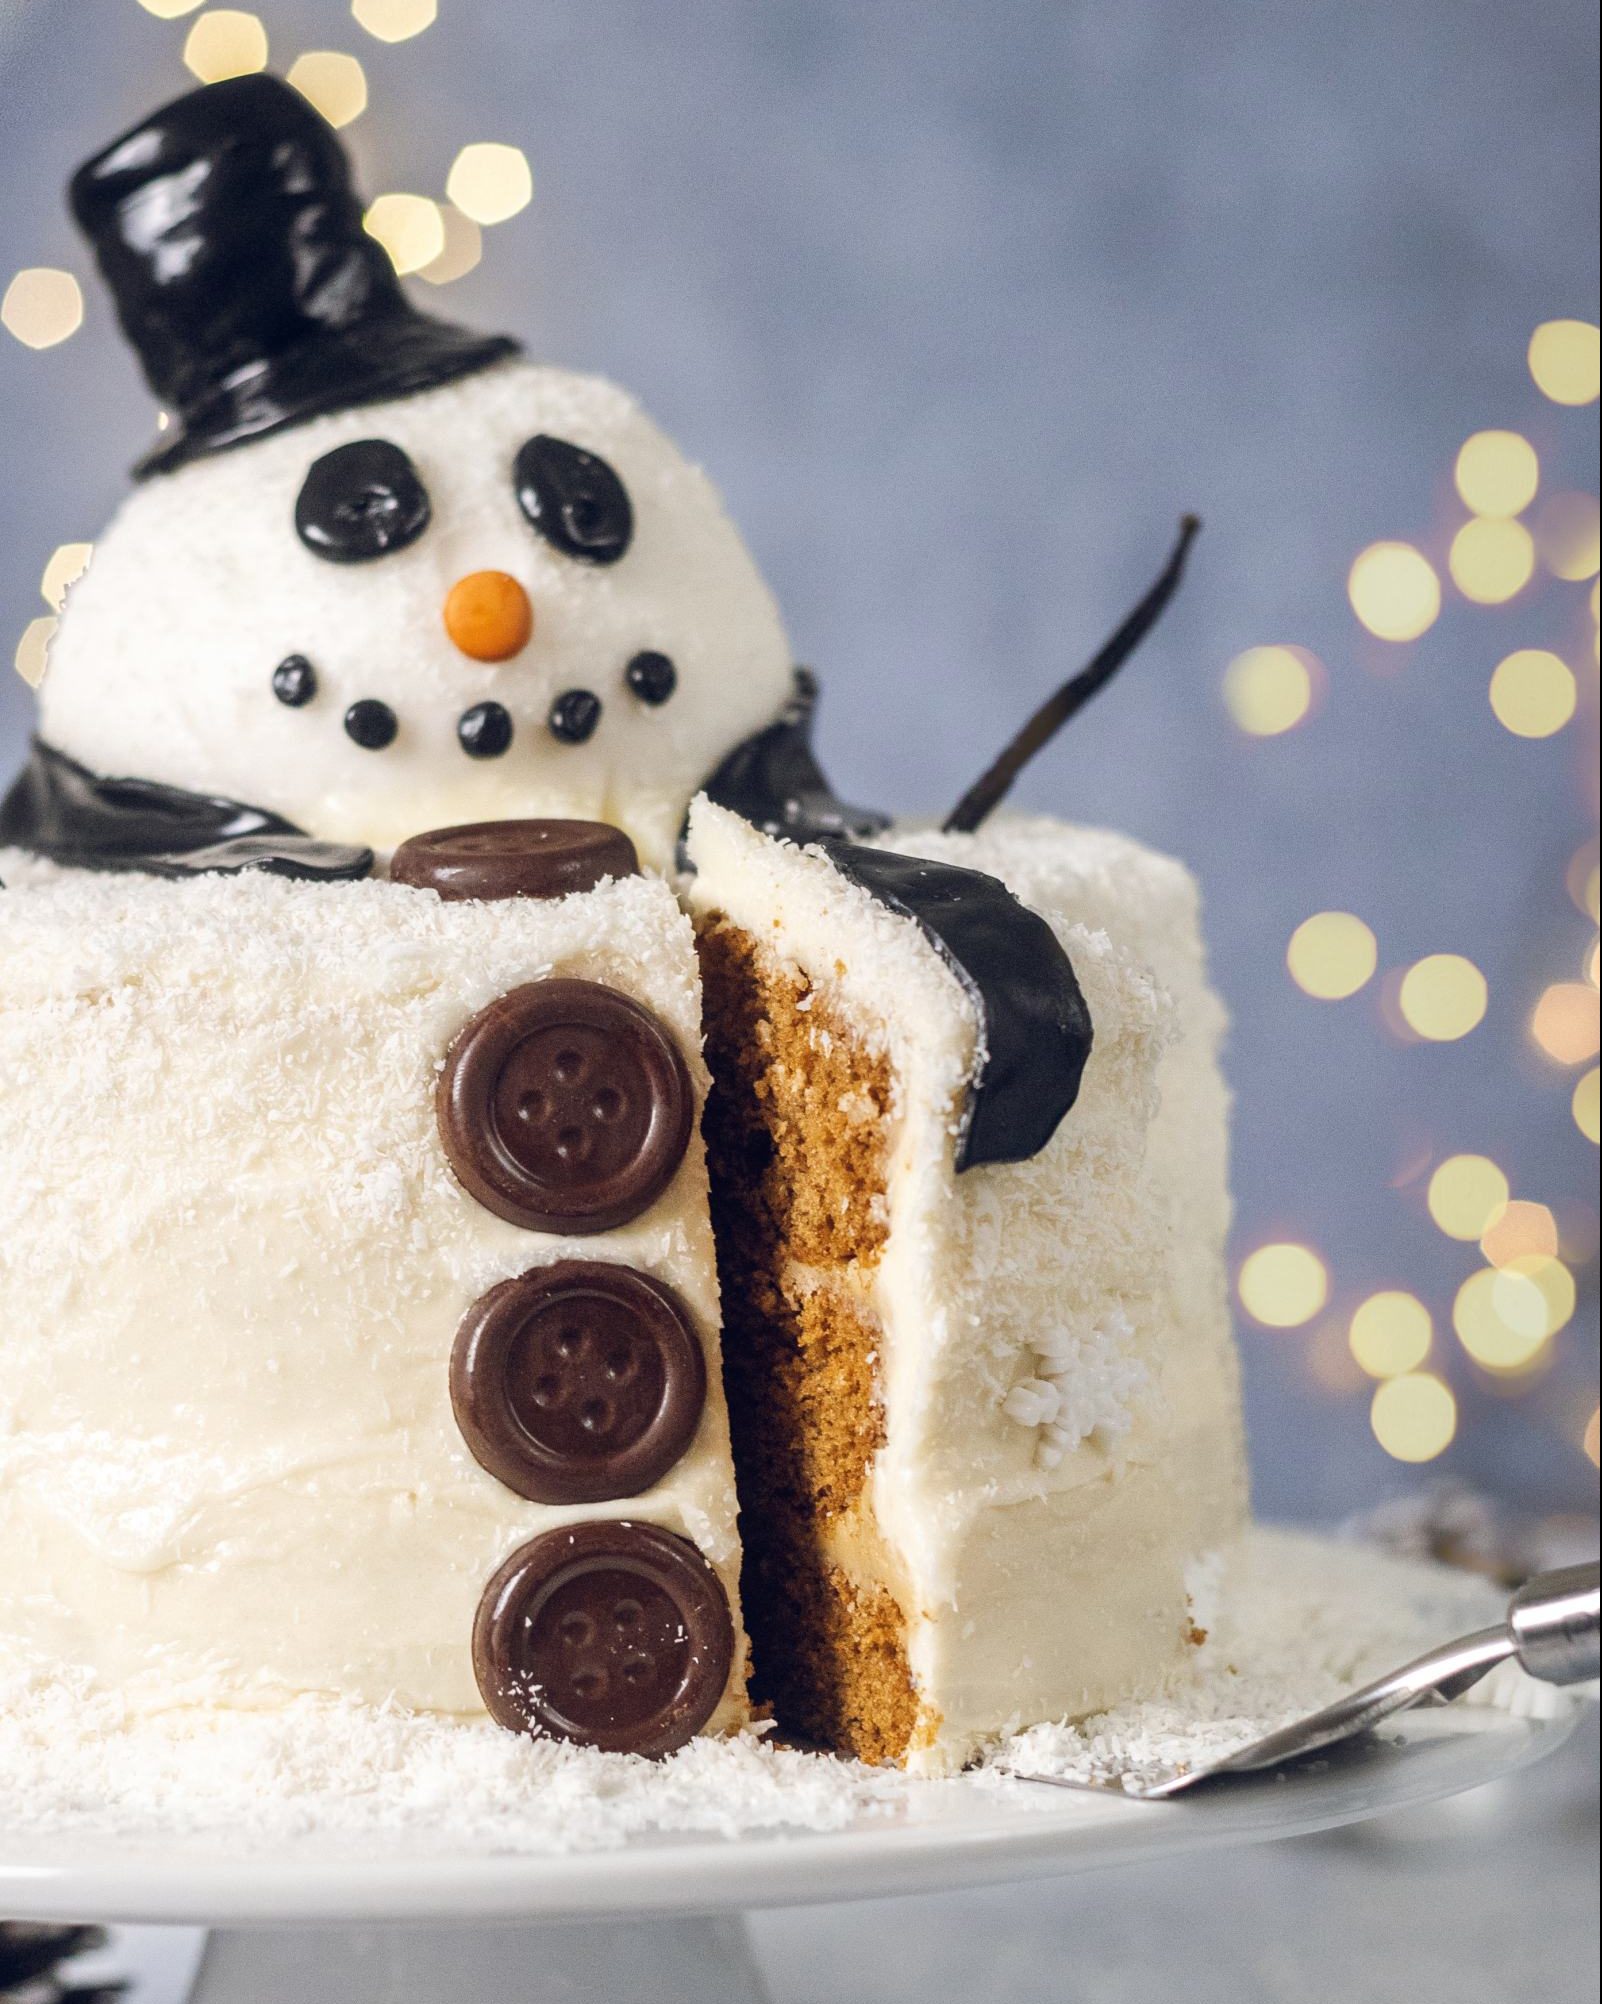
Whilst the cake is in the fridge, prepare the snowman decorations. You can generally go crazy with your decorations, but to give you an idea, here's what I've used:
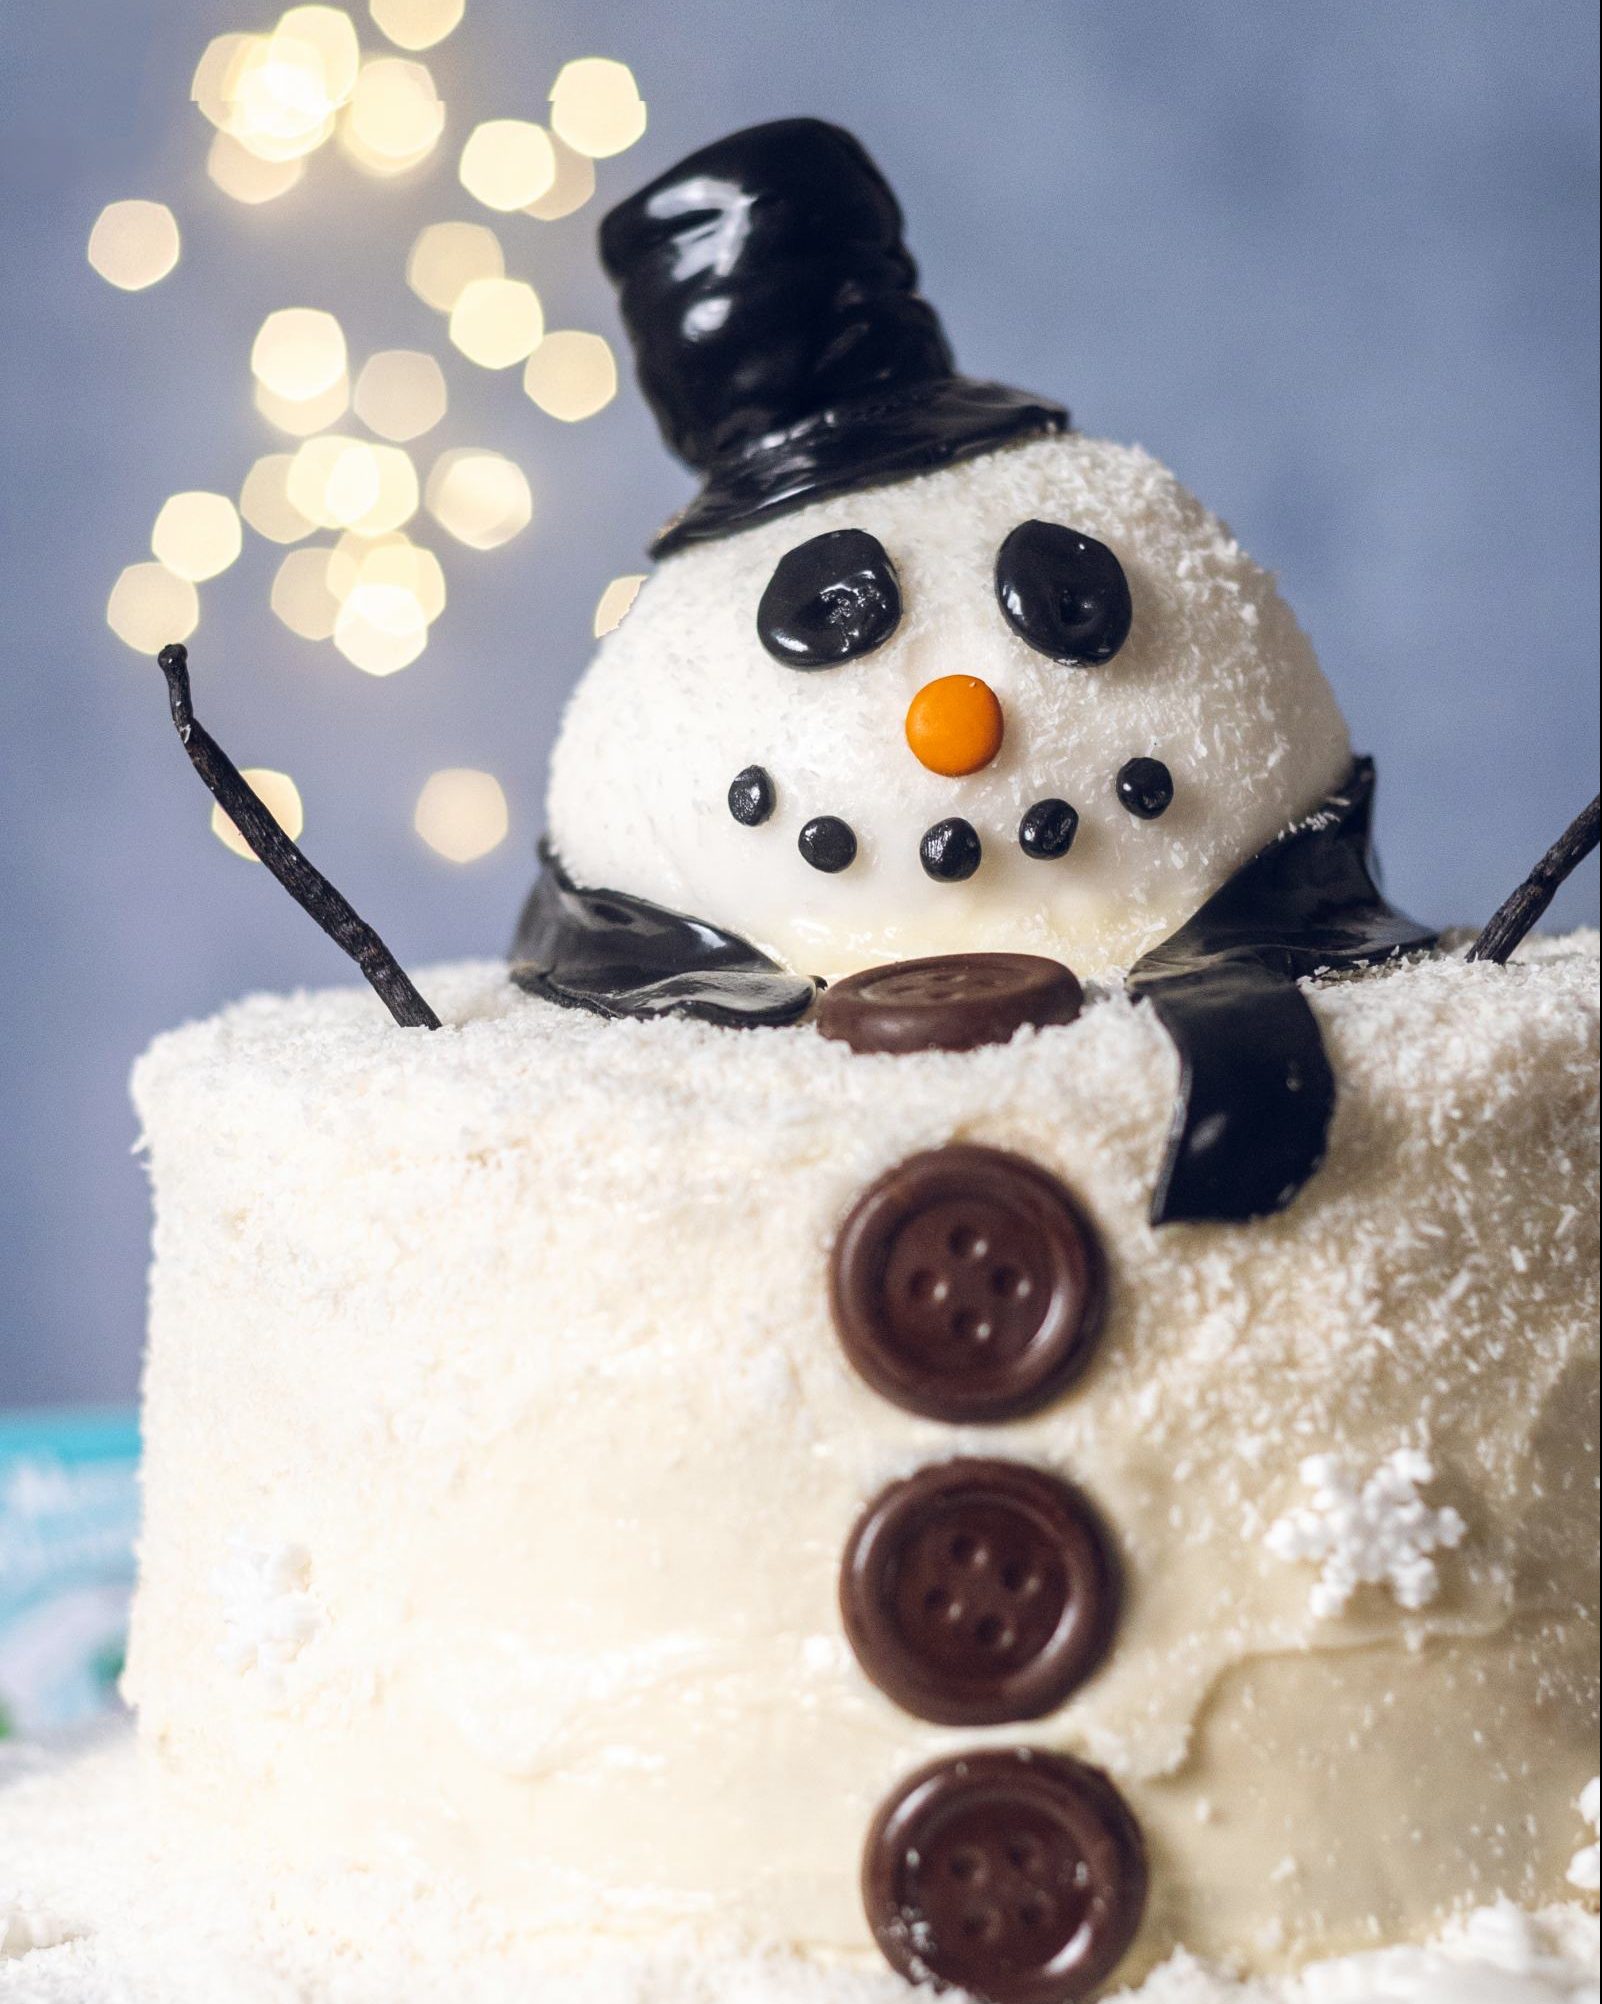
- Head - For the head I used ready-made white icing, rolled it into a ball and flattened ⅓ on a flat surface so it can evenly sit on the cake. Place it onto the middle of the cake and tidy up the edges with a little leftover buttercream.
- Eyes/Mouth - for eyes and mouth you can use ready-made black fondant. Simply cut it into small pieces, then roll and press into shape.
- Nose - for the nose, use red or orange fondant - or also a vegan M&M.
- Scarf - use black fondant for the scarf
- Arms - For the arms, you can use whole vanilla pods. Cut to size and stick them into the top of the cake.
- Buttons - for the coat buttons, you can use chocolate buttons like the vegan version from MummyMeagz.
- Hat - For the hat, use black fondant and create it in 2 parts: one flat circle for the hat base and one log-shape, firmly squished down to create the 'folds' in the hat. Combine both parts to create the hat and use the back of a spoon to smooth over the edges. To make the hat extra shiny, brush it with a little water.
To add an extra 'snow' effect, sprinkle the cake base with a few coconut shreds.
This recipe is:
- 100% vegan
- super sweet
- cute
- delicious
- great to wow your friends and family!
Recipes you might also like
Try out some of my other vegan festive bakes, such as my Vegan Gingerbread House or Gingerbread Cookie Dough?
📌 If you love Pinterest you can pin any of the images to your boards!
📖 Recipe Card
Vegan Snowman Cake Recipe
Ingredients
- For the caramel cake batter
- 800 g self-raising flour
- 2 teaspoon baking soda
- 1 teaspoon salt
- 400 g vegan butter
- 500 g soft brown sugar
- 200 ml aquafaba
- 1 teaspoon vanilla extract
- For the caramel buttercream
- 420 g dairy-free butter
- 1 kg icing sugar
- 1-2 tablespoon plant milk optional
- 3 tablespoon brown sugar
- 6 tablespoon water
- 3 tablespoon dairy-free cream
- a sprinkle of sea salt
- For the snowman decoration
- a handful of chocolate buttons
- black frosting for the eyes
- red or orange frosting for the nose
- vanilla pods for the arms
- coconut shreds for the coating
Instructions
- Preheat your oven to 180C.
- Start by preparing the cake layers: Sieve the flour and baking soda into a large mixing bowl and stir in the salt.
- In a separate bowl combine the butter & brown sugar with the vanilla extract with a whisk.
- Whip up the aquafaba with an electric whisk for 5-10 minutes until fluffy stiff peaks are created. Gradually stir the butter/sugar mixture into the aquafaba until well combined, then gently fold the dry mix into the wet ingredients.
- Pour the batter into 3 greased & lined round cake tins and bake for 30 minutes at 180C or until the cake is baked all the way through (check with a skewer!)
Make the caramel buttercream:
- In a small saucepan over medium heat, combine the brown sugar and water and bring to a simmer whilst continuously stirring. Pour in the cream or yoghurt and continue to stir over low heat until the caramel begins to thicken.
- In a large mixing bowl cream the dairy-free butter with an electric whisk. Gradually add in the icing sugar and mix until silky, if needed add a little plant milk. Pour in the caramel sauce and whisk for another minute to thoroughly combine.
Assemble the snowman:
- Allow for the cake bases to cool completely before creating the buttercream & assembling the cake. If needed, cut the cake bases to size, so they can comfortably sit on top of each other.
- Layer up the cake and spread a generous amount of buttercream in between each layer.
- Next, create the crumb coat by gently spreading buttercream around the outside of the cake. Carefully scrape off any excess - it doesn’t need to be too neat at this point,
- Transfer the cake to the fridge for the crumb coat to set for 30 minutes.
- Once the coat is set to the touch, spread another layer of buttercream around the outside, smoothing it with a spatula, then place the cake into the fridge once again
- Shape the head of the snowman from white icing and create the eyes, mouth and nose from coloured icing. Assemble the face of the snowman on top of the set cake & smooth out the connection between the head and the cake with leftover buttercream. If you have any leftover black icing, shape a hat and a scarf for the snowman!
- Sprinkle coconut shreds over the cake to resemble snow, then place your MummyMeagz buttons onto the snowman’s coat.
- Add vanilla pods for the arms & admire your masterpiece.
Notes
Try out these cake recipes too:
© 2025 Romy London / Romina Callwitz | All images, videos, wordings and content are copyright protected and belong to Romina Callwitz. Please do not use any of my content without prior permission. If you wish to re-publish any (part of my) content, please get in touch via email. Thanks for your support!
*Disclosure: This page may contain affiliate links and sponsored links that earn me a small commission, at no additional cost to you. You can find more information in my Privacy Policy.


Gabriela
What a beautiful work of art i wouldn't even want to cut it or let anyone touch it. Thank you so much for indulging my eyes.
romylondonuk
Aw thank you so much for your kind comment Gabriela! Happy to hear you like this creation - it was a lot of fun to make, but also time intensive. I don't make many themed bakes and I was worried about 'ruining' it along the way, so I took my time haha!
Kirsty
What size cake tins do you use please?
romylondonuk
Hey Kirsty! I used 7-inch cake tins for this cake, but you can definitely make it in another size too! If you need help with cake tin conversion, I've found this converter by Bianca Zapatka super useful: https://biancazapatka.com/en/cake-pan-conversion-calculator/ Hope this helps!