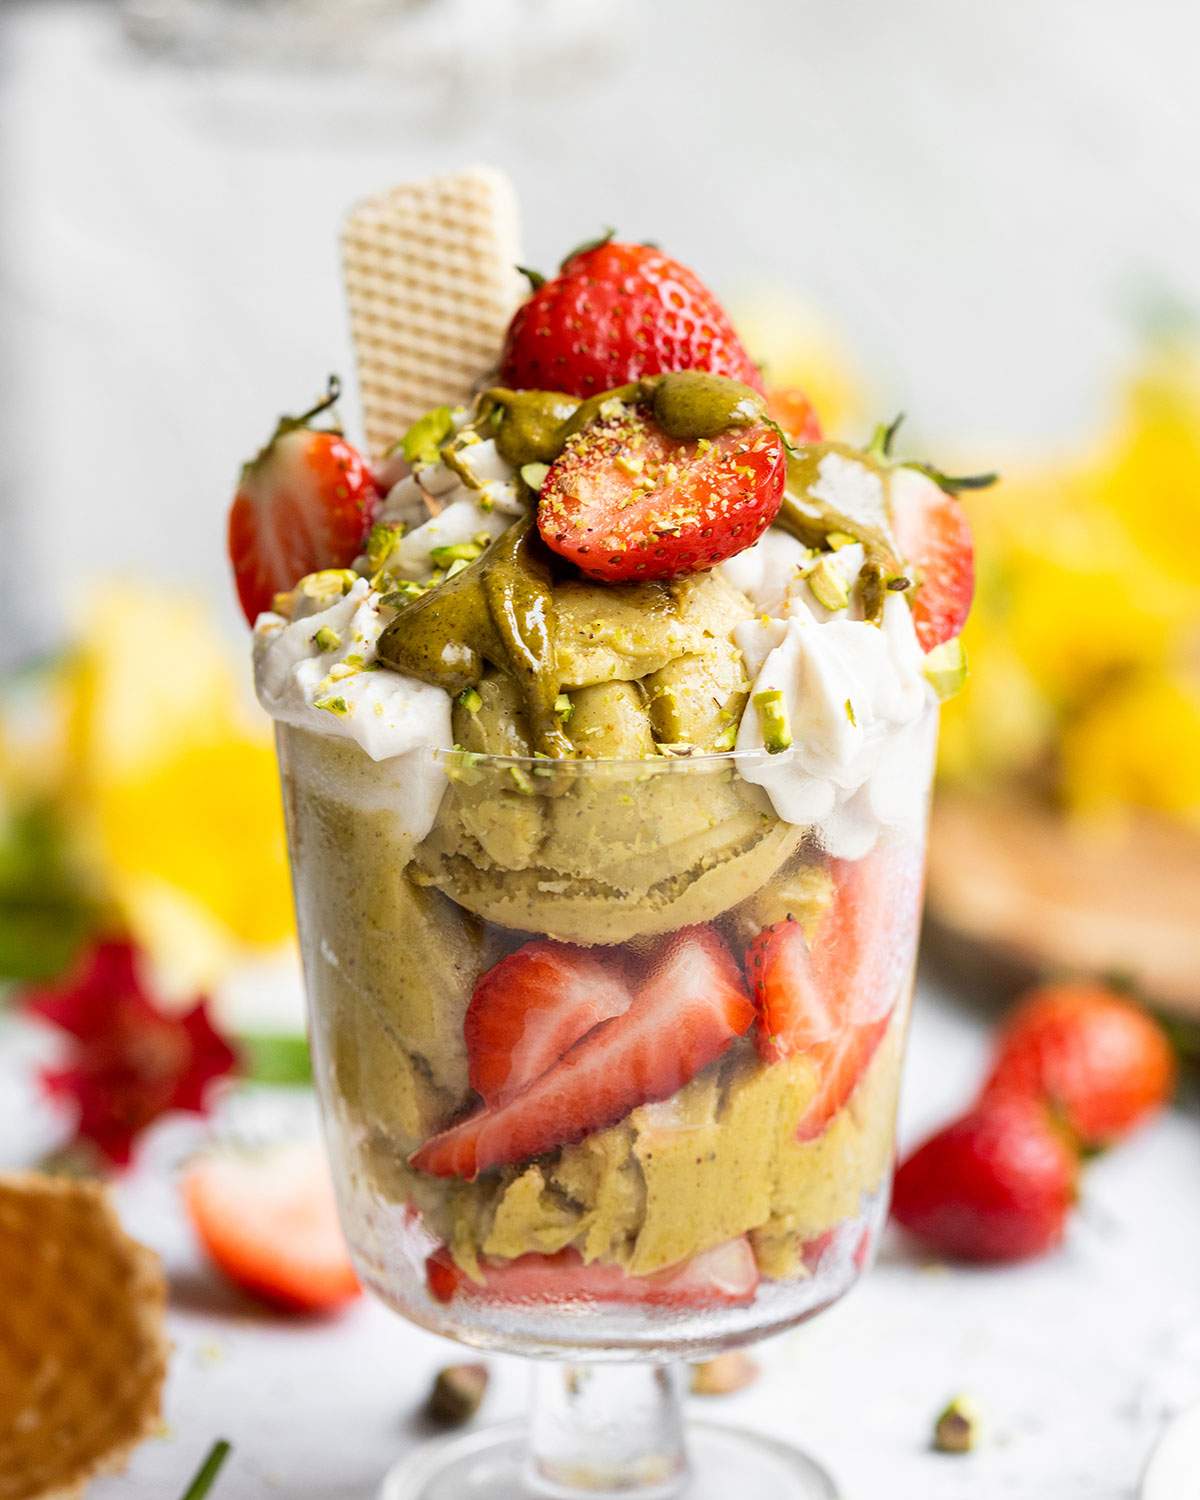
Are you ready to indulge in a creamy, dreamy treat? Let me introduce you to the creamiest Vegan Pistachio Ice Cream you will ever make at home! This recipe makes a lush and nutty, sweet indulgence that'll keep you refreshed, especially on those warm, sunny days.
This homemade ice cream is made with real pistachios and full-fat coconut milk. It's a dairy-free treat that doesn't compromise on the creamy texture we love in our ice cream. The raw pistachios not only give a vibrant, natural green hue but also lend a rich, nutty flavor that's simply irresistible!
Jump to:
I have such fond memories of enjoying pistachio ice cream during hot summer days in my childhood! It was always my favorite ice cream flavor - I simply loved the nutty flavor and creamy texture that just melted away the heat of the day!
After going vegan, I found it rather difficult to find store-bought vegan pistachio ice cream and I feared that I might have to give up on this cherished treat.
However, this Vegan Pistachio Ice Cream recipe has brought back those nutty flavors that I loved so much, and I'm thrilled to share it with you. I hope you enjoy it as much as I do, and that it adds a touch of sweetness to your warmest days!
❤️ What's Great About this Recipe
- It's vegan-friendly!
- It's homemade, which means you can control the ingredients and avoid any additives found in commercial ice creams.
- It uses real pistachios, which not only boost the flavor but also provide a good source of protein and healthy fats.
- The recipe includes tips and variations, making it easily adaptable.
- It's a refreshing and decadent dessert, perfect for warm summer days or whenever you need a sweet treat.
- The ice cream has a rich, creamy texture comparable to traditional dairy-based ice cream, thanks to the use of condensed coconut milk.
- The recipe is easy to follow and can be made in an ice cream maker or without (check the notes below!).
🌱 Ingredients & Notes
Here is everything you need for this recipe:
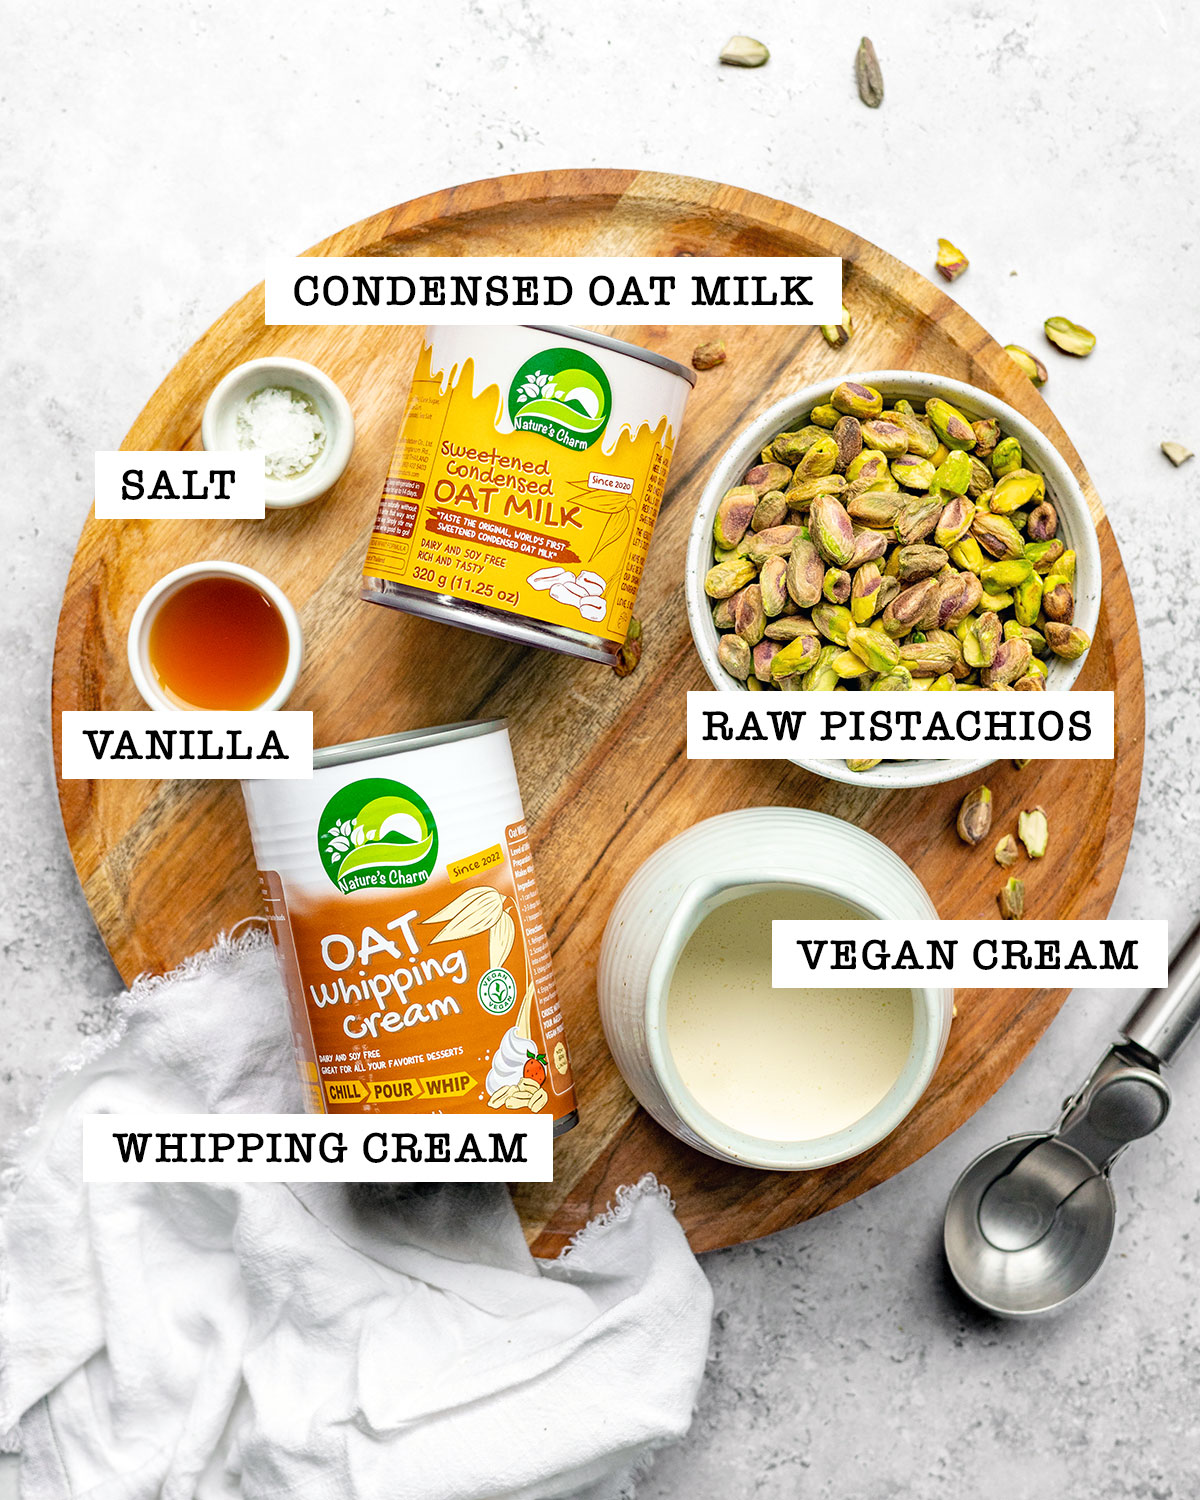
- Raw pistachios - These will be toasted and blended into a smooth butter for the ice cream base. Make sure to use raw unsalted pistachios.
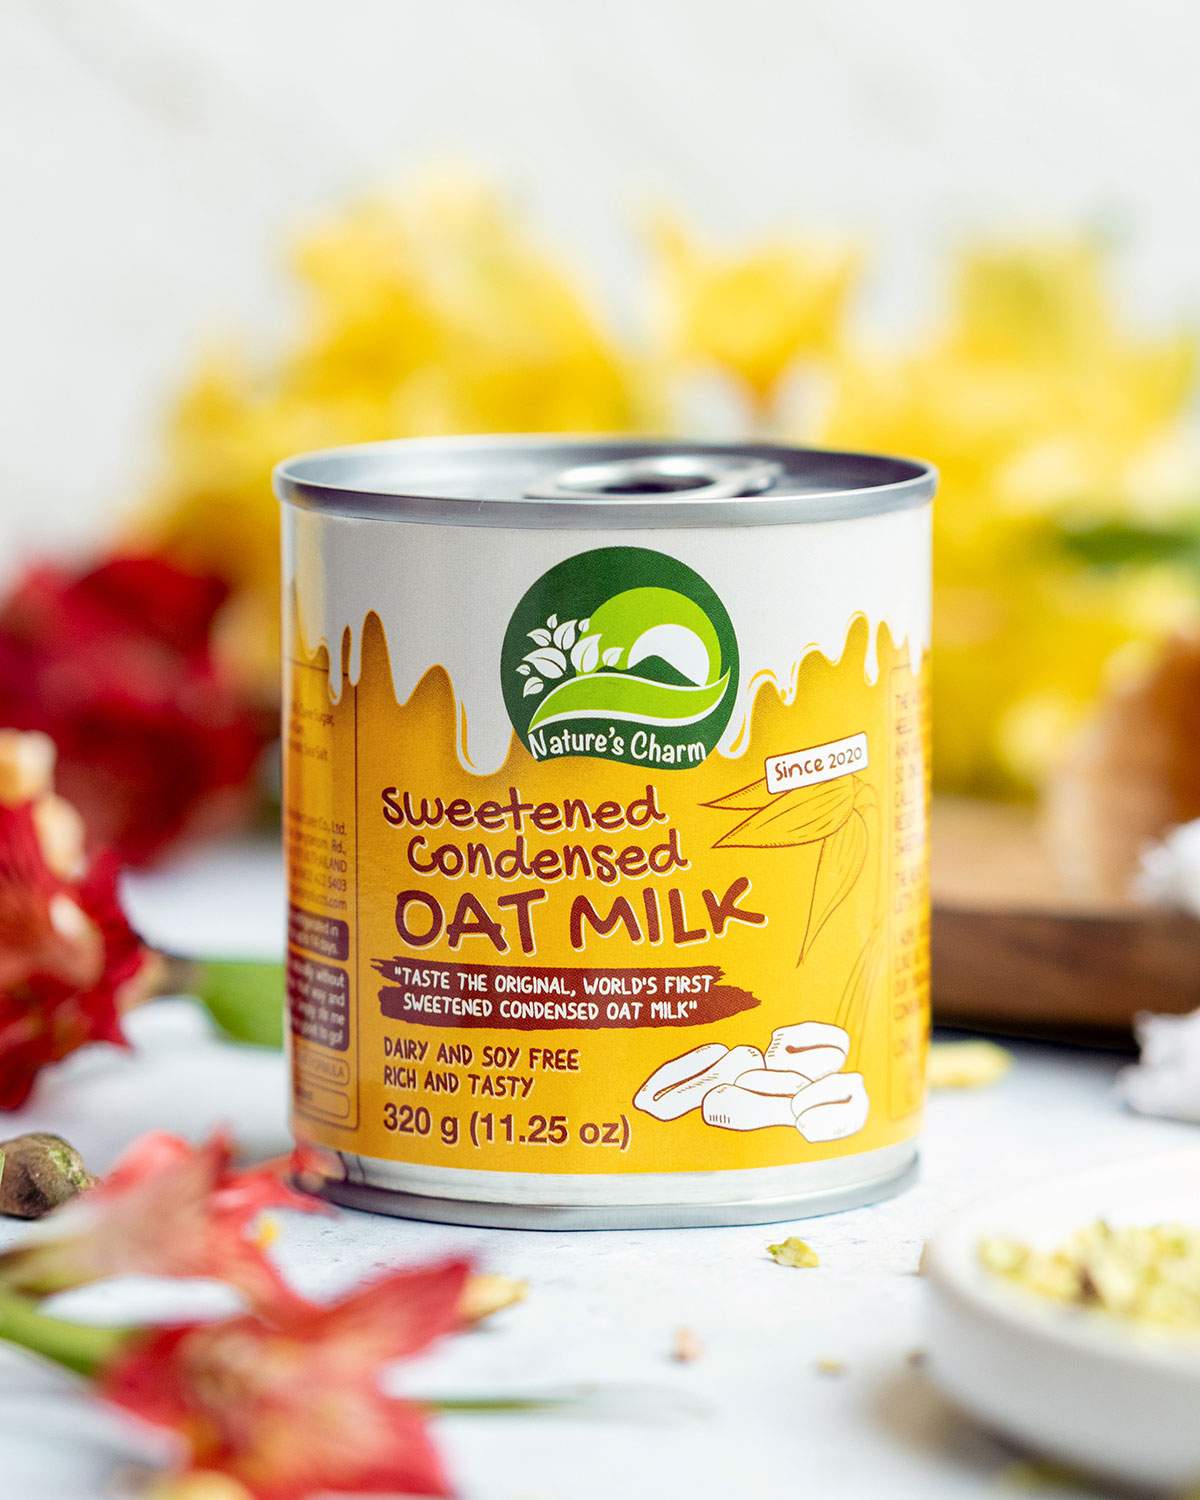
- Sweetened Condensed Coconut Milk - This adds sweetness and a rich texture to the ice cream. I use Nature's Charm.
- Full-fat coconut milk - This gives the ice cream its creamy texture. Be sure to use full-fat for best results.
- Vanilla extract - Enhances the flavor of the ice cream. You can also use pure vanilla bean paste or swap it for almond extract.
- Salt - Just a pinch is needed to balance out the sweetness.
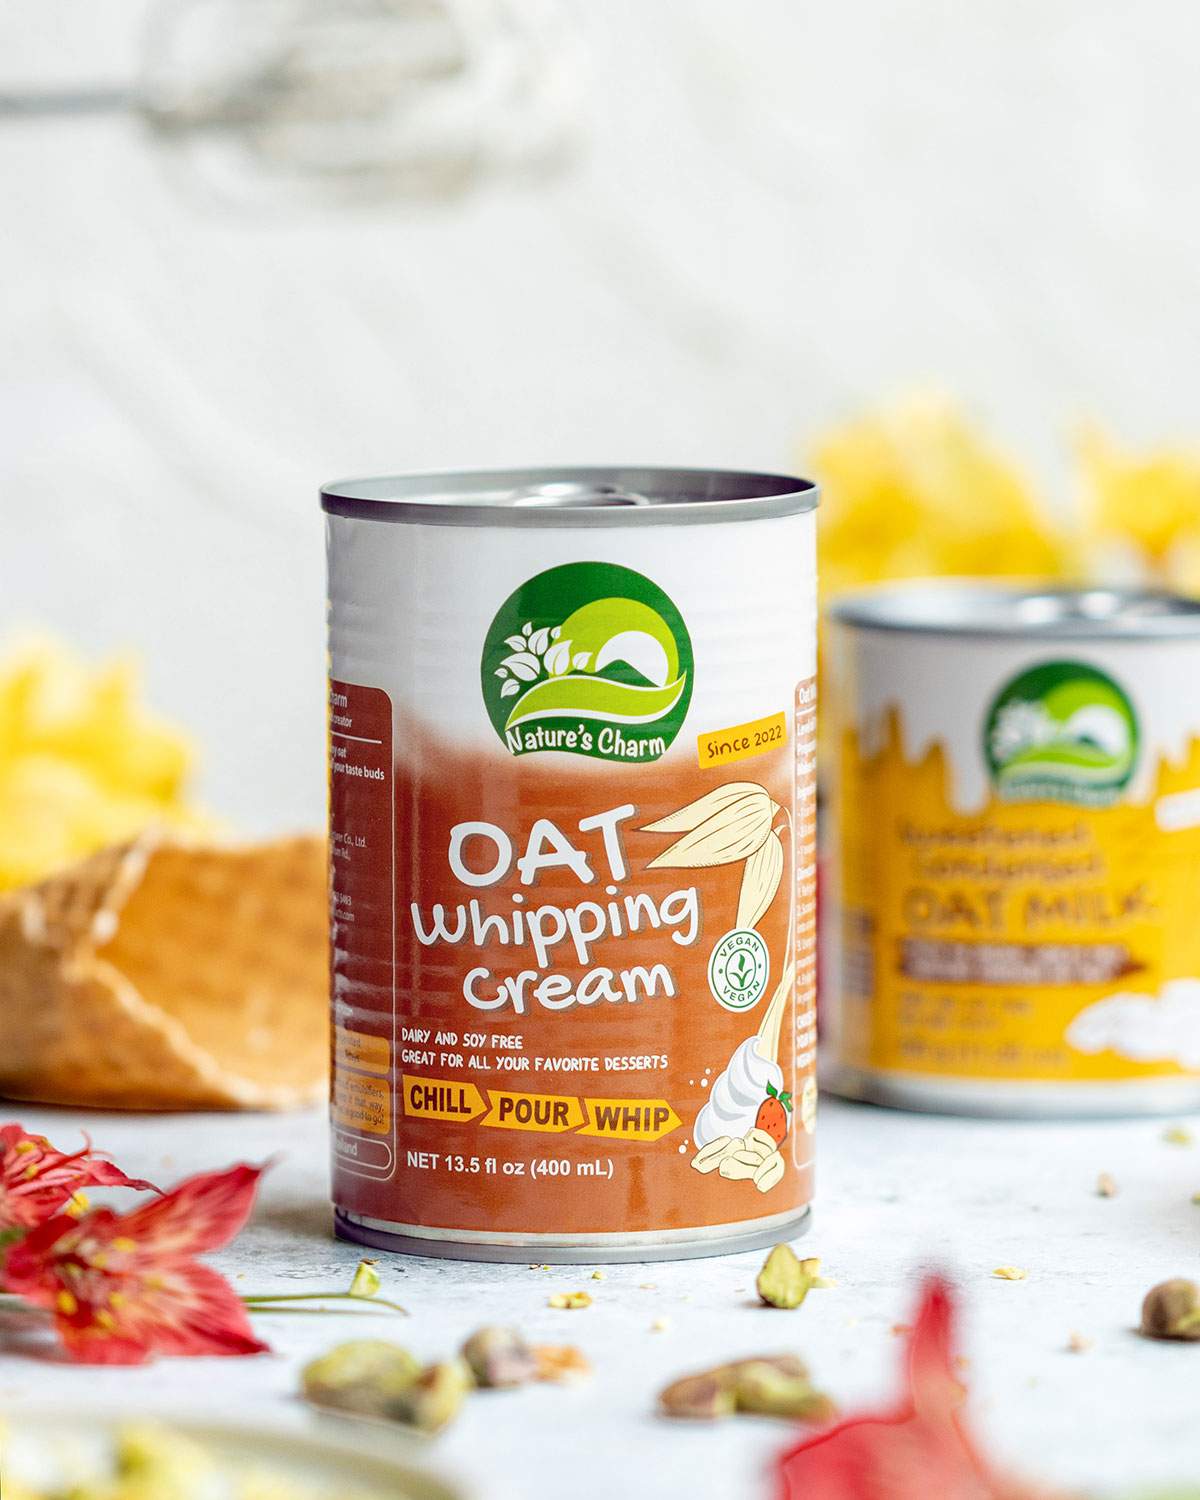
- Coconut Whipping Cream - Used for serving. I use Nature's Charm.
- Fresh fruit - For serving, such as fresh strawberries, but you can use any fruits you like.
- Crushed pistachio nuts - For a nice crunch!
Scroll to the recipe card at the bottom of the post for detailed quantities and measurements.
🔪 Equipment
Here is all the equipment you need to make this recipe:
- Oven: Needed for toasting the pistachios. Make sure it can maintain a steady temperature.
- Baking sheet: To toast the pistachios in the oven.
- Food Processor or High-Speed Blender: To process the pistachios into a smooth butter.
- Blender: To blend the pistachio butter with other ingredients.
- Medium Saucepan: To heat the ice cream mixture.
- Airtight Container: To chill the mixture in the refrigerator.
- Ice Cream Maker: To churn the ice cream. If you don't have one, you can try the manual method of stirring the ice cream every 30 minutes while it freezes.
- Freezer Container: To freeze the churned ice cream until it's firm.
- Ice Cream Scoop: To serve the ice cream. If you don't have one, a regular spoon will do, but you might want to run it under hot water first to make scooping easier.
🧑🍳 Instructions (Step-by-Step)
Step 1: Prepare the Ice Cream Maker
Freeze the ice cream maker bowl overnight.
Step 2: Toast the Pistachios
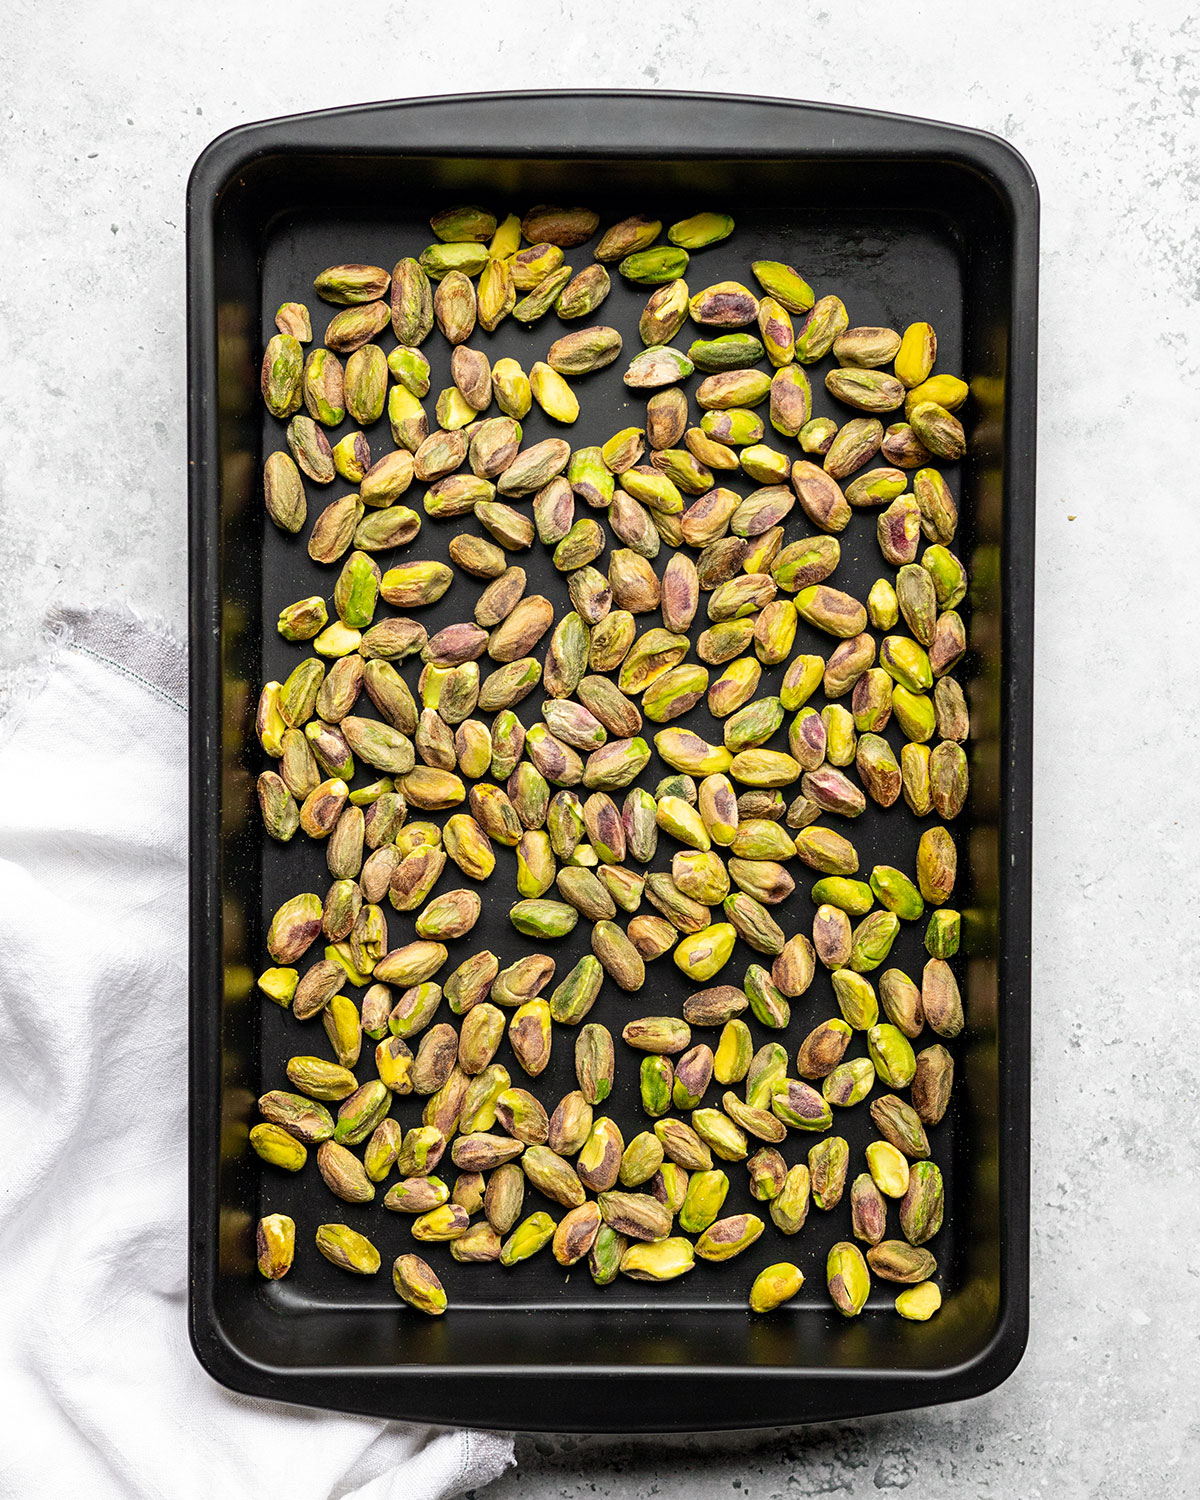
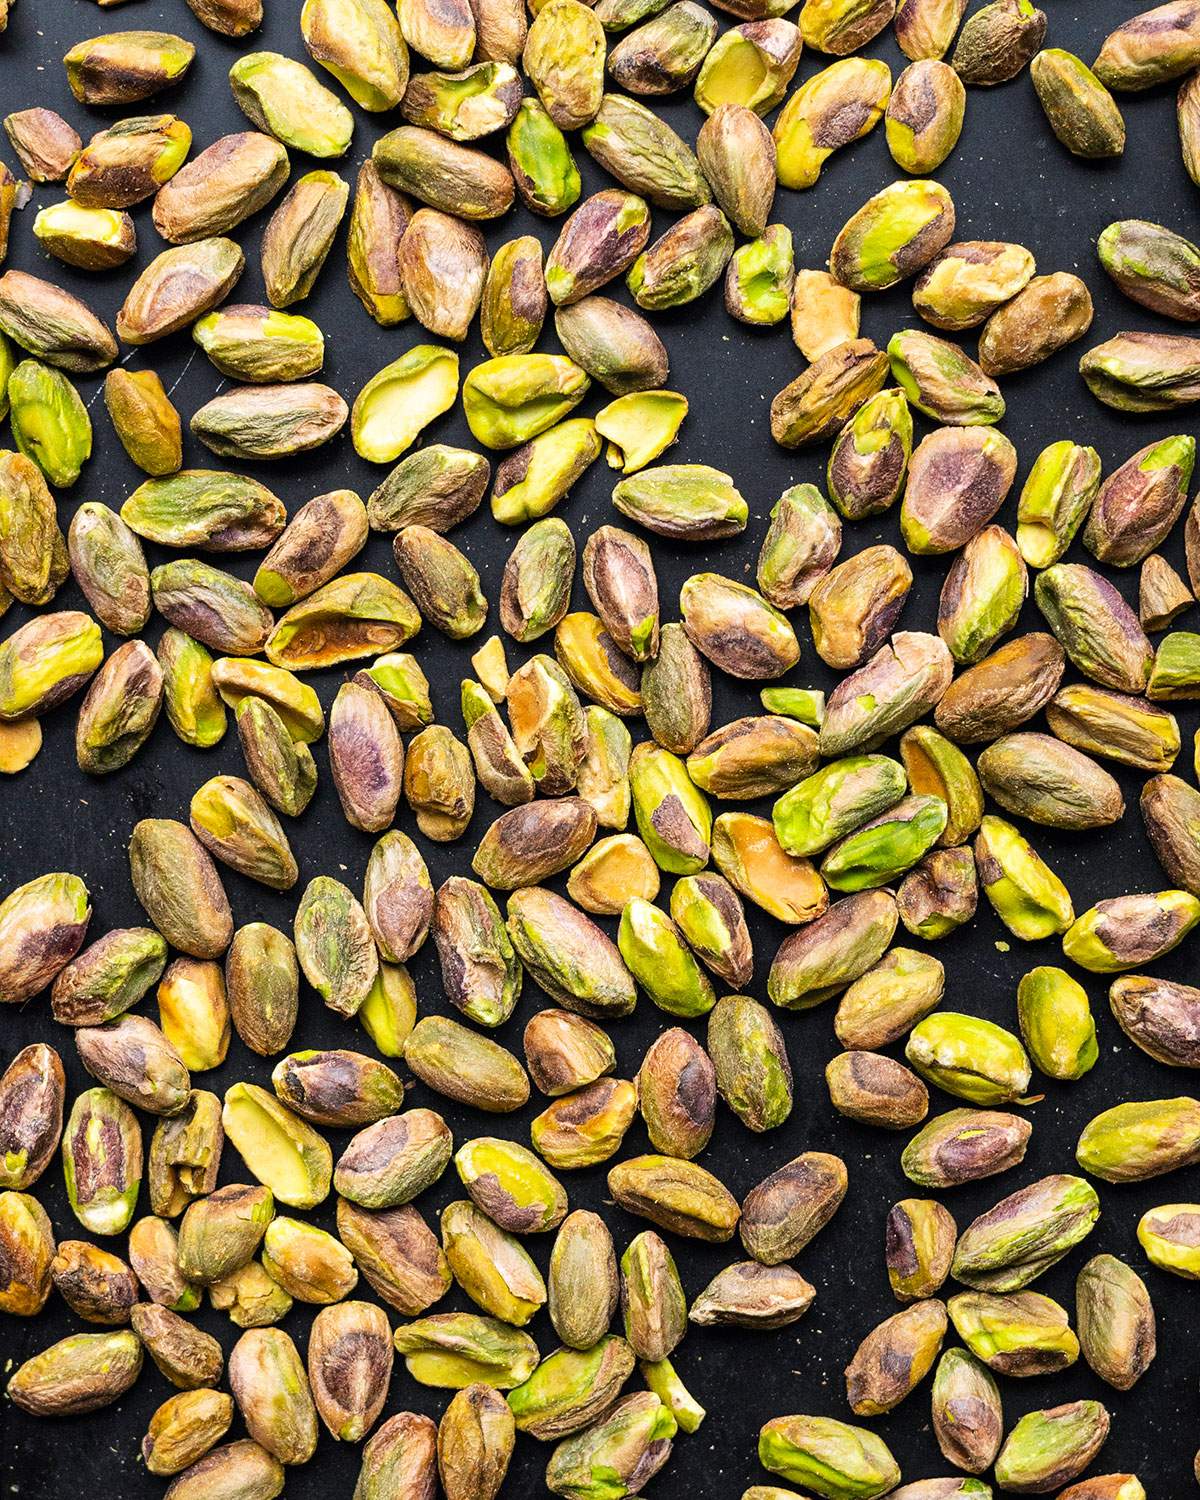
Preheat your oven and toast the raw unsalted pistachios for 8-10 minutes.
Step 3: Make Pistachio Butter
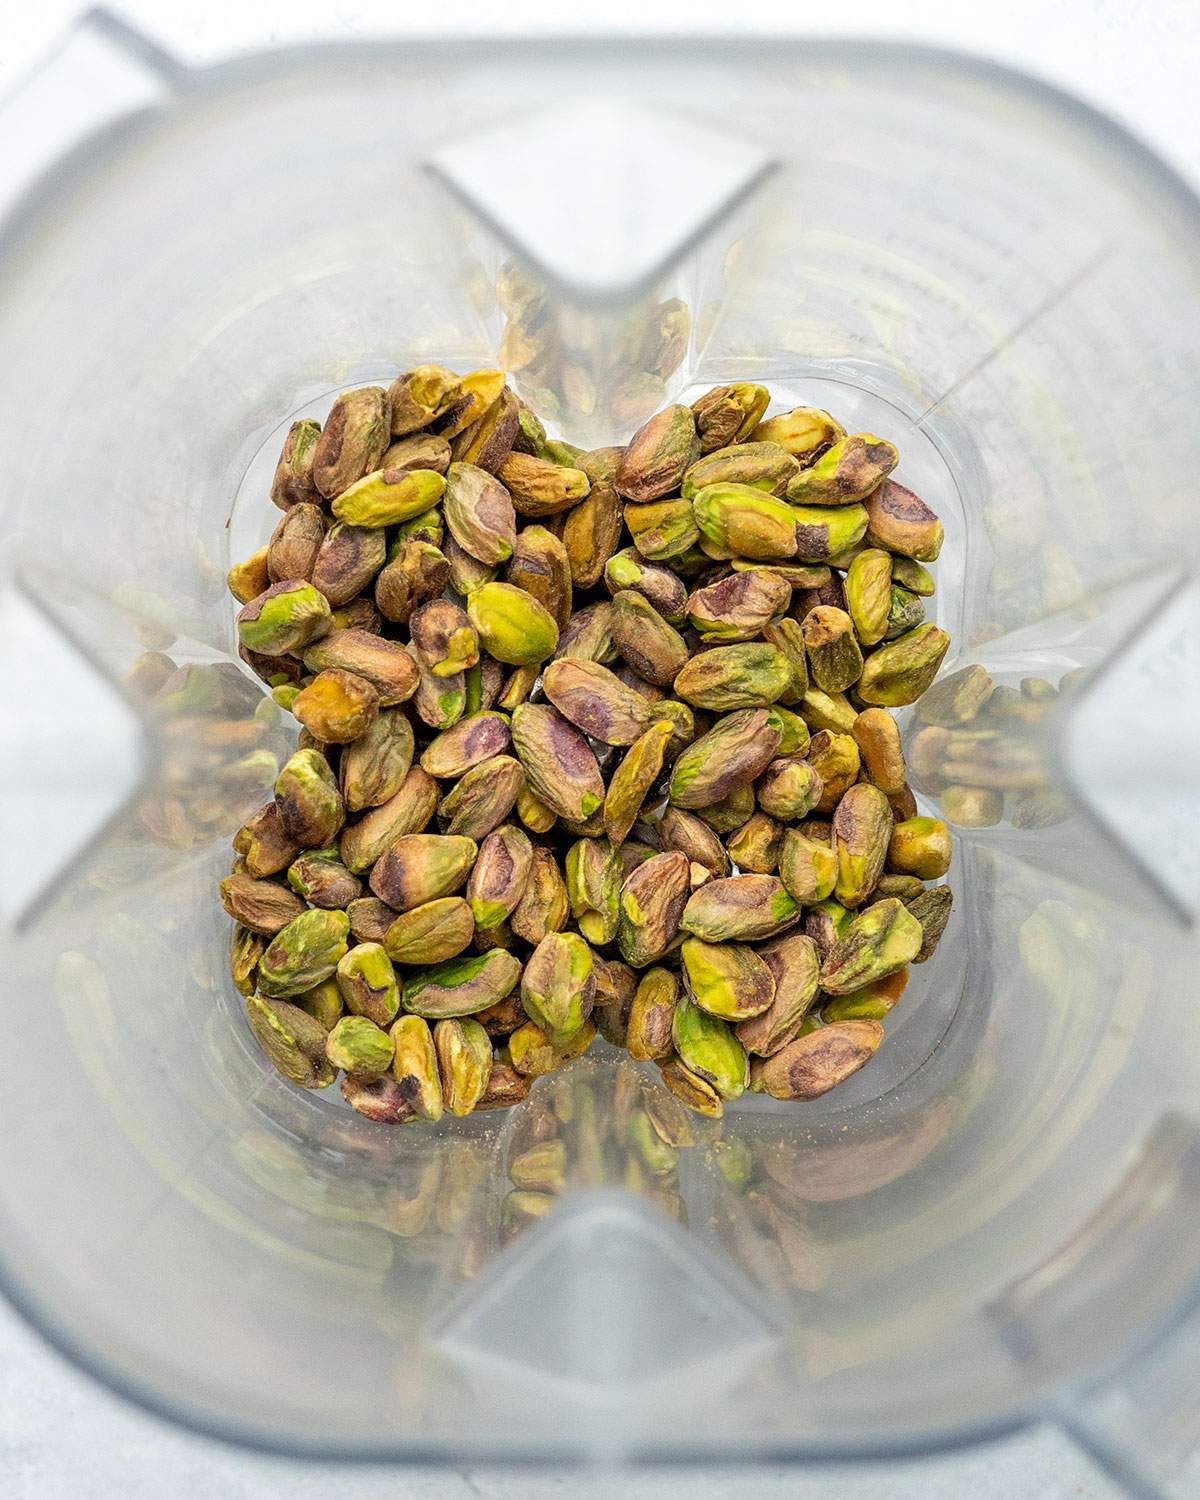
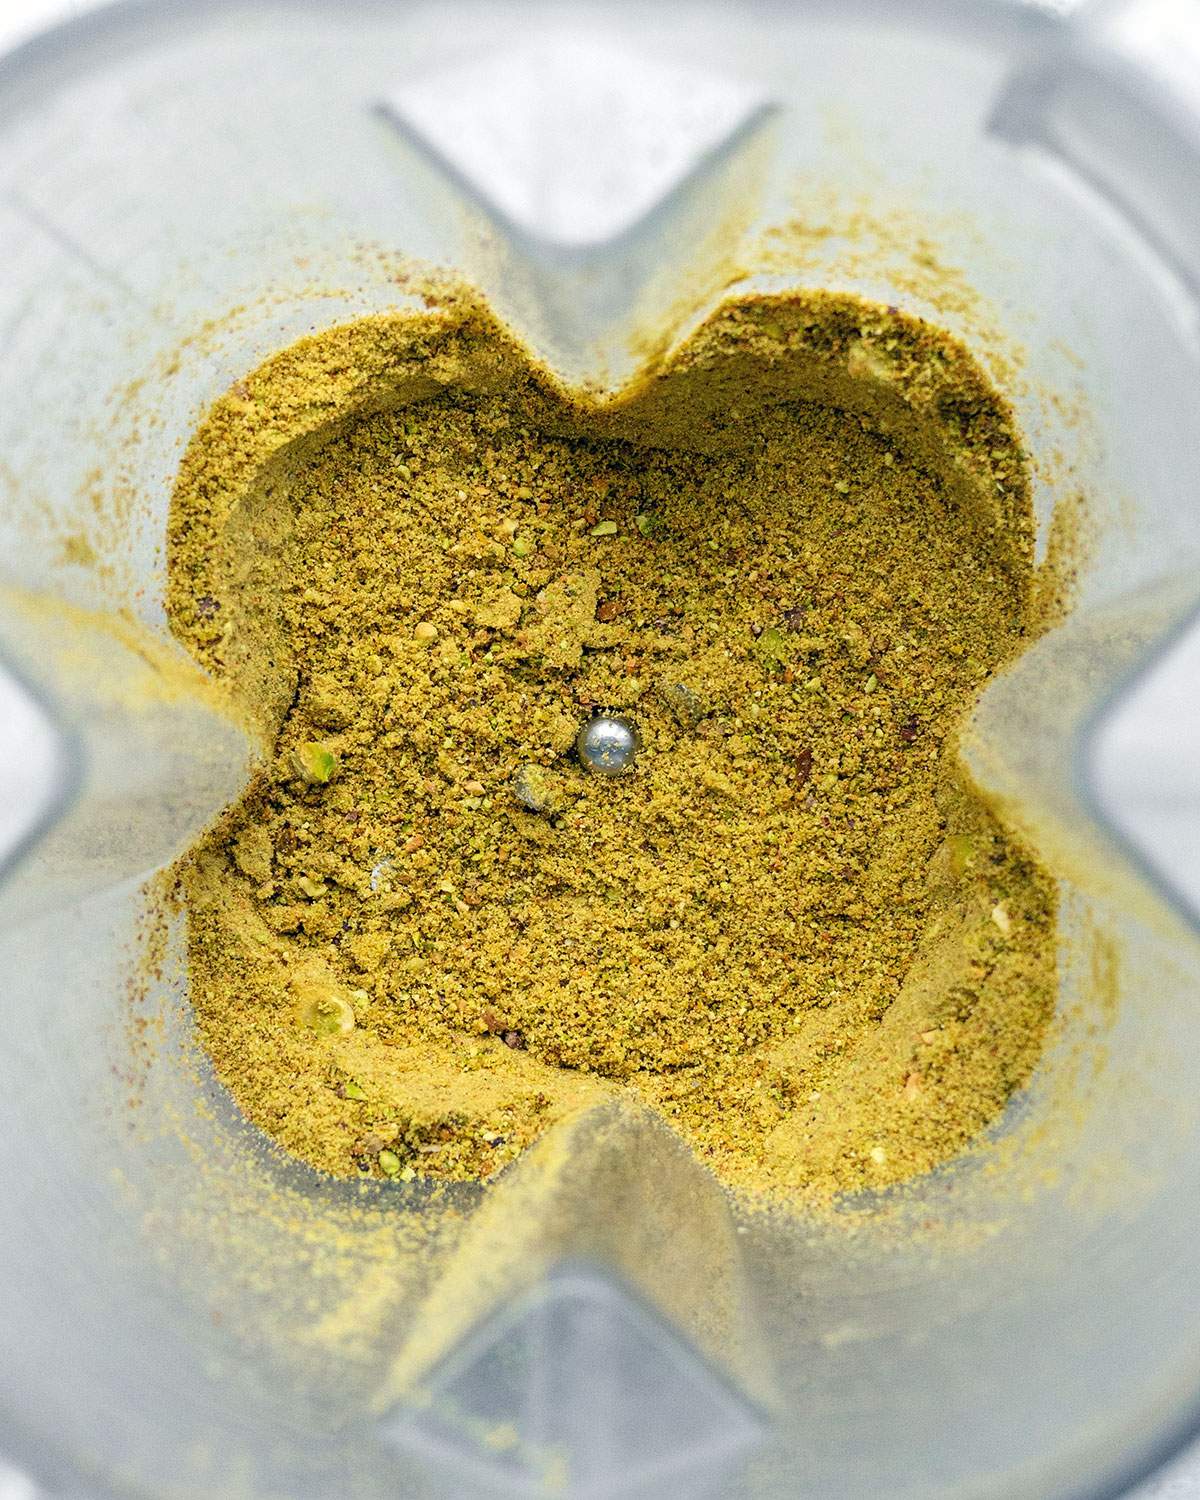
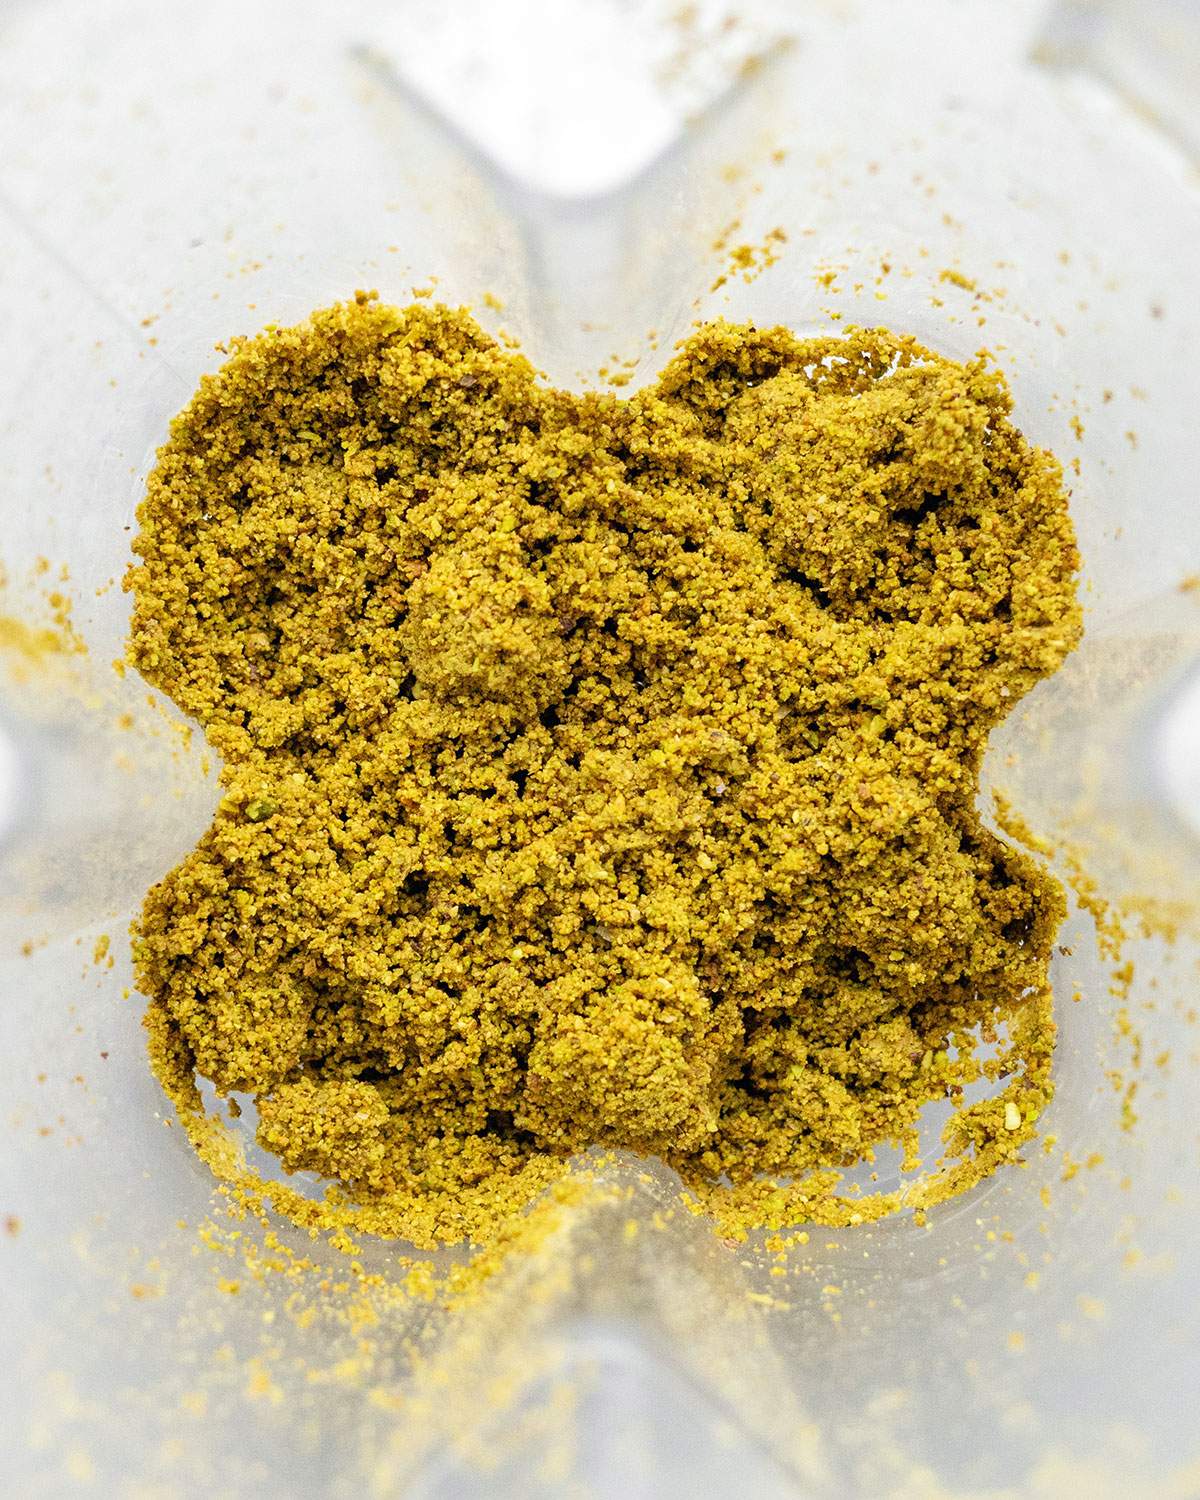
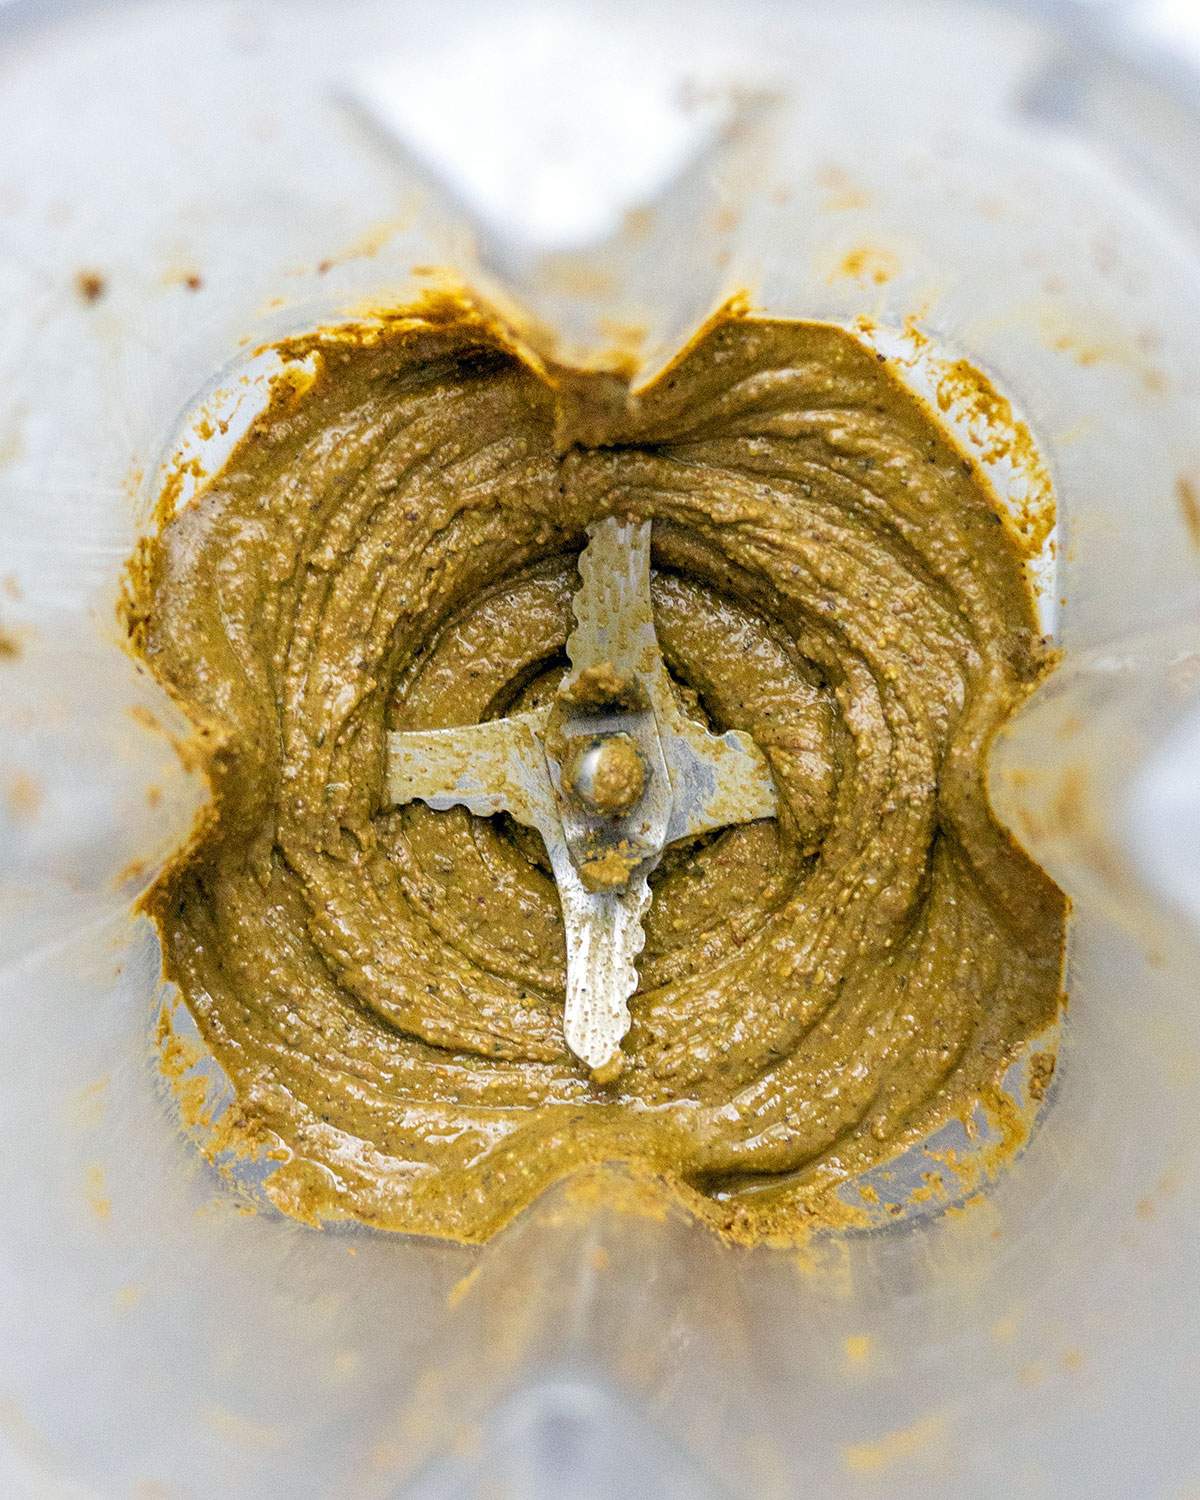
Blend the cooled pistachios until they form a smooth pistachio butter.
Step 4: Blend All Ingredients
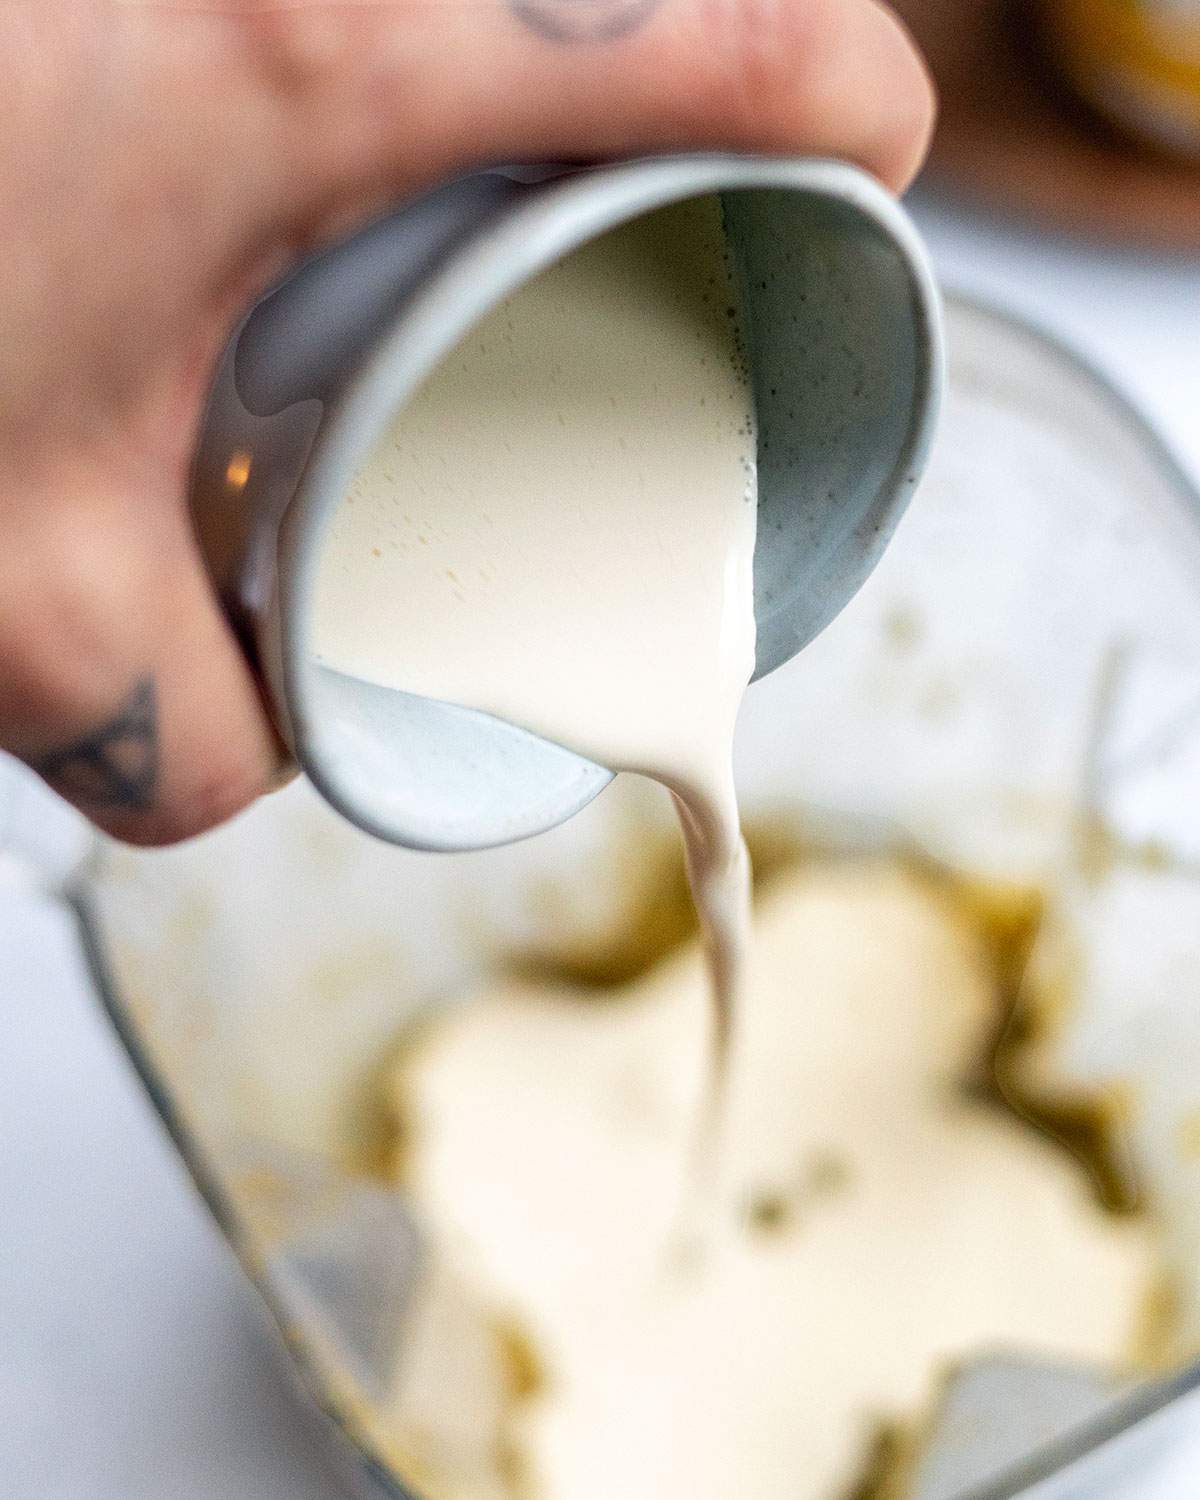
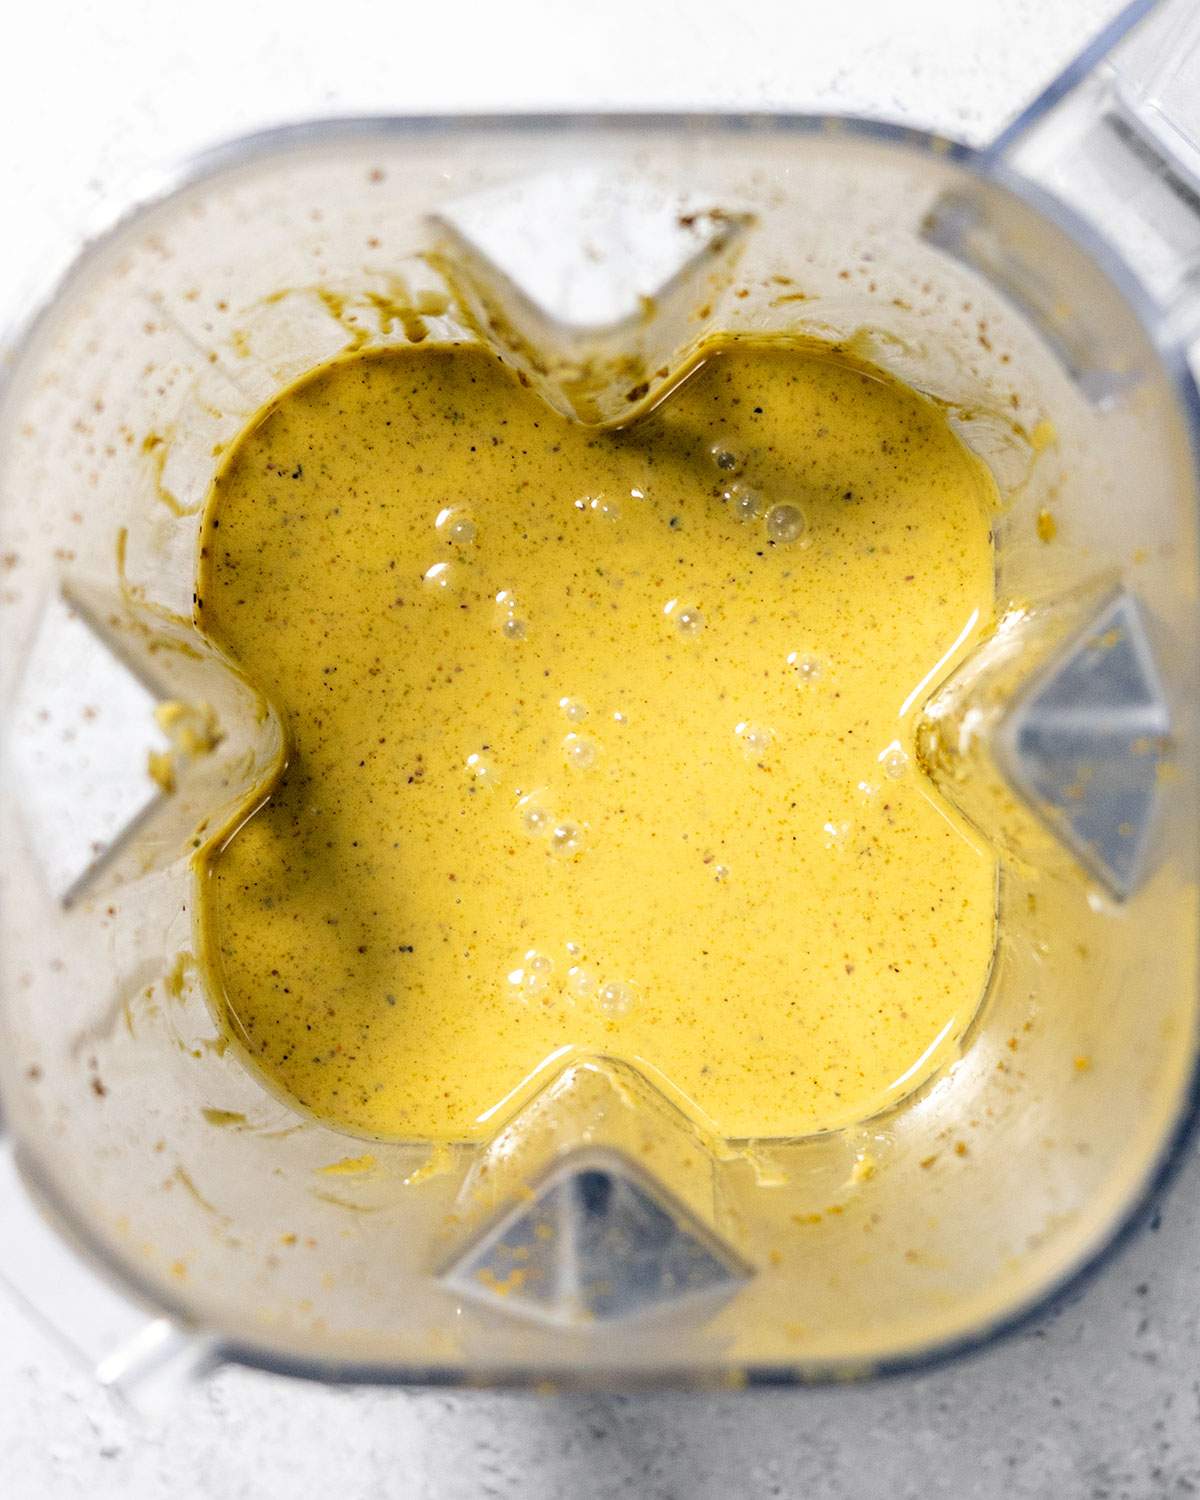
In a blender, combine pistachio butter, condensed coconut milk, coconut milk, vanilla extract, and salt.
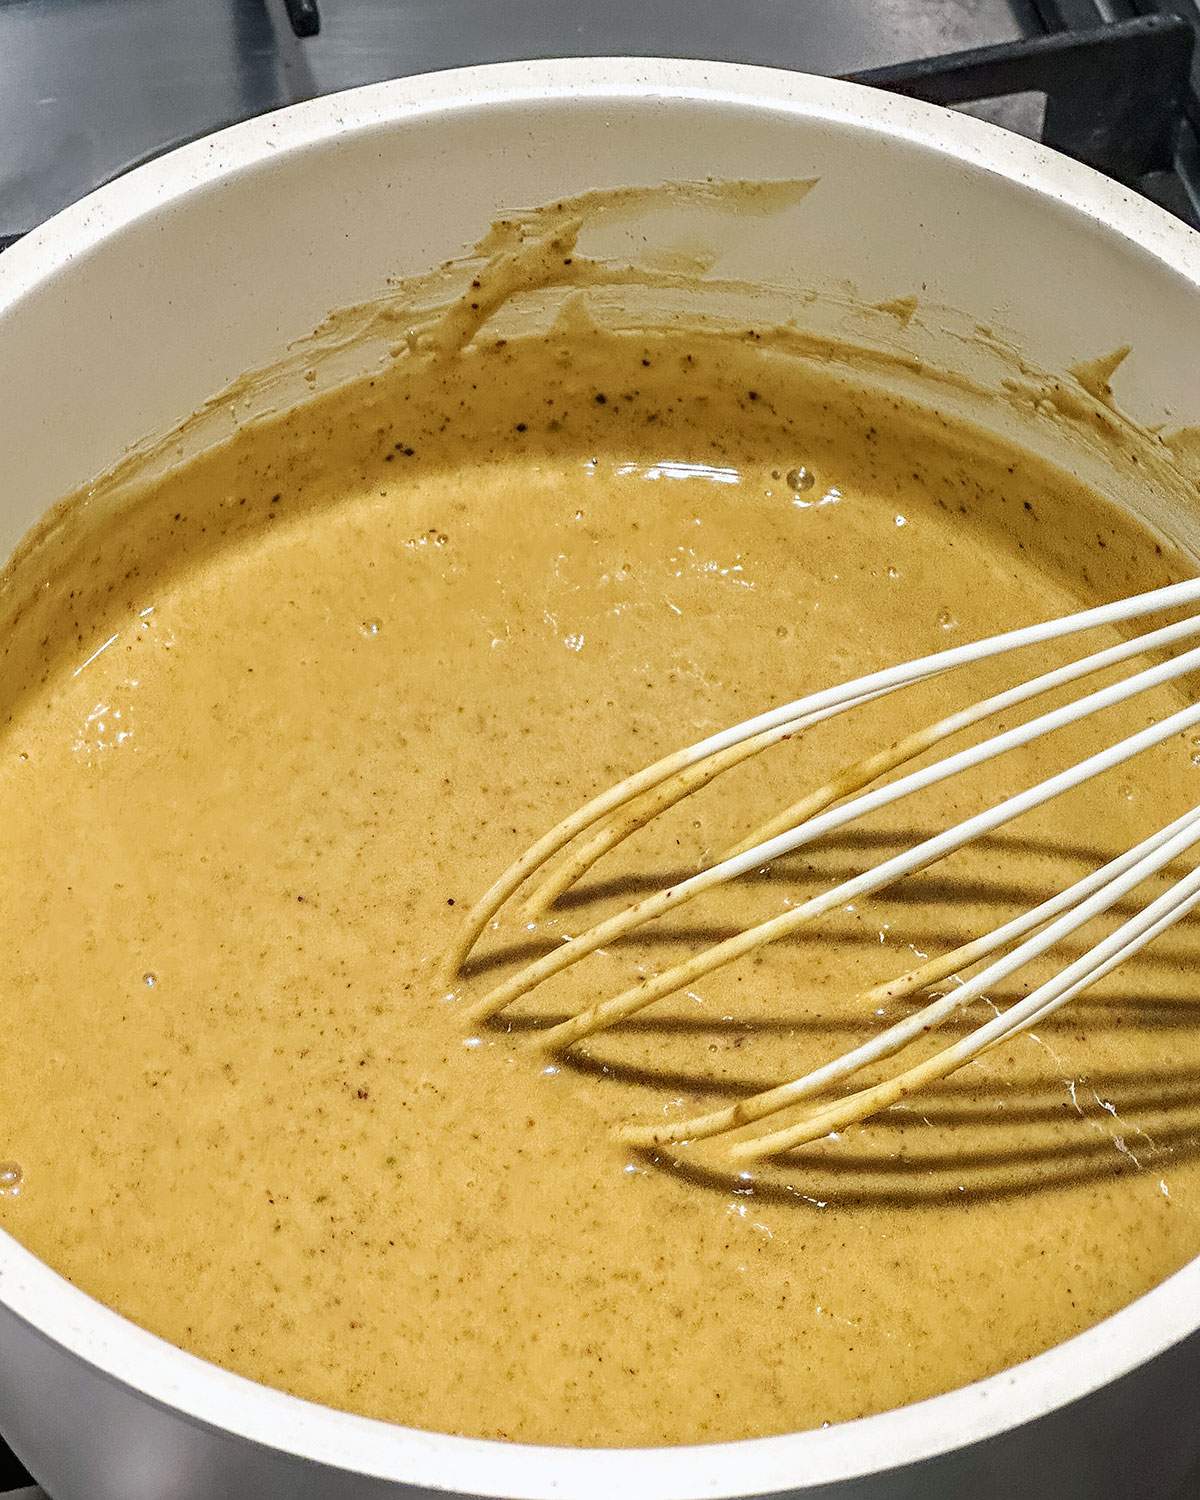
Step 5: Heat the Mixture
Heat the mix over medium-low heat, stirring frequently, until steaming. Do not boil. Cool to room temperature.
Step 6: Chill the Mixture
Chill the mix in the refrigerator for at least 4 hours.
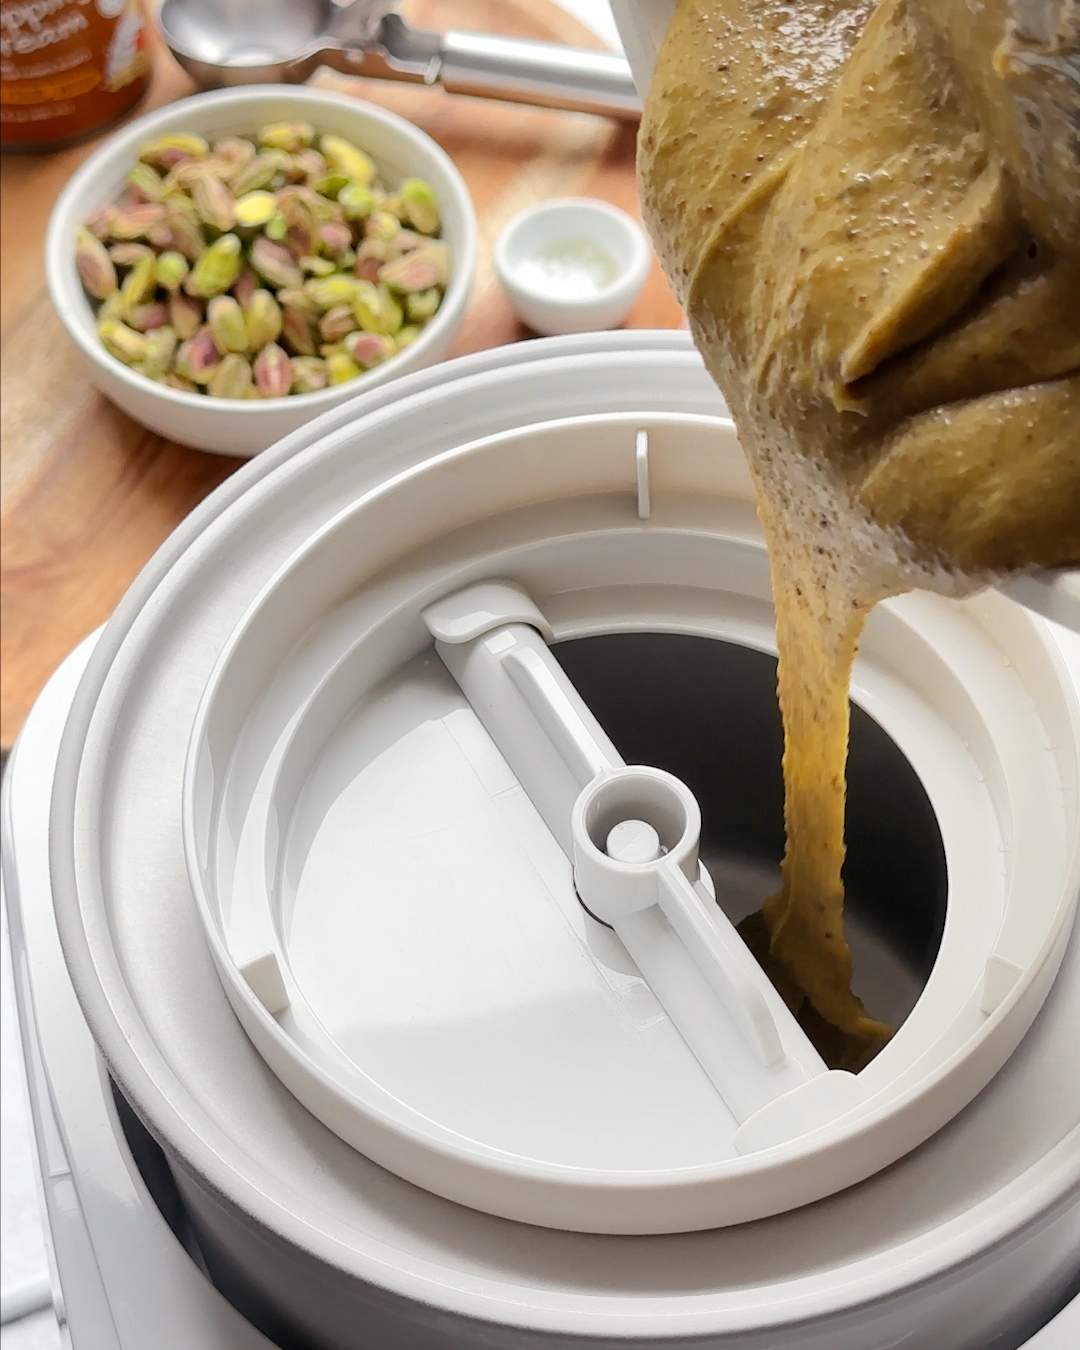
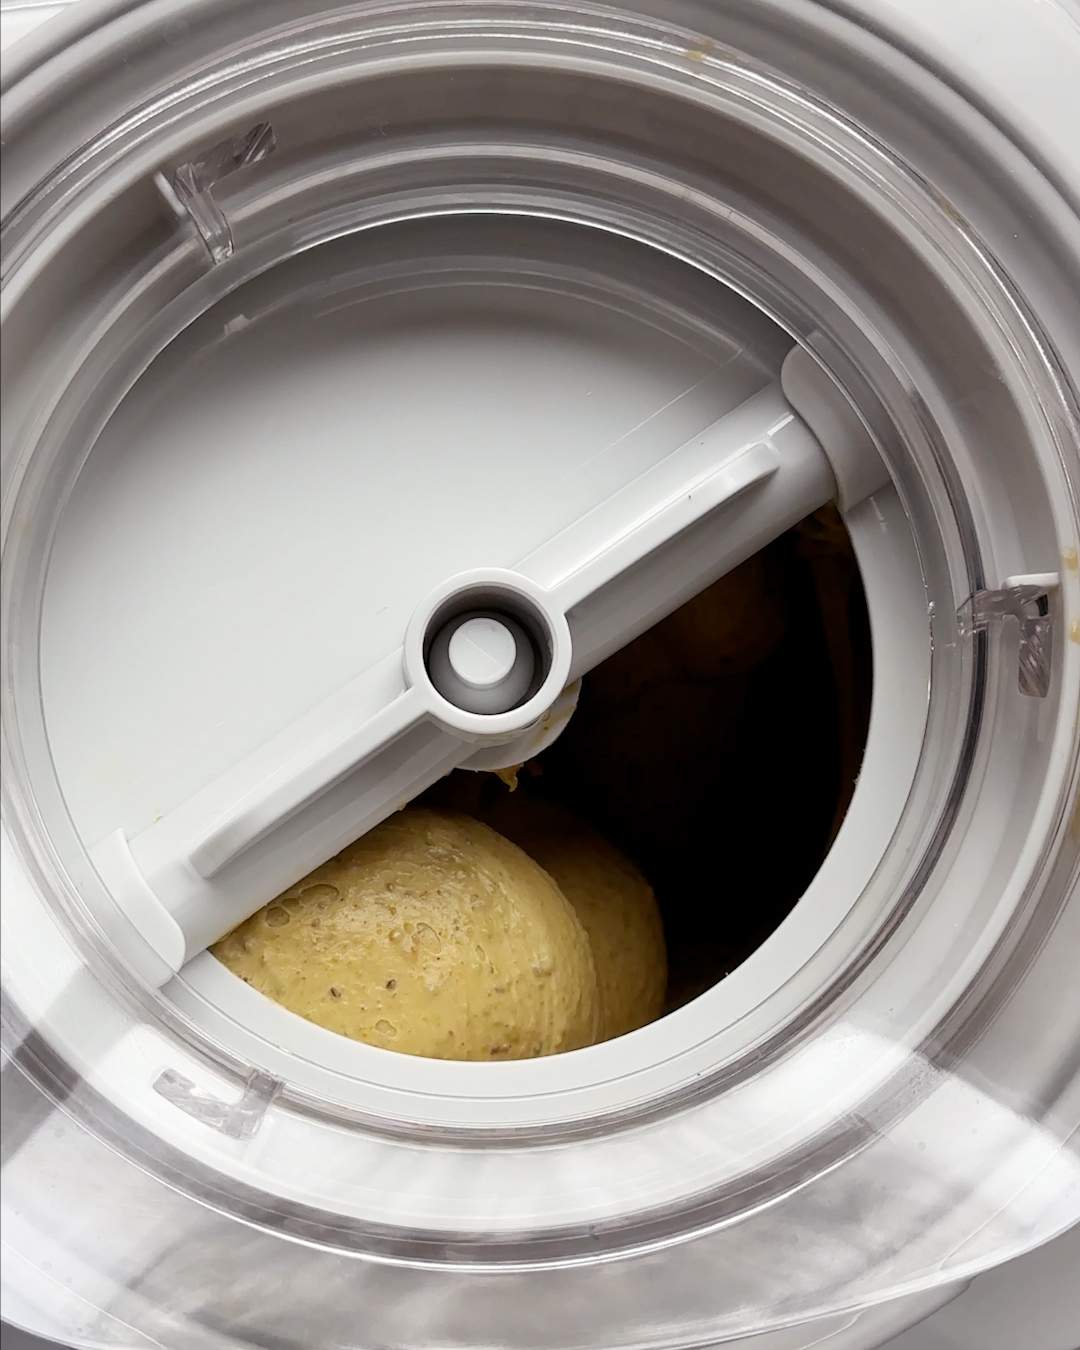
Step 7: Churn the Ice Cream
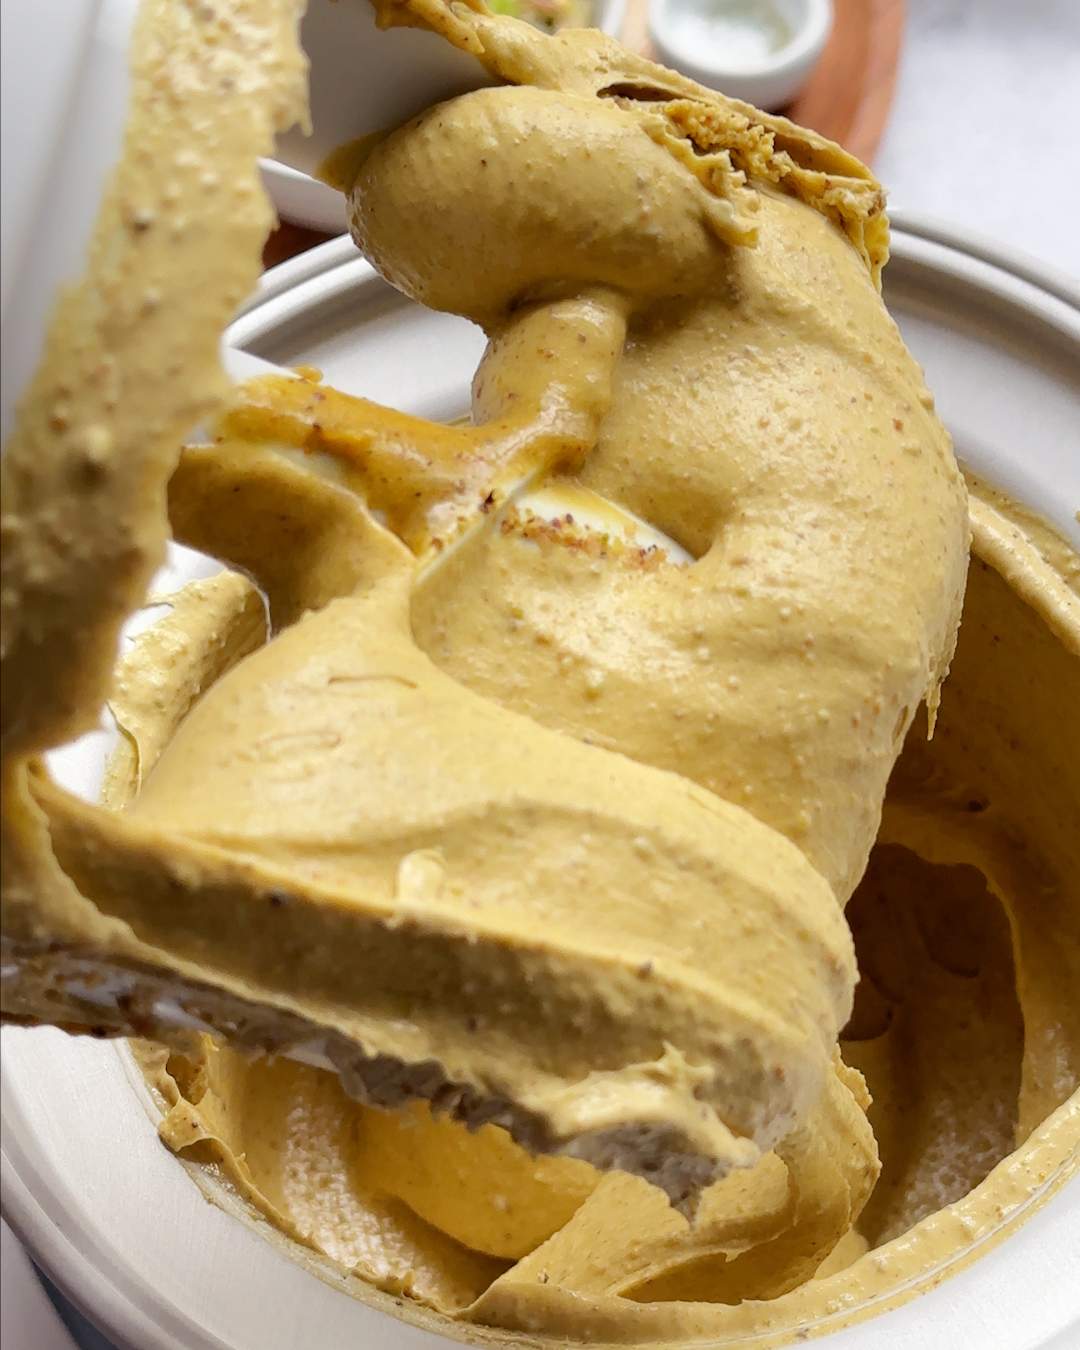
Pour the mixture into the frozen bowl. Churn until it reaches soft-serve consistency.
Step 8: Freeze the Ice Cream
Transfer to an airtight container and freeze for at least 4 hours.
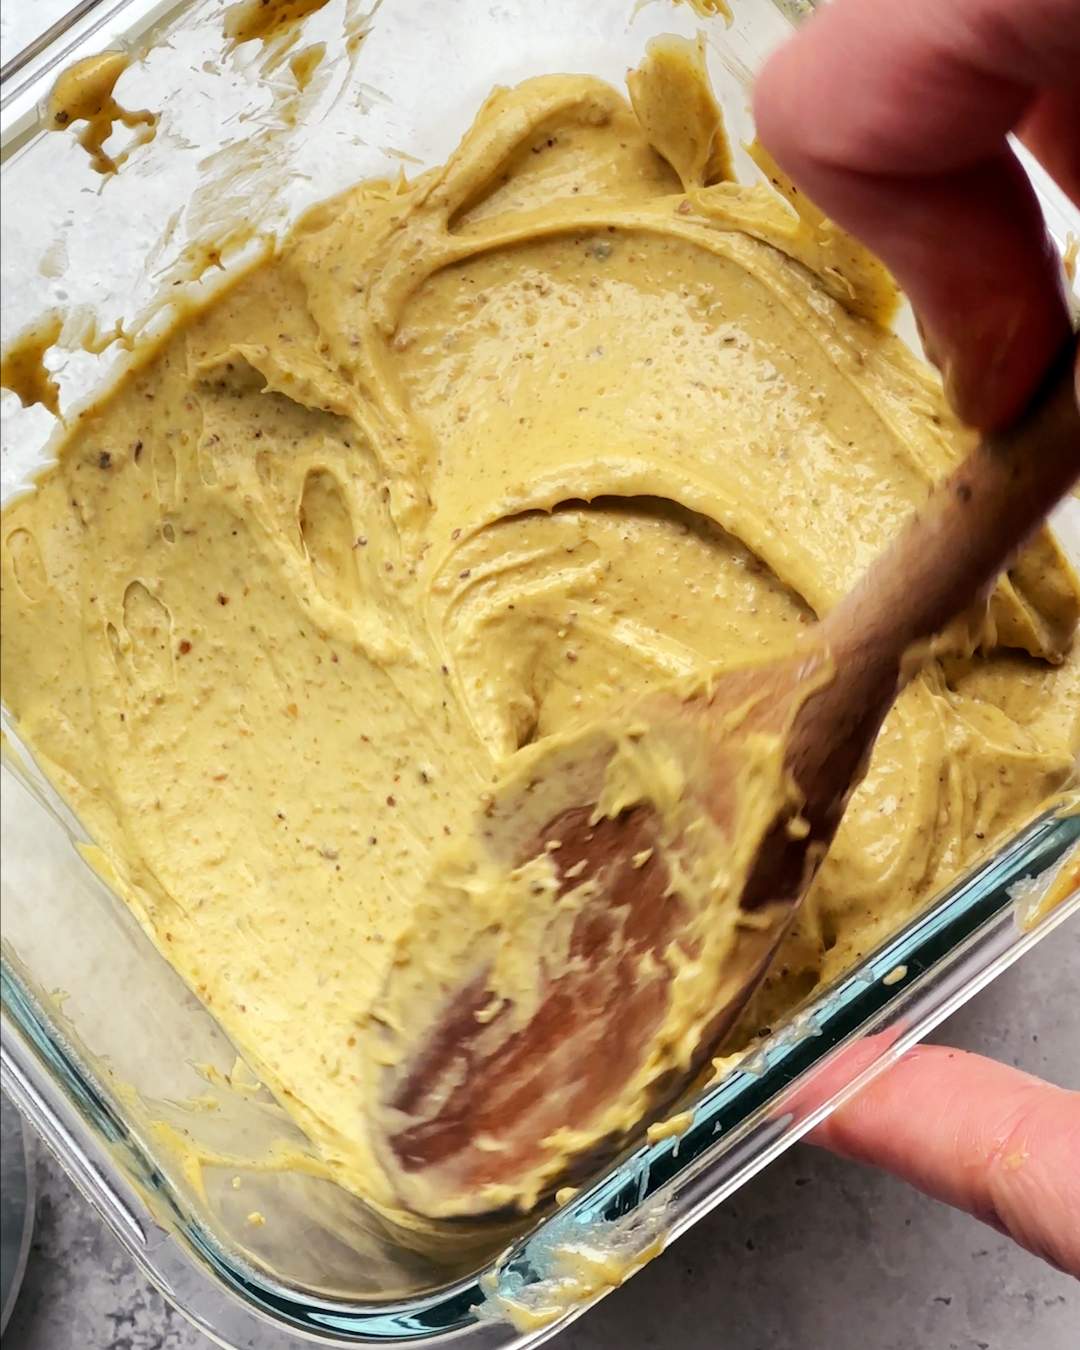
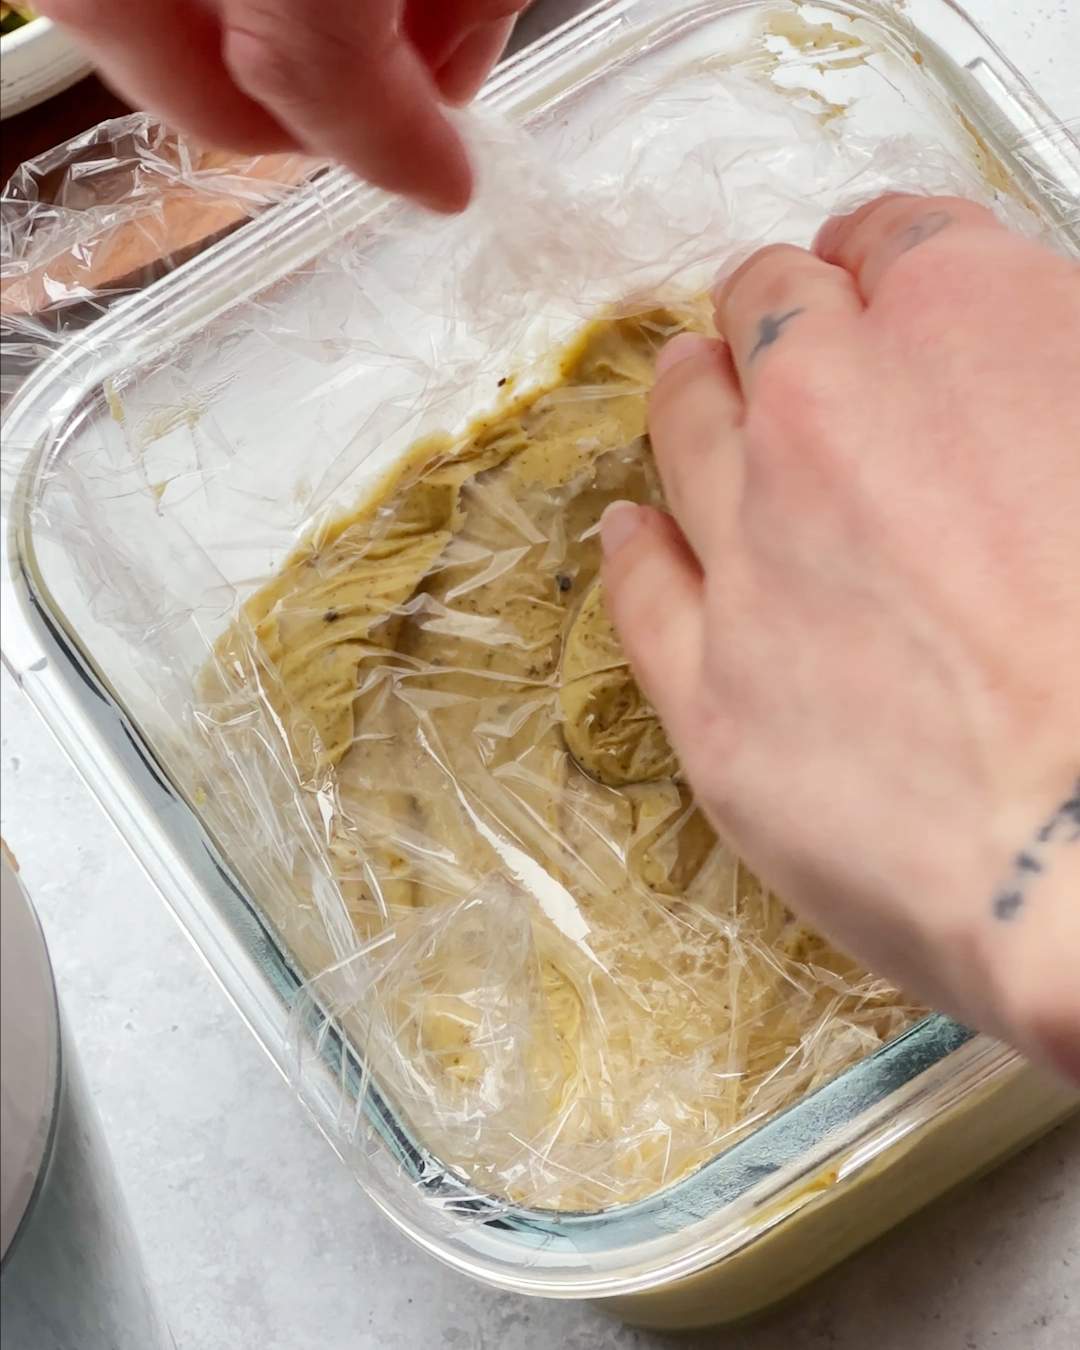
📌 If you love Pinterest you can pin any of the images to your boards!
How To Make Ice Cream Without an Ice Cream Maker
If you don't have an ice cream maker, don't worry. You can still enjoy this delightful Vegan Pistachio Ice Cream!
After cooling the ice cream mixture, simply pour it into ice cube trays and freeze.
Once the mixture is frozen, transfer the ice cubes to a high-speed blender. Use an ice cream taper to push the cubes down towards the blade and blend until smooth.
At this point, your ice cream is ready to serve. However, if you prefer a firmer consistency, transfer the ice cream to a freezer-safe container and freeze until firm.
🍽️ Serving
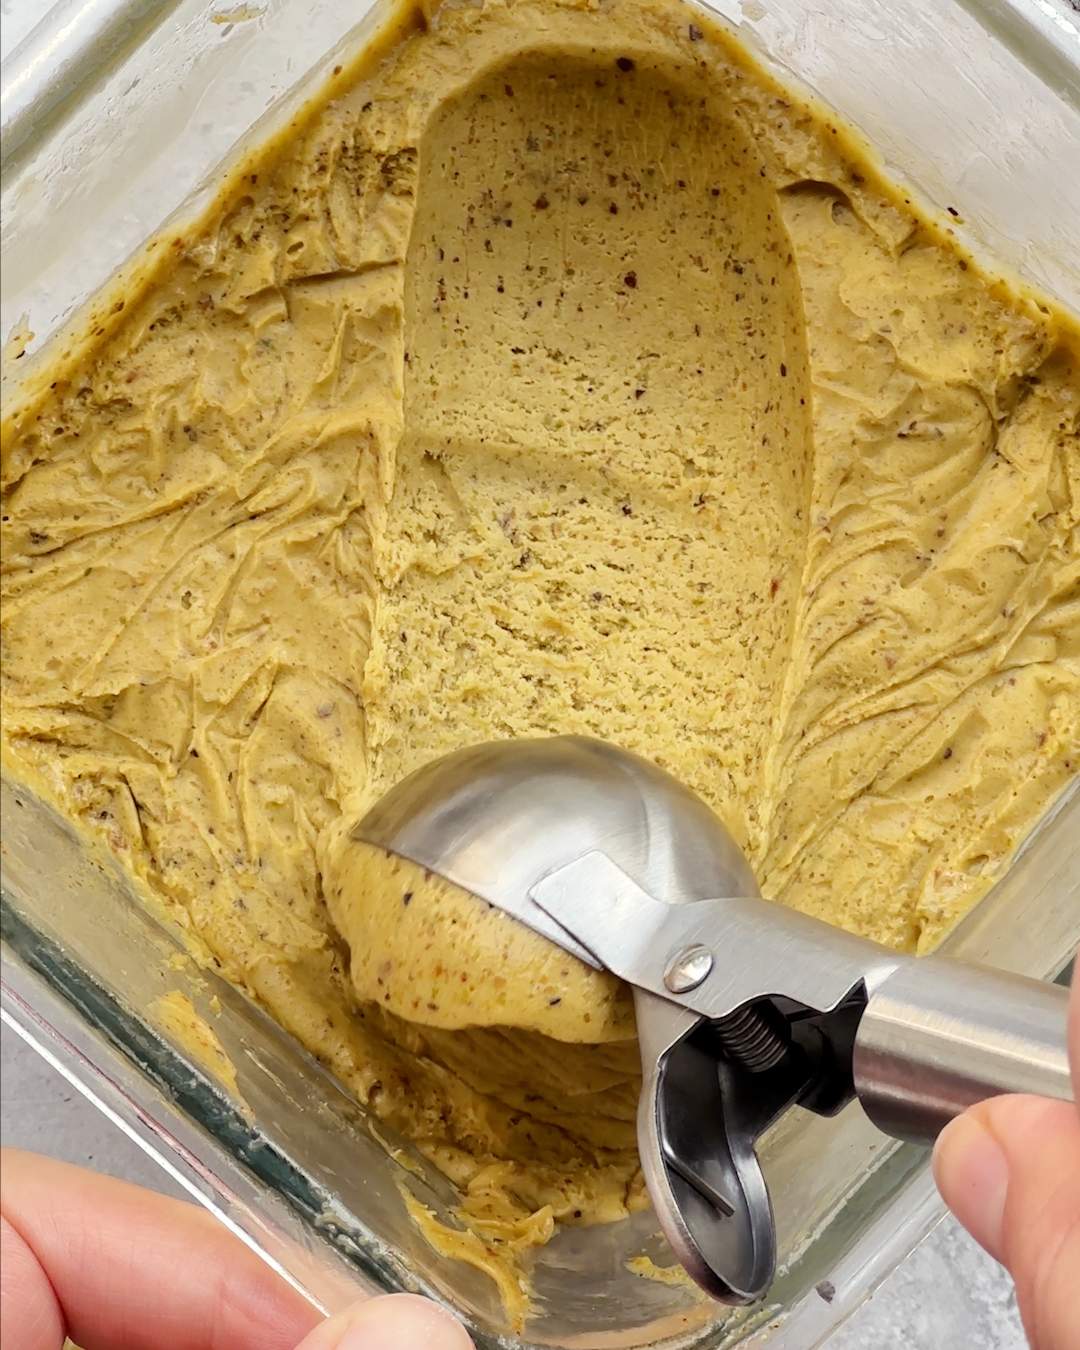
When ready to serve, remove the ice cream from the freezer and let it sit at room temperature for 5 minutes. Then scoop the ice cream into bowls or cones.
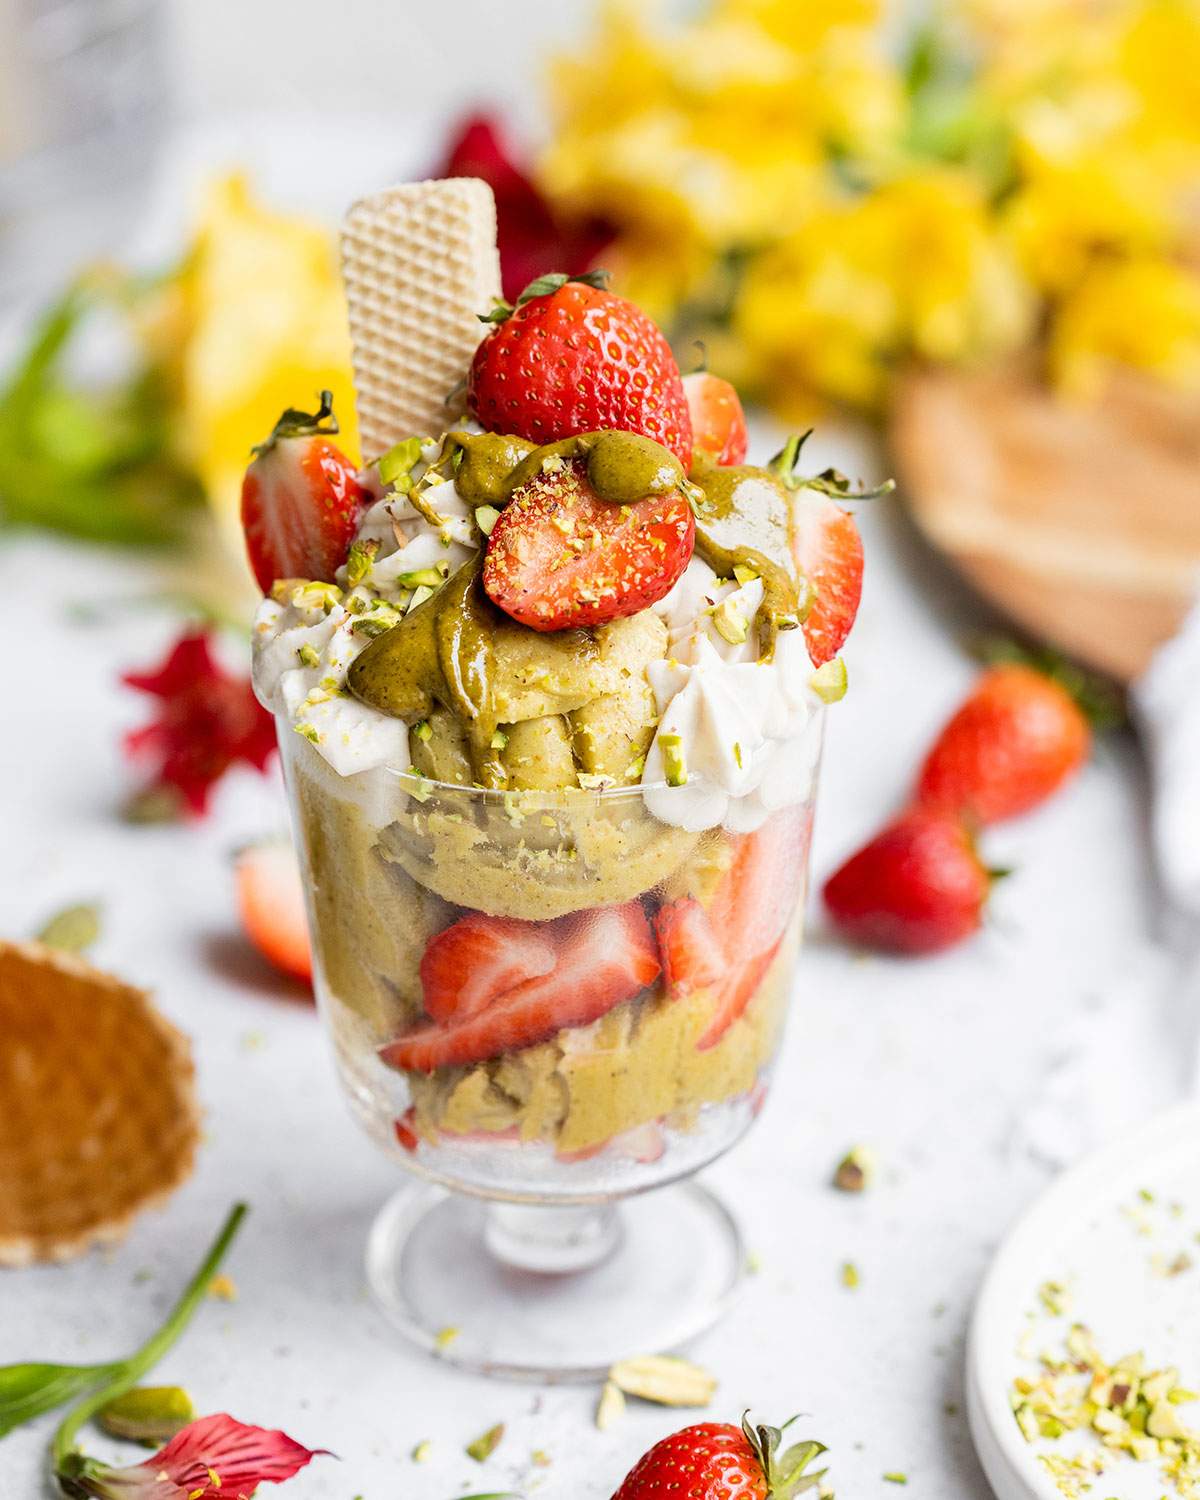
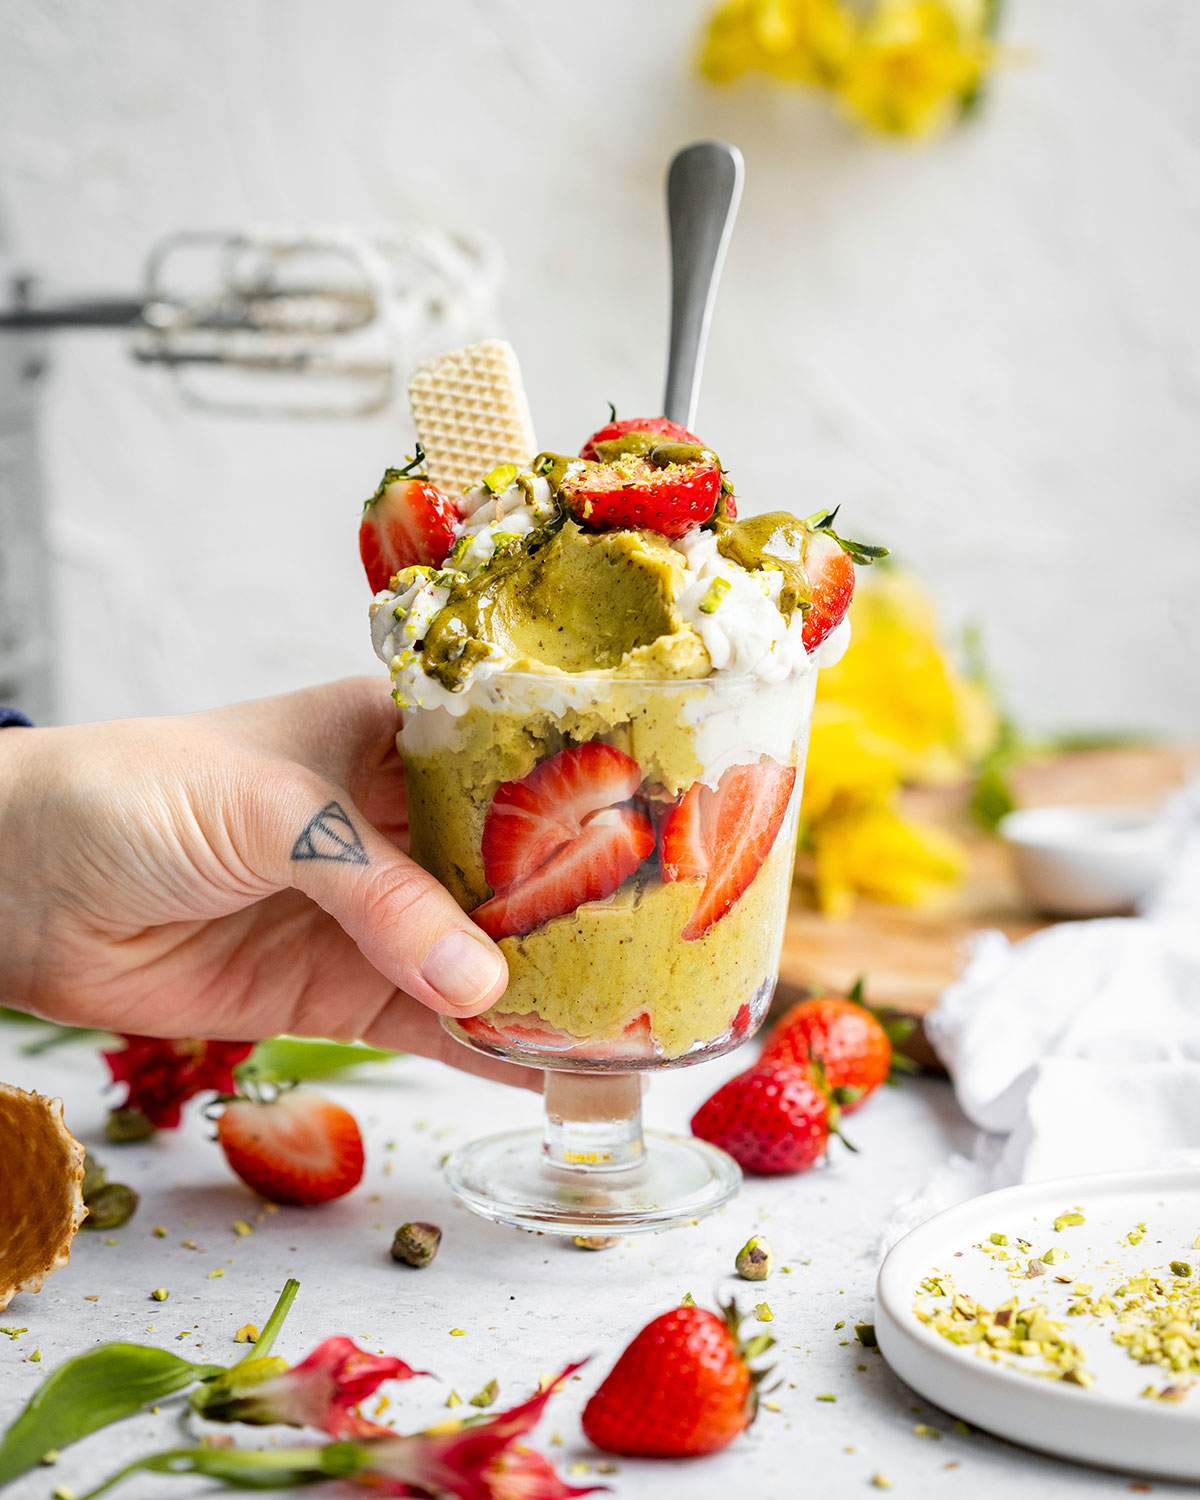
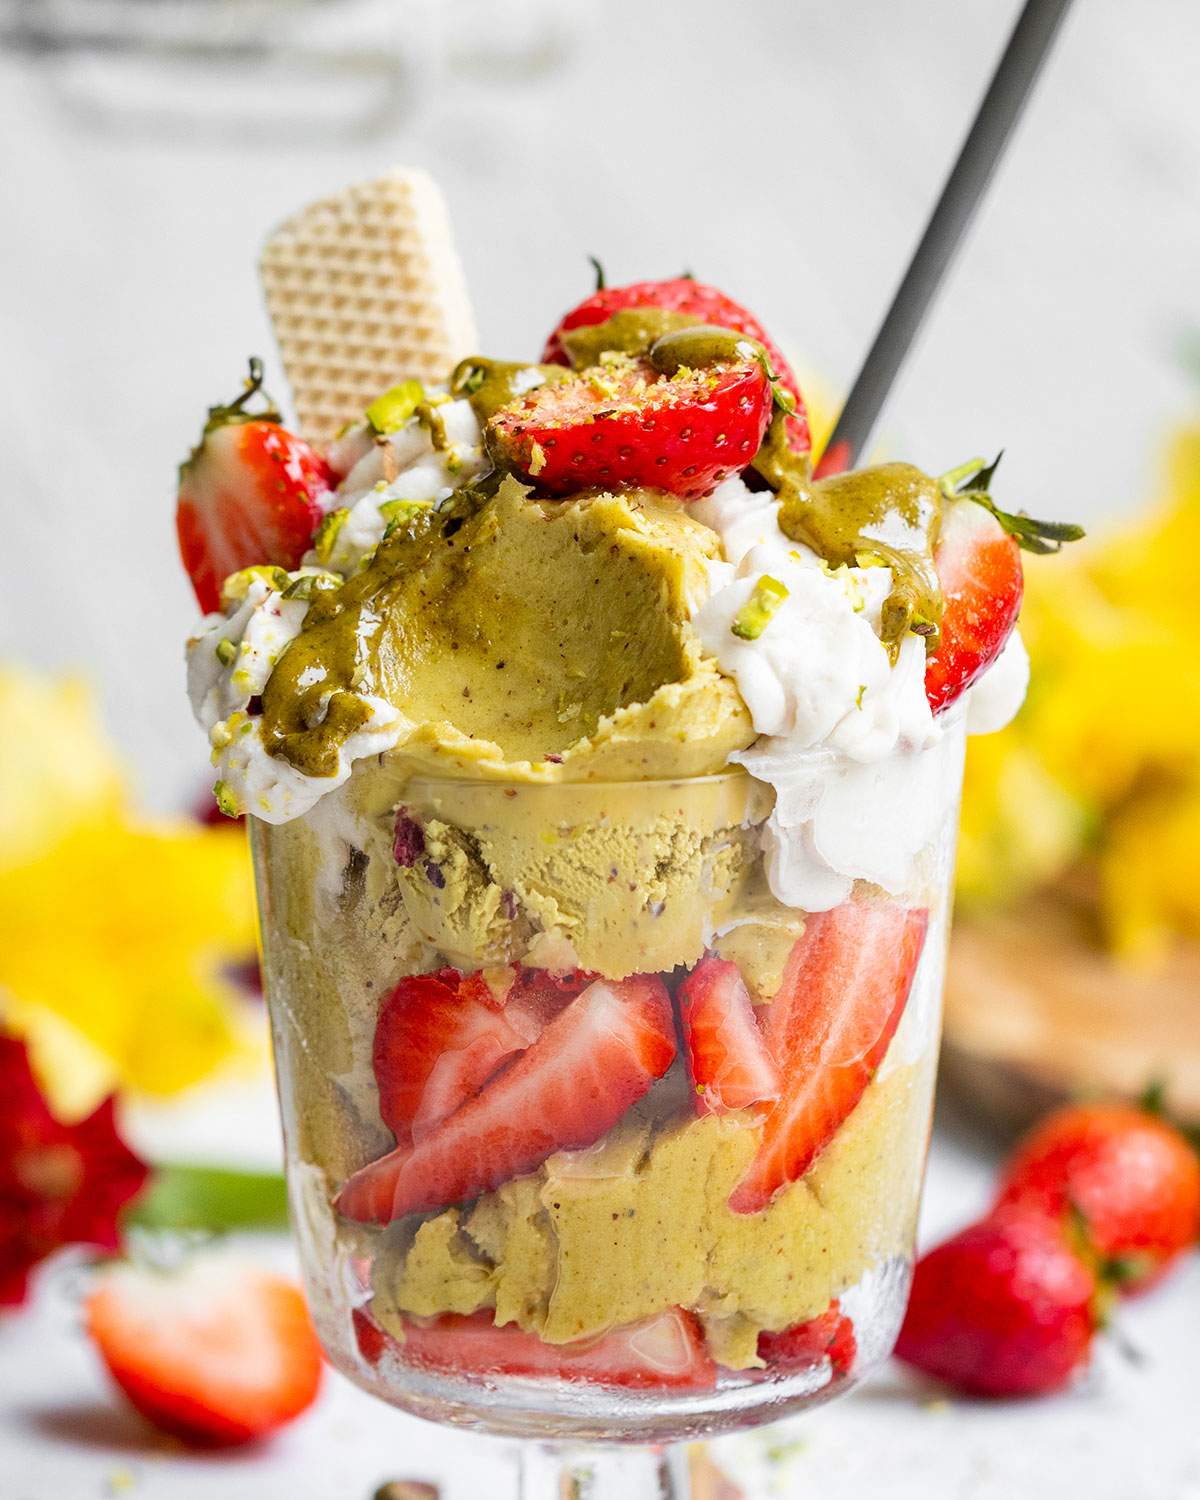
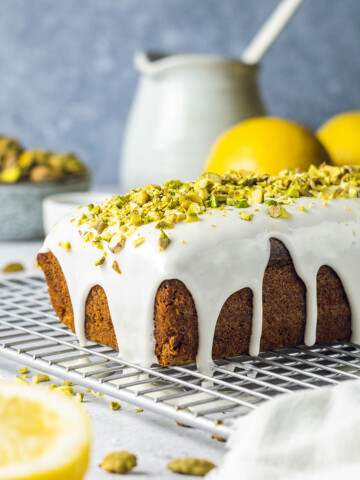
You can garnish with an extra sprinkle of crushed pistachios for a little crunch, and a dollop of whipped coconut cream for added creaminess. If you like, top with fresh fruit such as strawberries for a refreshing burst of flavor. Enjoy this icy treat on its own, or pair it with a warm slice of vegan pistachio cake for the perfect dessert combination.
❄️ Storage
If you find yourself with leftover Vegan Pistachio Ice Cream, don't fret! It stores well in the freezer for up to 2 months. Make sure to keep it in an airtight container to maintain its freshness and prevent absorbing any freezer smells.
Extra Tips:
- If you've stored the ice cream in the freezer for a while, it may become quite hard. Don’t worry! This is normal for homemade ice creams, especially vegan ones. Just let it sit at room temperature for a few minutes before serving to soften it up.
- If you have stored the ice cream for a couple of weeks or more, consider covering the surface of the ice cream with a piece of parchment paper before putting the lid on. This can help prevent ice crystals from forming.
- When you serve the ice cream after it has been stored, you may want to add a fresh garnish of crushed pistachios or a dollop of coconut cream to spruce it up!
If you’ve tried and loved this recipe, I would love for you to leave a star rating and short review at the bottom of this recipe post ❤️
🔜 Related Recipes
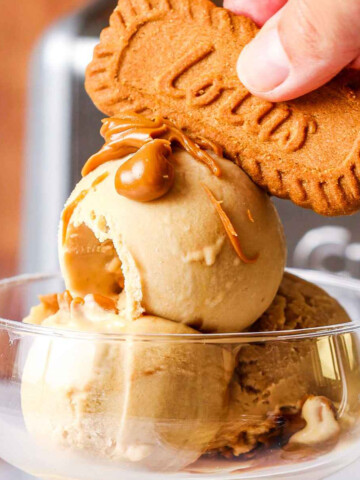
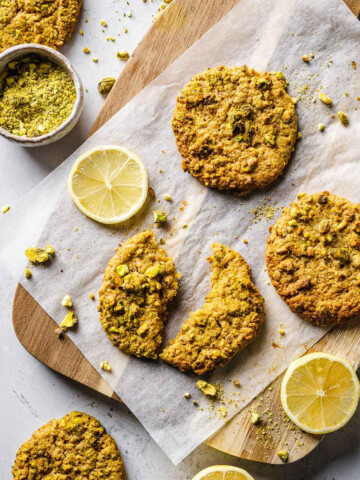
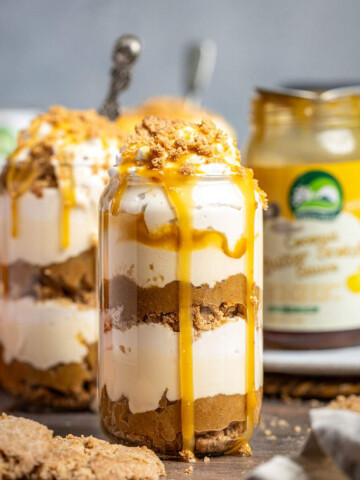
If you loved making this Vegan Pistachio Ice Cream, then you might enjoy these other delicious vegan dessert recipes on the blog. Try this irresistible Vegan Biscoff Ice Cream, or bake a batch of tasty Vegan Pistachio Cookies for a sweet treat! They are also fantastic in combination with the ice cream for the BEST pistachio ice cream cookie sandwiches!
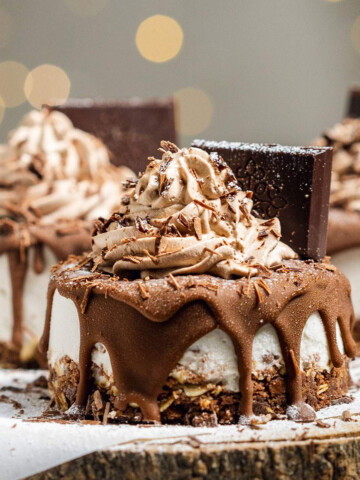
And if you're in the mood for something fancy, this Baked Pistachio Cheesecake is a showstopper that's perfect for special occasions or just because!
Here's a handy recipe card that you can print out and keep in your kitchen for easy reference:
📖 Recipe Card
Vegan Pistachio Ice Cream
Equipment
- 1 oven for toasting the pistachio nuts
- 1 Baking Sheet
- 1 food processor or high-speed blender to process the pistachios into a smooth butter and blend the ice cream mix
- 1 medium saucepan to heat the ice cream mixture and meld the flavors
- 1 Airtight Container to chill the mixture in the refrigerator
- 1 ice cream maker To churn the ice cream. If you don't have one, read through the extra tips I've included in the blog post above.
- 1 Freezer Container to freeze the churned ice cream until firm
- 1 ice cream scoop To serve the ice cream. If you don't have one, a regular spoon will do, but you might want to run it under hot water first to make scooping easier.
Ingredients
- 1 cup raw pistachios (125g)
- 1 can sweetened condensed coconut milk (320 ml)
- 1 can full-fat coconut milk (400 ml)
- 2 teaspoon vanilla extract
- 1 pinch salt
For Serving:
- coconut whipping cream
- fresh fruit e.g. strawberries
- pistachio nuts crushed
Instructions
- To start, place the bowl of your ice cream maker in the freezer the night before to ensure it's thoroughly chilled.
- Preheat your oven to 350°F (180°C). Arrange raw unsalted pistachios on a baking sheet in a single layer. Toast them in the oven for 8-10 minutes, until they're fragrant and lightly golden. Be careful to avoid burning them. Once done, allow them to cool completely.
- Transfer the cooled pistachios into a food processor or high-speed blender. Process until it becomes a smooth butter. This may take about 10-15 minutes depending on your blender's power. Remember to pause and scrape down the sides occasionally.
- In a blender, combine the smooth pistachio butter, sweetened condensed coconut milk, full-fat coconut milk, vanilla extract, and a pinch of salt. Blend this mixture until it reaches a smooth consistency.
- Pour the blended mixture into a medium saucepan. Heat over medium-low heat, stirring often, until it starts to steam. Avoid letting it boil. Once heated, remove from heat and allow it to cool to room temperature.
- Transfer the cooled mixture into an airtight container. Place this container in the refrigerator for at least 4 hours, or until it's thoroughly chilled.
- After the mixture is chilled, place the ice-cold bowl into your ice cream maker. Pour in the chilled mixture. Follow your ice cream maker's instructions to churn the ice cream until it achieves a soft-serve consistency.
- Transfer the soft-serve ice cream into an airtight freezer-safe container. Cover with a lid or plastic wrap, ensuring it touches the surface of the ice cream to prevent ice crystal formation. Freeze for at least 4 hours, or until firm.
- When you're ready to serve, remove the ice cream from the freezer and allow it to sit at room temperature for about 5 minutes. Run an ice cream scoop under hot water and scoop the ice cream into bowls or cones. Top with whipped coconut cream, fresh fruit, and crushed pistachios.
Notes
- Serving - To serve this creamy Vegan Pistachio Ice Cream, remove it from the freezer and let it sit for about 5 minutes to soften slightly. Then, scoop into bowls or cones. Garnish with an extra sprinkle of crushed pistachios for a little crunch, and a dollop of whipped coconut cream for added creaminess. If you like, top with fresh fruit such as strawberries for a refreshing burst of flavor. Enjoy this icy treat on its own, or pair it with a warm slice of vegan cake for the perfect dessert combination.
- Storing - Storing leftovers is a breeze! Simply place any leftover Vegan Pistachio Ice Cream into an airtight container and store it in the freezer. If you want to enjoy your ice cream within the next few days, you can store it in the main compartment of your freezer for easier scooping. If you plan to store it for a longer period, place it in the back of your freezer where it's coldest to maintain its fresh flavor and creamy texture.
- To serve your leftover ice cream, remove it from the freezer and let it sit at room temperature for about 5-10 minutes to soften slightly. This will make it easier to scoop. If you find that your ice cream is too hard to scoop straight from the freezer, a quick tip is to heat up your ice cream scoop under warm water before scooping.
- Keep in mind that homemade ice cream, especially vegan versions, can become very hard when frozen. This is completely normal, and allowing it to soften slightly before serving will give you that perfect creamy consistency again.
*Disclosure: This page may contain affiliate links and sponsored links that earn me a small commission, at no additional cost to you. You can find more information in my Privacy Policy.
© 2024 Romy London / Romina Callwitz | All images, videos, wordings and content are copyright protected and belong to Romina Callwitz. Please do not use any of my content without prior permission. If you wish to re-publish any (part of my) content, please get in touch via email. Thanks for your support!








💭 Leave a Comment