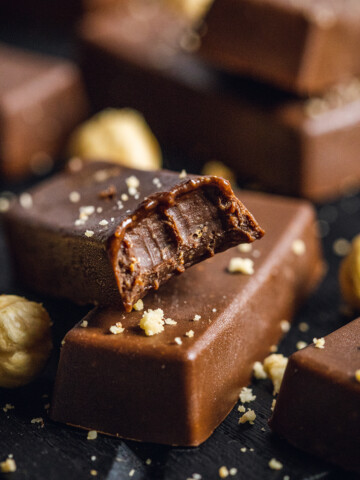
Diving vegan kinder chocolate bars that melt in your mouth! With a sweet white cream filling surrounded by a layer of vegan chocolate.
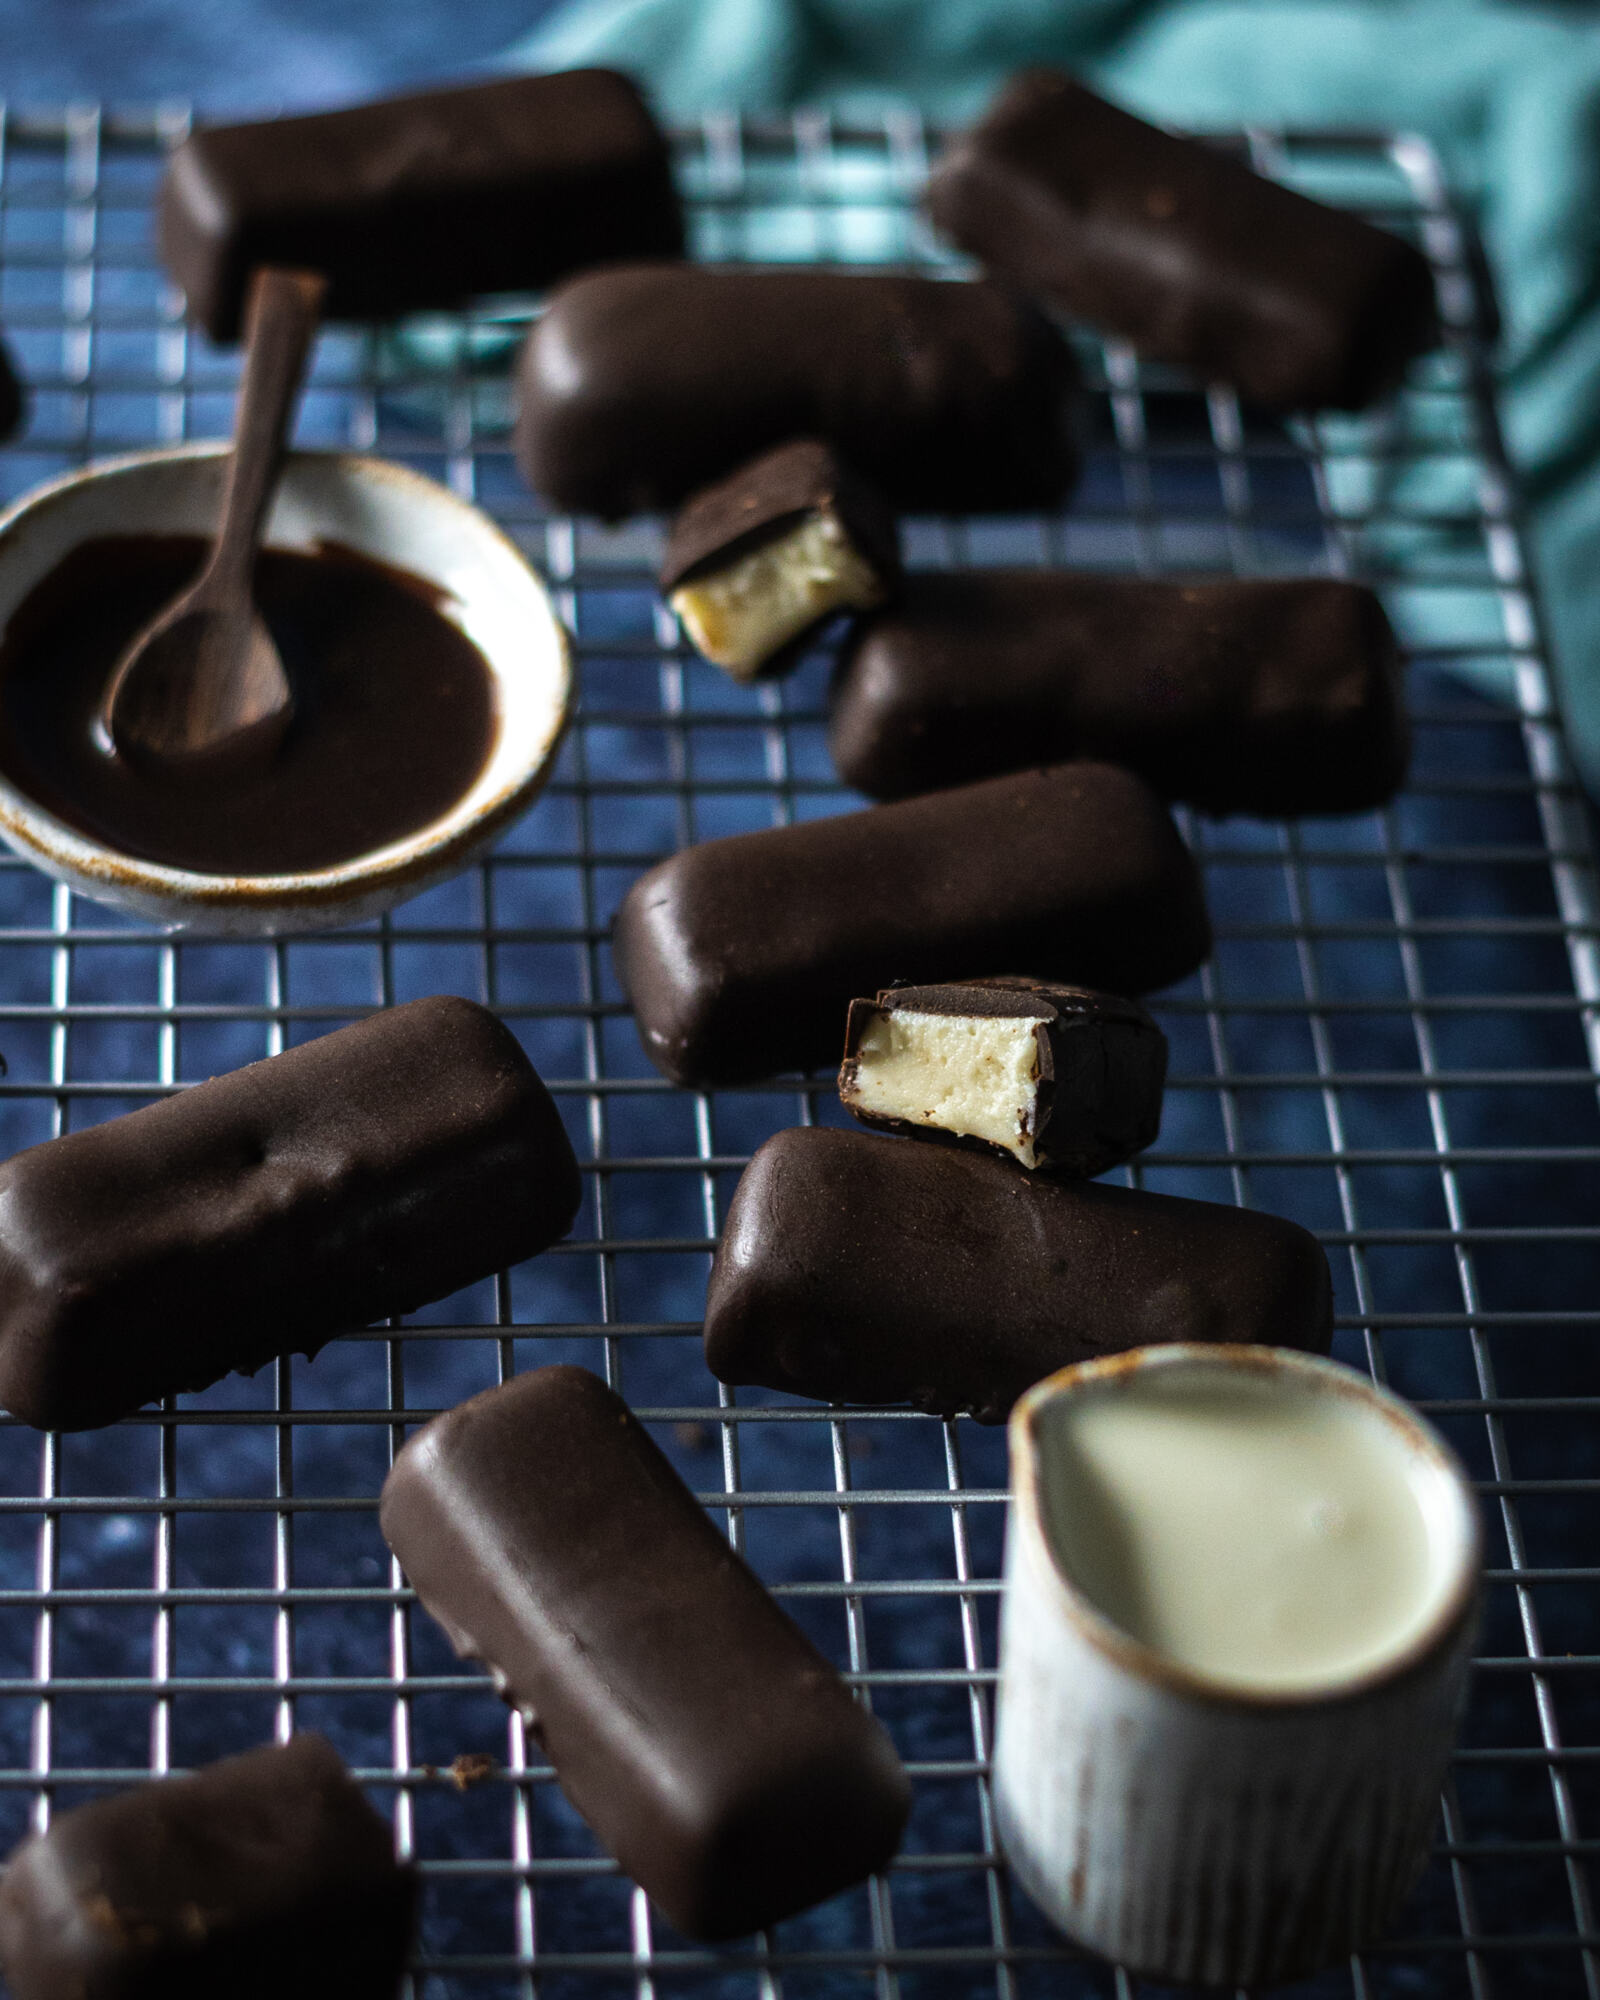
If I had to pick out one sweet that makes me instantly feel nostalgic, it would definitely be Kinder chocolate! Growing up in Germany, this was this most common snack during my childhood, I vividly remember being given kinder chocolate bars by my grandparents and aunts and uncles every time we would visit them - and to this day I still miss a good vegan alternative to this iconic chocolate bar! This Vegan Kinder Chocolate Bars Recipe is my attempt at recreating this amazing snack bar with its crisp chocolate layer and smooth melting cream filling.
One of the most recognisable things about these kinder chocolate bars is their shape. After a long search on the internet, I've not found any existing silicone shapes that match the iconic chocolate bar shape - and to be completely honest, I'm pretty sure they are patented and not sold anywhere commercially.
For my bars, I've used a simple rectangular chocolate bar mould and whilst it's not the same as the original chocolate bar, it still created wonderful and delicious vegan kinder chocolate bars.
What you'll need to make Vegan Kinder Chocolate Bars
Ingredients
- coconut oil: you can use a refined version, which is usually lighter in the coconut flavour, however, if you don't mind a little coconutty flavour, then feel free to use an extra virgin coconut oil.
- smooth cashew butter: buy ready-made or simply make your own in the blender
- vegan cream: I've used a soya cream by Alpro
- icing sugar (powdered sugar)
- salt: you will only need a tiny bit to enhance and bring out the full flavours of the ingredients
- vegan milk chocolate: on this occasion, I've used dark vegan chocolate, as you might be able to tell from the pictures. You can however also utilise vegan milk chocolate to get the results closer to the original Kinder chocolate style.
Equipment
- double boiler
- mixing bowl
- chocolate bar mould
To make this recipe you will need a chocolate mould. The one that I use is from Lakeland and I bought it a few years ago in the UK - it seems however that they're not stocking this particular one anymore - otherwise I surely would have dropped a link for you here. The one listed above is from Amazon and pretty close to the one that I have used, so I'm sure it will work just fine. In any case, be sure to let the cream filling sit in the freezer and firm up completely before removing it from the mould.
Instructions (Step-by-Step)
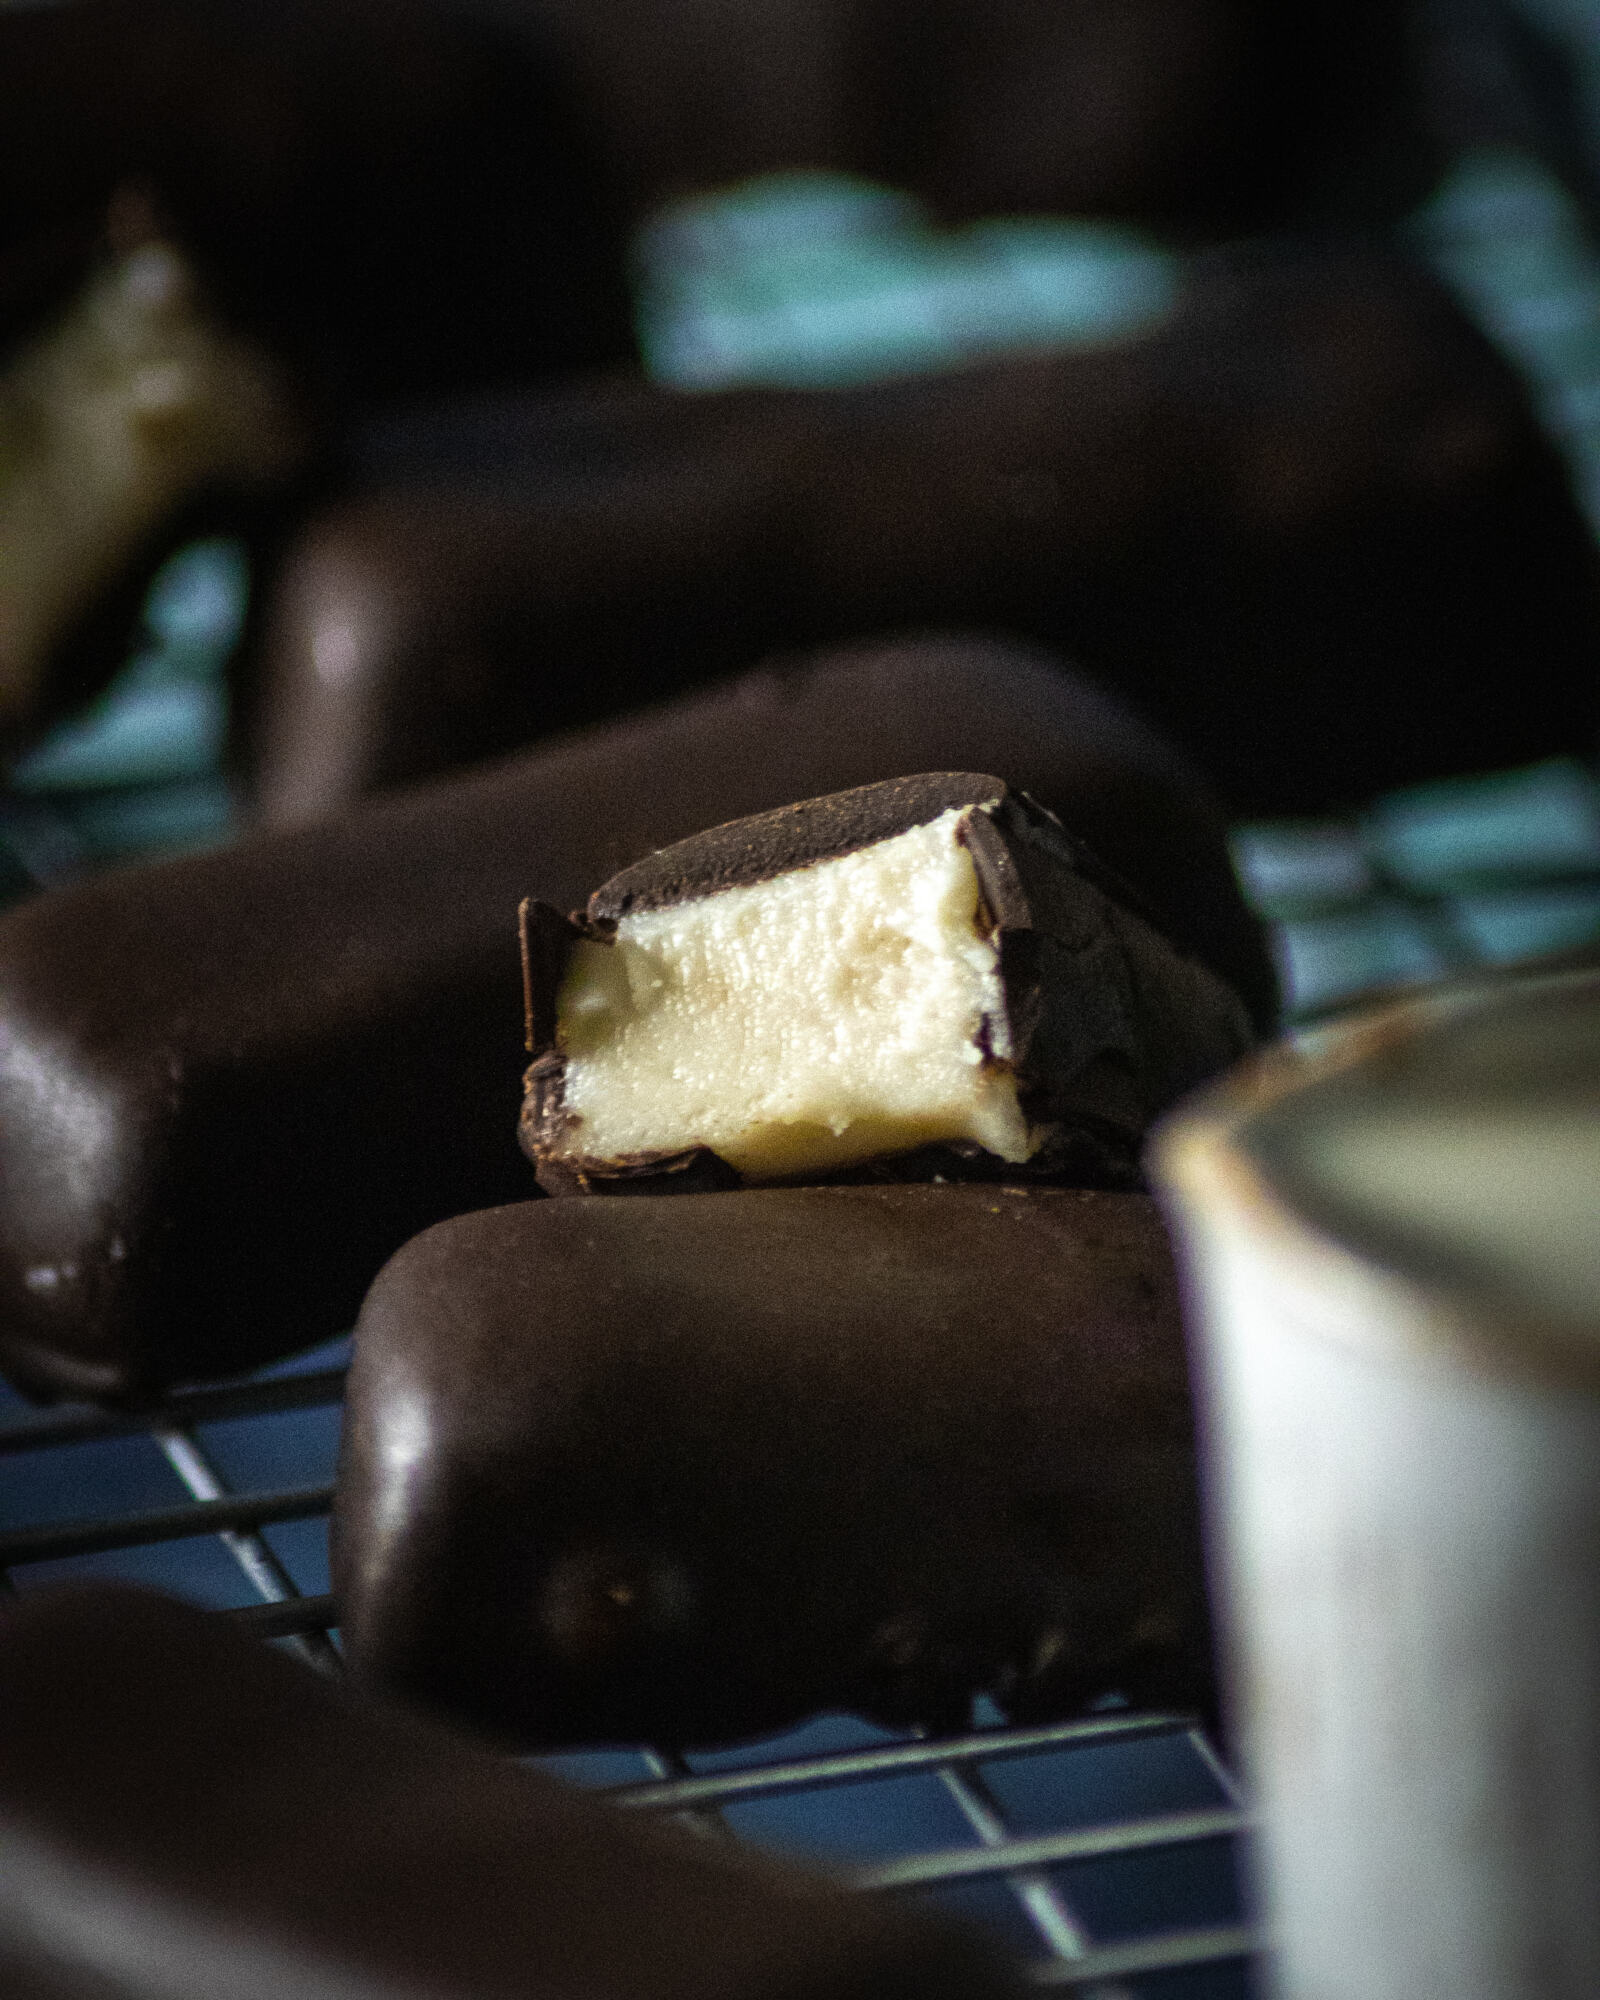
These vegan kinder chocolate bars are relatively simple to make. Reviewing the original, there are 2 main components: the creamy filling and the outer 'milk' chocolate layer. On this occasion, I've swapped out the milky chocolate with dark chocolate - but there are definitely a number of vegan 'milk' chocolates on the market that would be perfect for the chocolate layer.
Creating the creamy filling
To make these nostalgic chocolate bars, start by creating a creamy filling. This will need to rest in the freezer for a minimum of 2 hours or ideally overnight to set. Start by melting the coconut oil in a double boiler on the stove. Alternatively, you can melt the oil in a microwave or in an oven on low heat.
In a small bowl, whisk together the cashew butter and the vegan cream - be gentle and slow here in the beginning as you will need to break down the cashew butter with the whisk until it properly combines with the cream. Once smooth, stir in the melted coconut oil and sprinkle in the icing sugar and salt. Stir well until everything is well combined and smooth, then carefully transfer the mixture into the silicone chocolate bar moulds and place it in the fridge for a minimum of 2 hours until completely frozen.
Coating with vegan chocolate
Before removing them from the freezer, start melting your chocolate and set aside a cooling rack or silicone baking mat to place down the finished chocolate bars once coated. As soon as your chocolate is liquid, remove the milky creamy layers from the freezer and carefully remove the individual ones from the silicone mould. Place them into the melted chocolate one by one and use a fork to remove the chocolate-coated bars. Carefully allow for any excess chocolate to drip off and then place each bar onto a cooling rack or a silicone baking sheet for the chocolate to harden.
Extra Tip: On this occasion, I've used a cooling rack, however, it can be a little difficult to smoothly remove the bars from these without any chocolate sticking to the cooling rack. If well dripped off, I would definitely recommend using a silicone baking mat to keep the bars fully coated in chocolate.
How to store homemade chocolate bars
Repeat until all bars are coated in chocolate. Keep the chocolate bars in an airtight container in the fridge or freezer and enjoy!
Substitutions
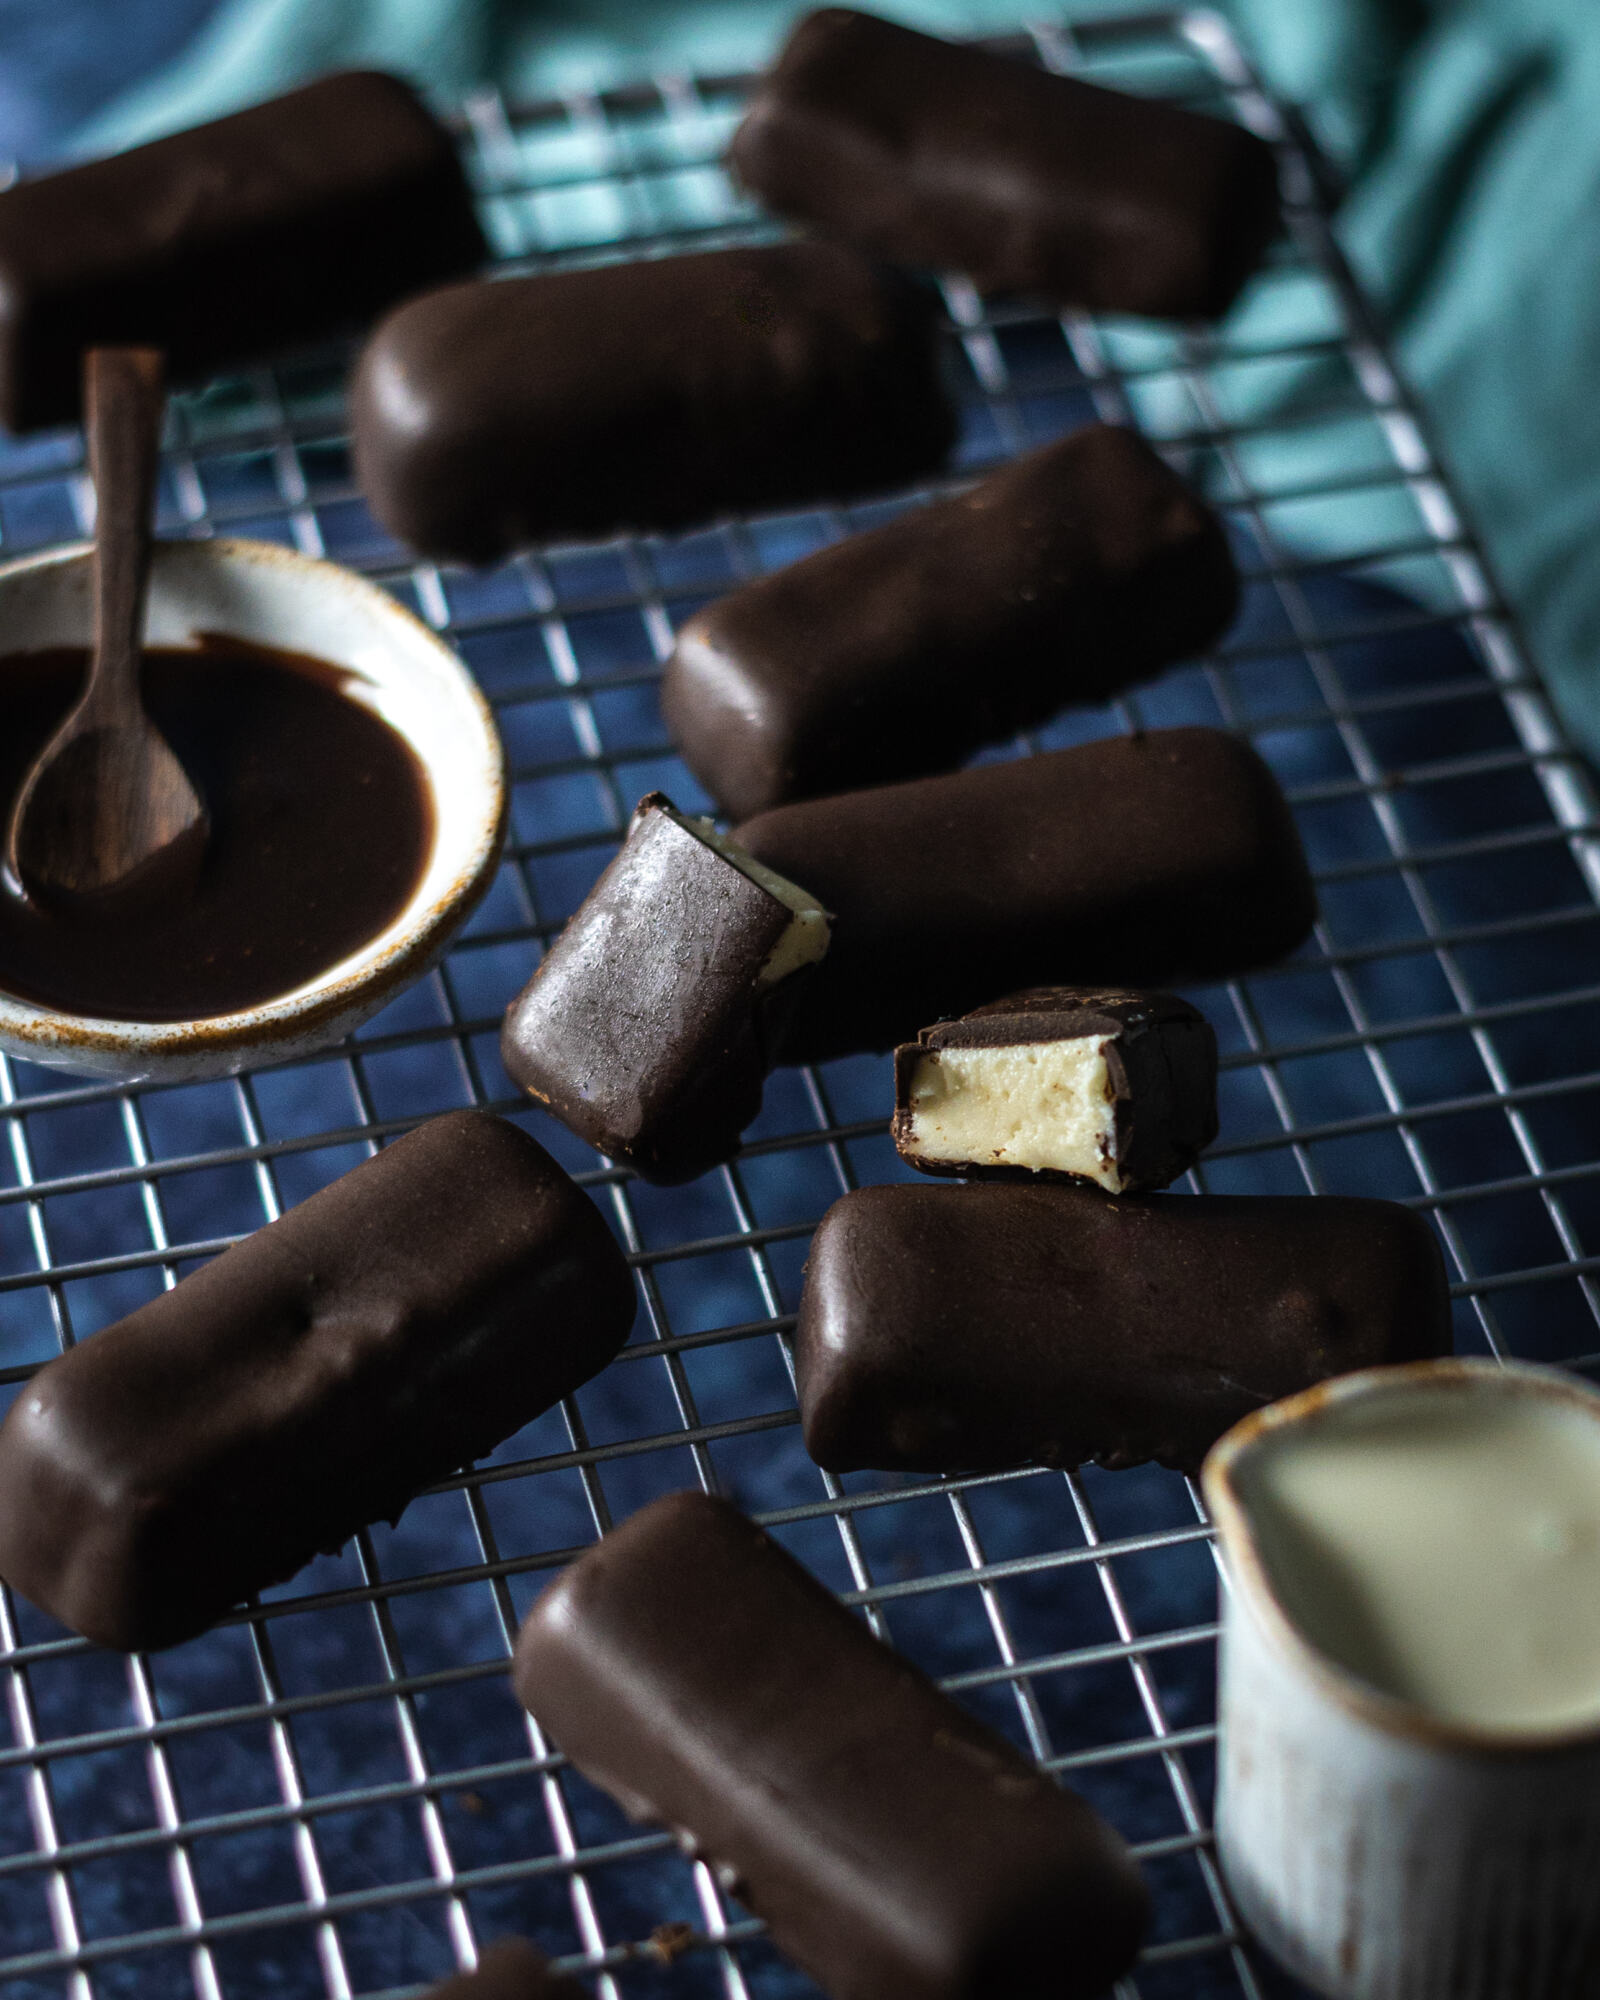
- Vegan chocolate - on this occasion, I have used dark vegan chocolate for the chocolate coating of these vegan kinder chocolate bars - however, I do recommend using a dairy-free 'milk' chocolate alternative if you're trying to keep the flavour as close to the original as possible. Nomo chocolate (available in UK supermarkets) is a great alternative - ensure to use a bar of smooth chocolate without any bits and pieces.
- Coconut oil - the best type of coconut oil to use for this recipe is refined, deodorised coconut oil, as the coconut flavour is less dominant in this version. You can however also use virgin coconut oil, just be aware that this will add a coconut flavour to the bars, - but if you don't mind that, then please go ahead!
- Dairy-free cream - for this recipe, I personally use a single soya cream as I find this gives the bars the most authentic flavour. If you don't have any to hand or want to lower the number of calories in this recipe, you can also use a vegan soy yoghurt alternative, however, this will slightly alter the taste.
You might also enjoy these recipes:
This recipe is:
- 100% vegan
- naturally gluten-free
- dairy-free
- egg-free
- super creamy
- delicious
- easy to make in the fridge
📖 Recipe Card
Vegan Kinder Chocolate
Equipment
- 1 medium bowl
- 1 silicone chocolate bar tray
Ingredients
- 100 g coconut oil (deodorised) melted
- 1 tablespoon cashew butter
- 120 ml vegan cream
- 45 g icing sugar
- 1 pinch of salt
- 200 g vegan milk chocolate
Instructions
- Start by melting the coconut oil in a double boiler on the stove.
- Whisk up the cashew butter and vegan cream in a bowl, then sprinkle in the icing sugar and salt. Mix until well combined and smooth, then transfer the mixture to a chocolate bar mould and place into the freezer overnight or for a minimum of 2 hours until completely frozen.
- Melt your vegan chocolate in a double boiler on the stove and gently remove the frozen cream layers from the mould. Place them in the melted chocolate one by one, lift them out carefully with a fork and allow for any excess chocolate to drip off. Place them on a cooling rack or a silicone mat and transfer to the fridge to set. Repeat until all bars are coated in chocolate.
- Keep the chocolate bars in the fridge or freezer and enjoy!
Notes
- Storage - It's best to store these in an airtight container in the fridge - or alternatively in the freezer for a firmer cream layer. Before enjoying them, take them out of the freezer for 10 minutes before indulging.
- To prevent the chocolate bars from melting at room temperature, you can temper the chocolate before coating your bars.
- Coconut oil - for best results, use deodorised coconut oil. It will have less of a coconut taste.
Looking for some more vegan snacks? I've got a whole bunch on the blog, why not try one of these favourites:



Chris says
Used to love these as a kid and so happy I can make these again now!
Marielle says
Oh! I'm definately going to try and make these for my son who is allergic to milk! Is there anything you could use instead of cashew butter?
romylondonuk says
Oh, I hope he enjoys it! I like using cashew butter because A) it's light in colour and super creamy and B) it's relatively flavourneutral compared to other nuts. In theory, this recipe works with any smooth nut butter, so if your son loves almond flavour, for example, you can swap it out for smooth almond butter - the colour of the filling will be slightly different though, but surely just as delicious 🙂 Hope this is helpful!
Fanni says
Hi! Can I substitute the soy cream to canned coconut cream or whipped coconut cream?
romylondonuk says
Hi Fanni, yes you totally can! The filling will have a strong coconut flavor in that case, but if you don't mind that, feel free to swap it out 🙂 Oat cream also works! Hope this helps 🙂