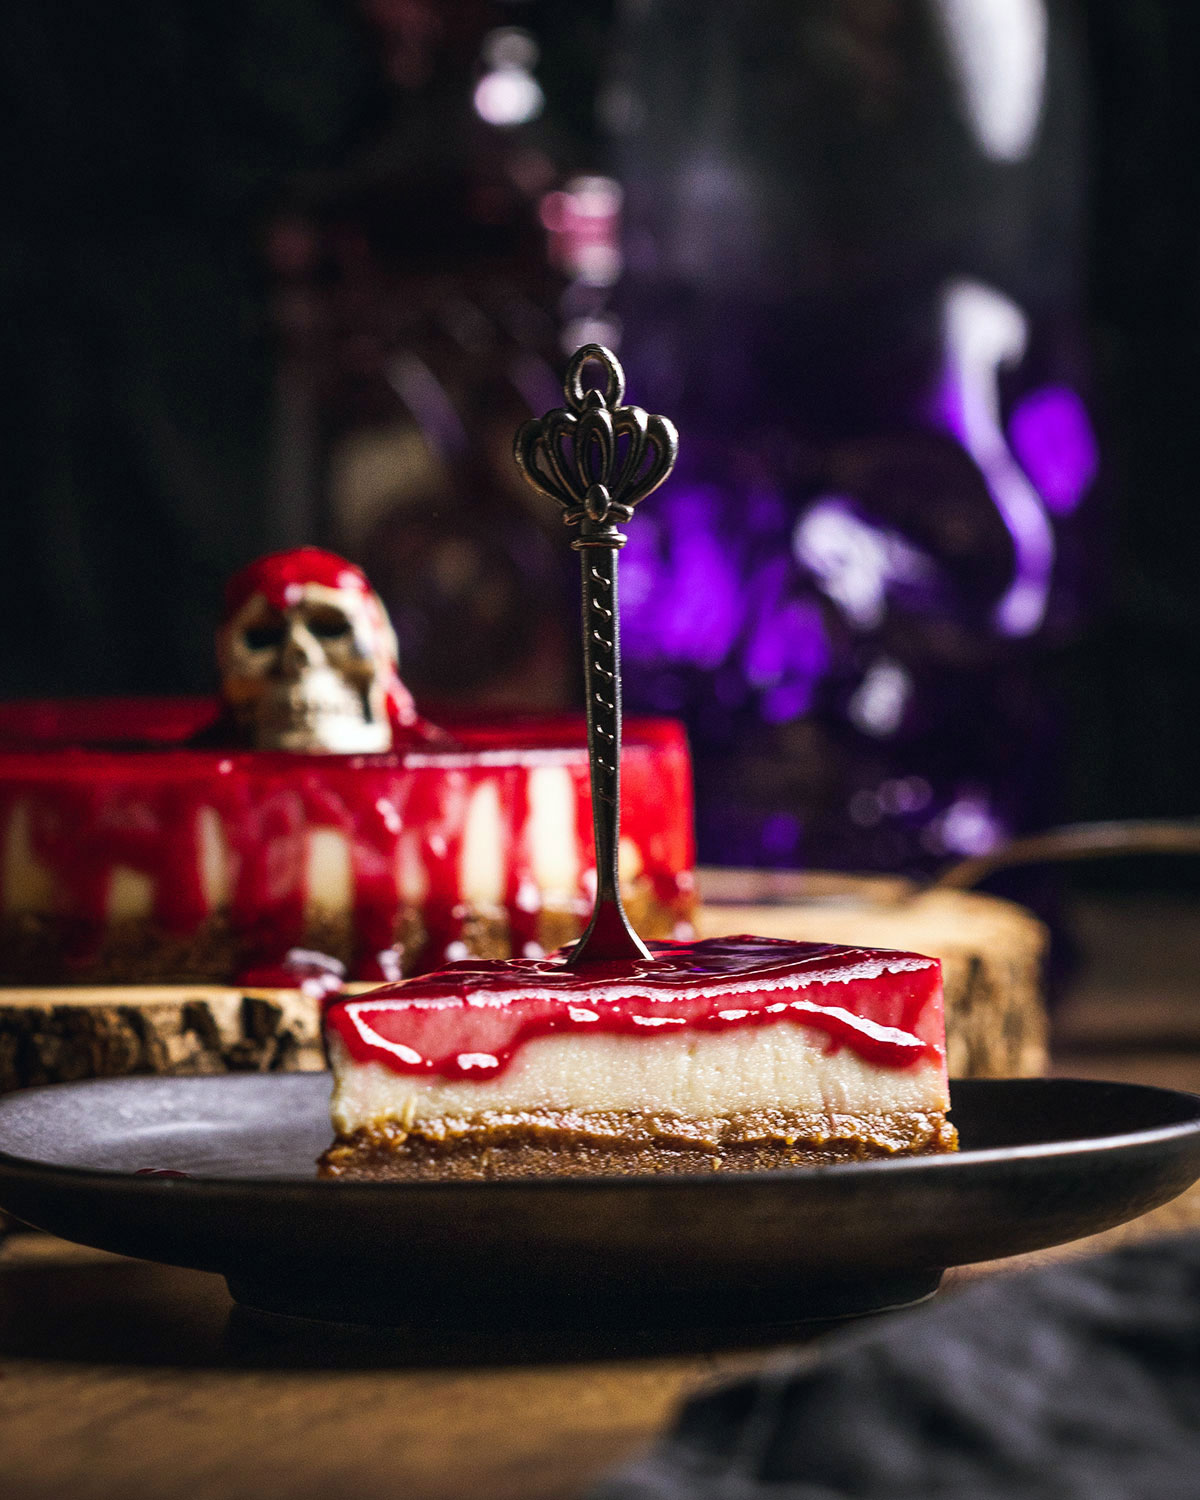
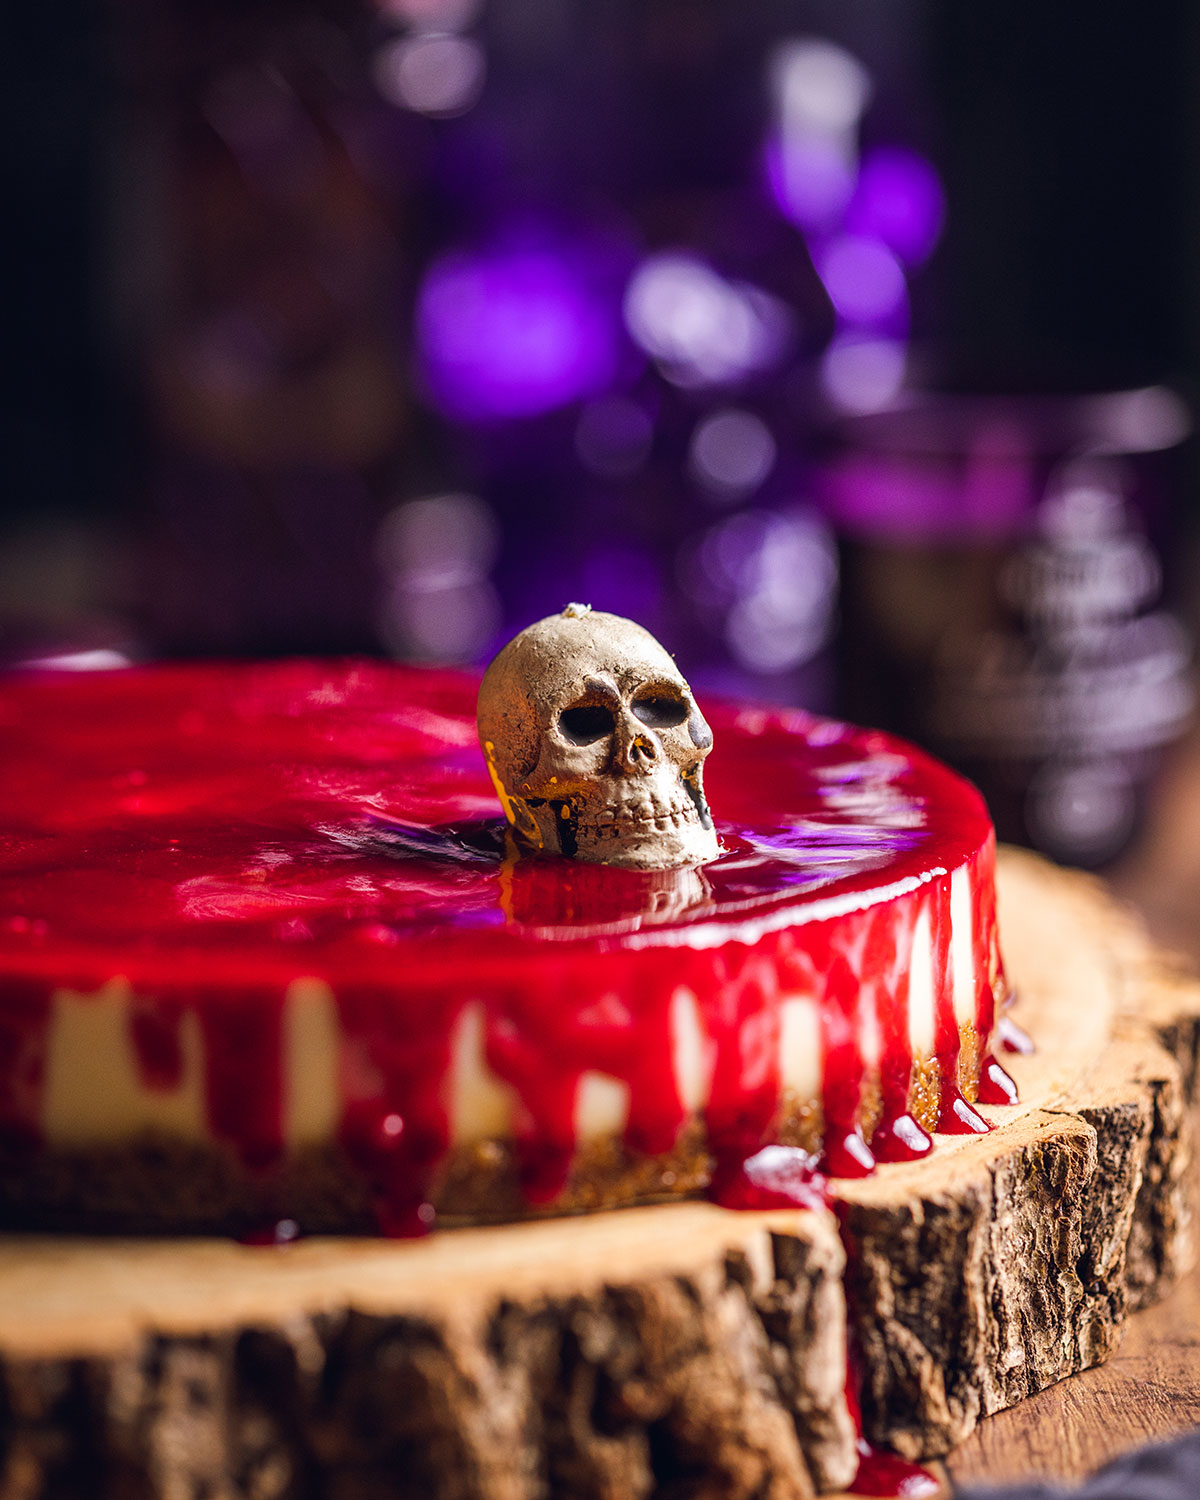
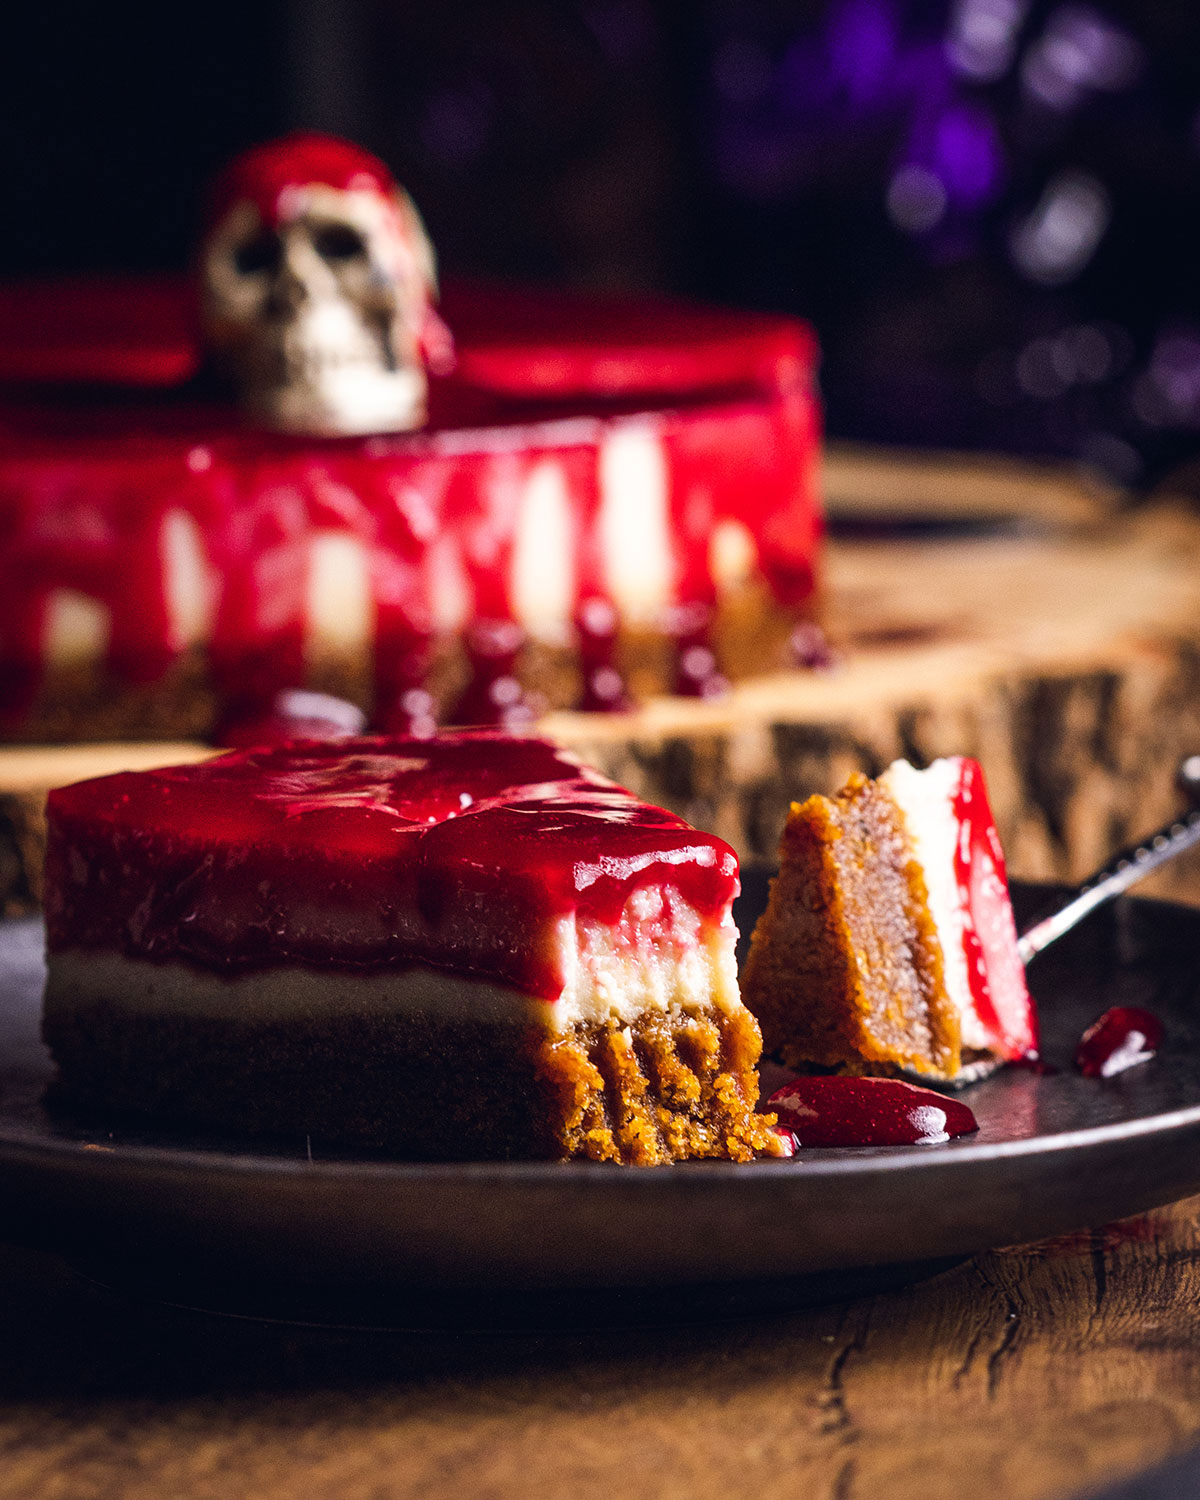
This spooky Halloween cheesecake is made from a vegan recipe, with a Biscoff base, creamy lemon cheesecake, and a spooky raspberry glaze.
If you love everything Halloween-themed just as much as I do, then this one's for you! This vegan cheesecake is perfect for your next Halloween party! With a simple Biscoff and date base, a creamy lemon cheesecake filling, and a gorgeous raspberry glaze, this vegan Halloween cheesecake recipe put the 'oo' in 'spooky'.
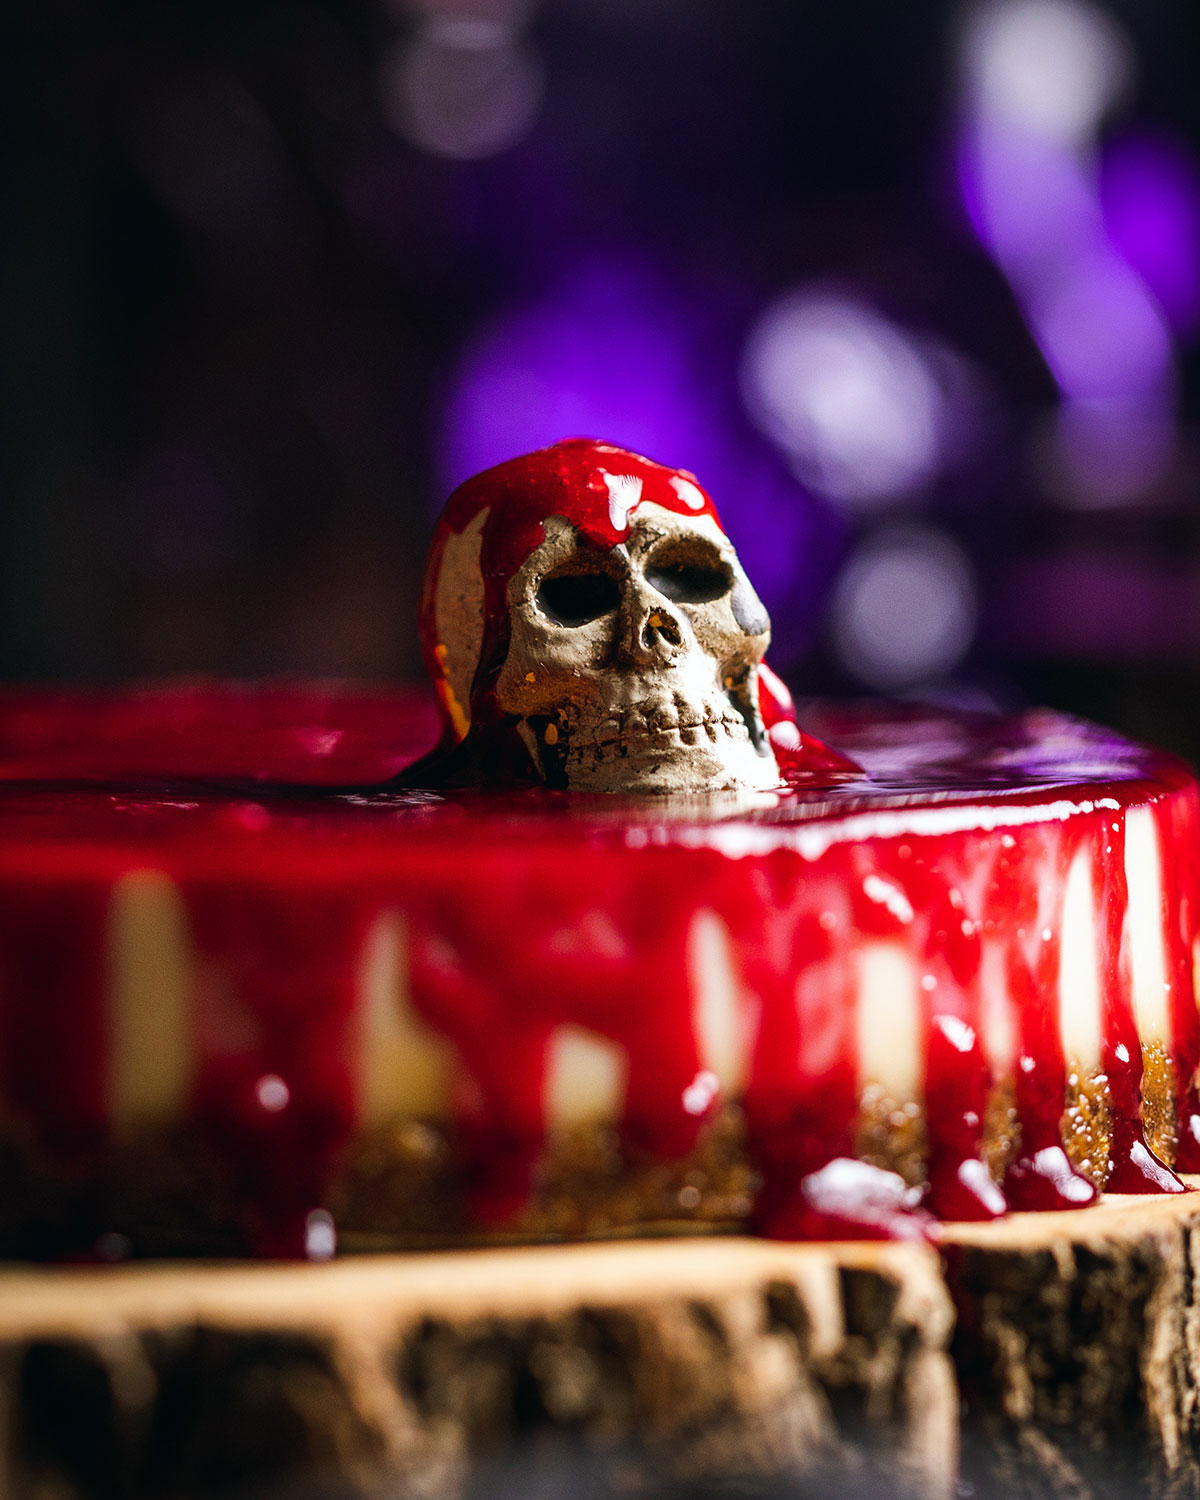
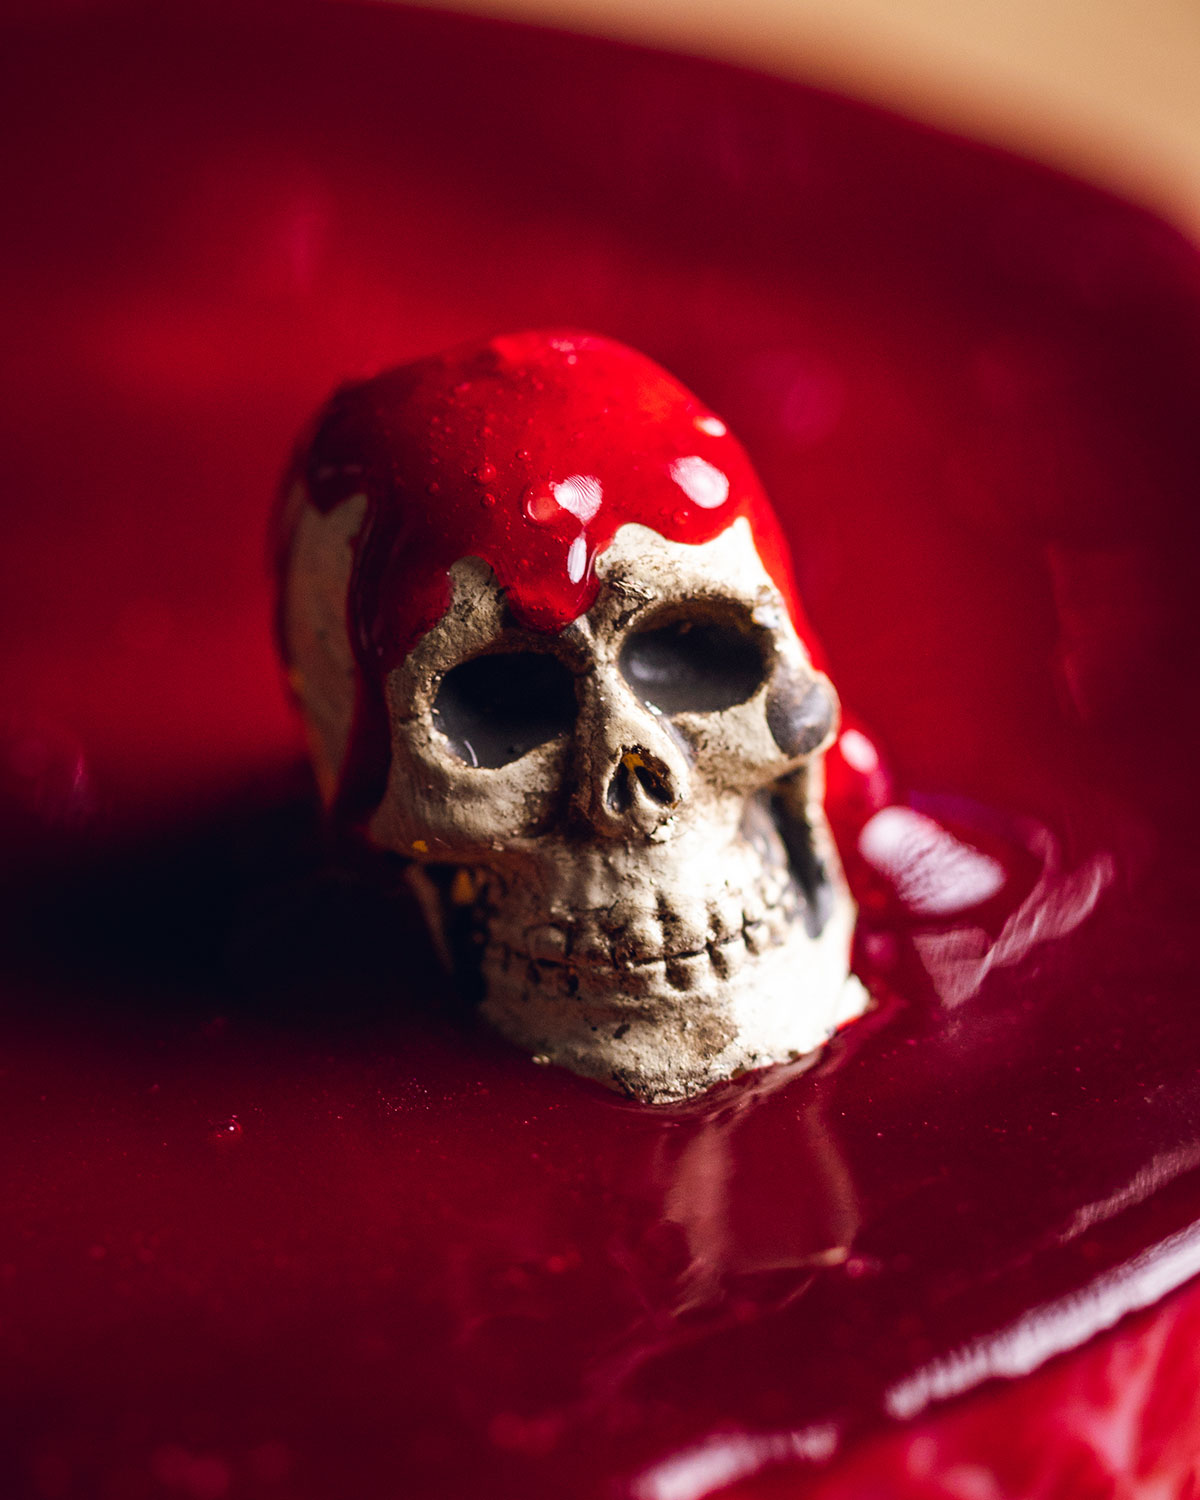
There are of course different options to decorate this cake. On this occasion, I have chosen to at a skull on top of my cheesecake - this is purely decorational in this case, but it's effective, isn't it?!
❤️ What's Great About this Recipe
- 100% vegan and plant based
- No bake
- Egg free
- Dairy free
- Perfect for Halloween or any spooky occasion
- Slightly creepy, but that's okay
- 'Baked' in the fridge
- Lemon flavoured
- Topped with a raspberry glaze
- Easy to decorate
🌱 Ingredients & Notes
Here is everything you need for this recipe:
- Biscoff Biscuits
- Medjool dates
- Raw Cashews - soaked and softened
- Lemon - Juice and zest, make sure it's unwaxed
- Plant milk - I used soya
- Salt - don't worry, this will not make the cheesecake salty. However, a little bit of salt will help bring out the natural flavours of the rest of the ingredients and actually make your cheesecake taste sweeter!
- Vegan Condensed Milk - I used the vegan carnation version
- Agave nectar - for sweetness
- Agar Agar powder - you can usually find this health food stores, or alternatively order it from Amazon
- Raspberries - Fresh or frozen
- Maple Syrup
Scroll to the recipe card at the bottom of the post for detailed quantities and measurements.
🔪 Equipment
Here is all the equipment you need to make this recipe:
- mixing bowl
- Food processor or blender
- 7'' round cake tin
- Measuring jug
- Nonstick saucepan
- Spatula
- Fine sieve
🧑🍳 Instructions (Step-by-Step)
Step 1 - Prepare Cashews:
Soak raw cashew nuts in water overnight to soften them. If in a hurry, boil them for 20-30 minutes.
Step 2 - Make the Base:
Blend Biscoff cookies and softened Medjool dates in a food processor until sticky. Press mixture into a 7-inch round cake tin evenly. Chill in the fridge.
Step 3 - Blend the Filling:
Place softened cashews, lemon juice, lemon zest, soya milk, a pinch of salt, vegan condensed milk, and agave nectar in a high-speed blender. Blend until smooth. Scrape down sides if needed.
Step 4 - Add Agar Agar:
Dissolve agar agar powder in water. Add to the blender. Blend for 10-20 seconds.
Step 5 - Heat the Filling:
Transfer mixture to a saucepan. Heat on low, stirring constantly. After 3-4 minutes, the mixture should thicken. Pour onto the cheesecake base. Smooth the top with a spatula. Tap to remove air bubbles. Chill for at least 2 hours.
Step 6 - Make Raspberry Glaze:
Add frozen raspberries, water, and maple syrup to a saucepan. Heat on low, stirring until raspberries melt. Strain to remove pips. Whisk in agar agar. Heat for 2 more minutes to thicken.
Step 7 - Assemble Cheesecake:
Remove cheesecake from the tin. Place on a serving platter. Pour raspberry glaze over the top. Use a spoon to create drips over the edges.
📌 If you love Pinterest you can pin any of the images to your boards!
🍽️ Serving
Enjoy immediately or store in the fridge for up to 3 days. Add Halloween decorations if desired.
Did you make this recipe? If so, will you do me a huge favor and leave a review and rating & let me know how you liked this recipe? THANK YOU! ❤️
Here's a handy recipe card that you can print out and keep in your kitchen for easy reference:
📖 Recipe Card
Spooky Halloween Cheesecake (Lemon Raspberry Cheesecake)
Equipment
- 1 7-inch round cake tin
- 1 food processor
- 1 high-speed blender
Ingredients
For the cheesecake base:
- 150 g biscoff biscuits
- 10 soft Medjool dates
For the lemon cheesecake filling:
- 100 g raw cashews softened
- 2 tablespoon fresh lemon juice
- zest of 1 lemon
- 1 pinch salt
- 80-100 ml plant milk I used soya
- 2 tablespoon vegan condensed milk
- 80 ml agave nectar
- 1 teaspoon agar agar powder
For the raspberry glaze:
- 200 g frozen raspberries
- 2 tablespoon maple syrup
- 2 tablespoon water
- ¼ teaspoon agar agar powder
Instructions
- To prepare your ingredients, make sure your cashews are softened. Either soak them for a minimum of 4 to 6 hours or alternatively boil them in water for 20 to 30 minutes until soft.
- Creating the cheesecake base: transfer the Biscoff biscuits and pitted dates to a food processor and pulse 20 to 30 times until you get a sticky cake base mix. Press the mixture into the bottom of a 7 inch round cake tin, and even it out with a spatula. Transferred to the fridge.
- In the meantime, place your soft cashews into a high-speed blender alongside lemon juice, lemon zest, soya milk, salt, vegan condensed milk, and agave nectar. Blend on high speed until you get a smooth mixture and no lumps remain. Dissolve the agar-agar powder in a little water and add to the blender. Blend for another 20 to 30 seconds to incorporate. Transfer the lemon cheesecake mixture into a nonstick saucepan, and heat gently over low heat whilst continuously stirring. After a few minutes, the mixture should begin to thicken. Remove from the heat.
- Pour the lemon cheesecake mixture onto your cake base and smooth out the top. Place in the fridge to set for at least two hours.
- Towards the end of the setting time, prepare the raspberry glaze. Add your frozen raspberries, maple syrup, and water into a saucepan over low heat and gently melt the raspberries until they are broken down. Run the mix through a fine sieve to remove any pips, then whisk in the agar agar powder over low heat. After two minutes, your raspberry glaze should begin to thicken, remove from the heat.
- Remove your Halloween cheesecake from the cake tin, and put the raspberry glaze on top. Use a small spoon to create the bloody drips on the edges and decorate the cake to your liking.
- You can serve the Halloween cheesecake right away, or stored it in the fridge for up to 3 days.
Notes
- You can store the cheesecake in the fridge for up to 3 days.
- To speed up the process of softening your cashew nuts, you can boil them in water for 20 to 30 minutes.
If you are looking for more Halloween themed recipes, make sure to check these out:
© 2025 Romy London / Romina Callwitz | All images, videos, wordings and content are copyright protected and belong to Romina Callwitz. Please do not use any of my content without prior permission. If you wish to re-publish any (part of my) content, please get in touch via email. Thanks for your support!
*Disclosure: This page may contain affiliate links and sponsored links that earn me a small commission, at no additional cost to you. You can find more information in my Privacy Policy.


💭 Leave a Comment