

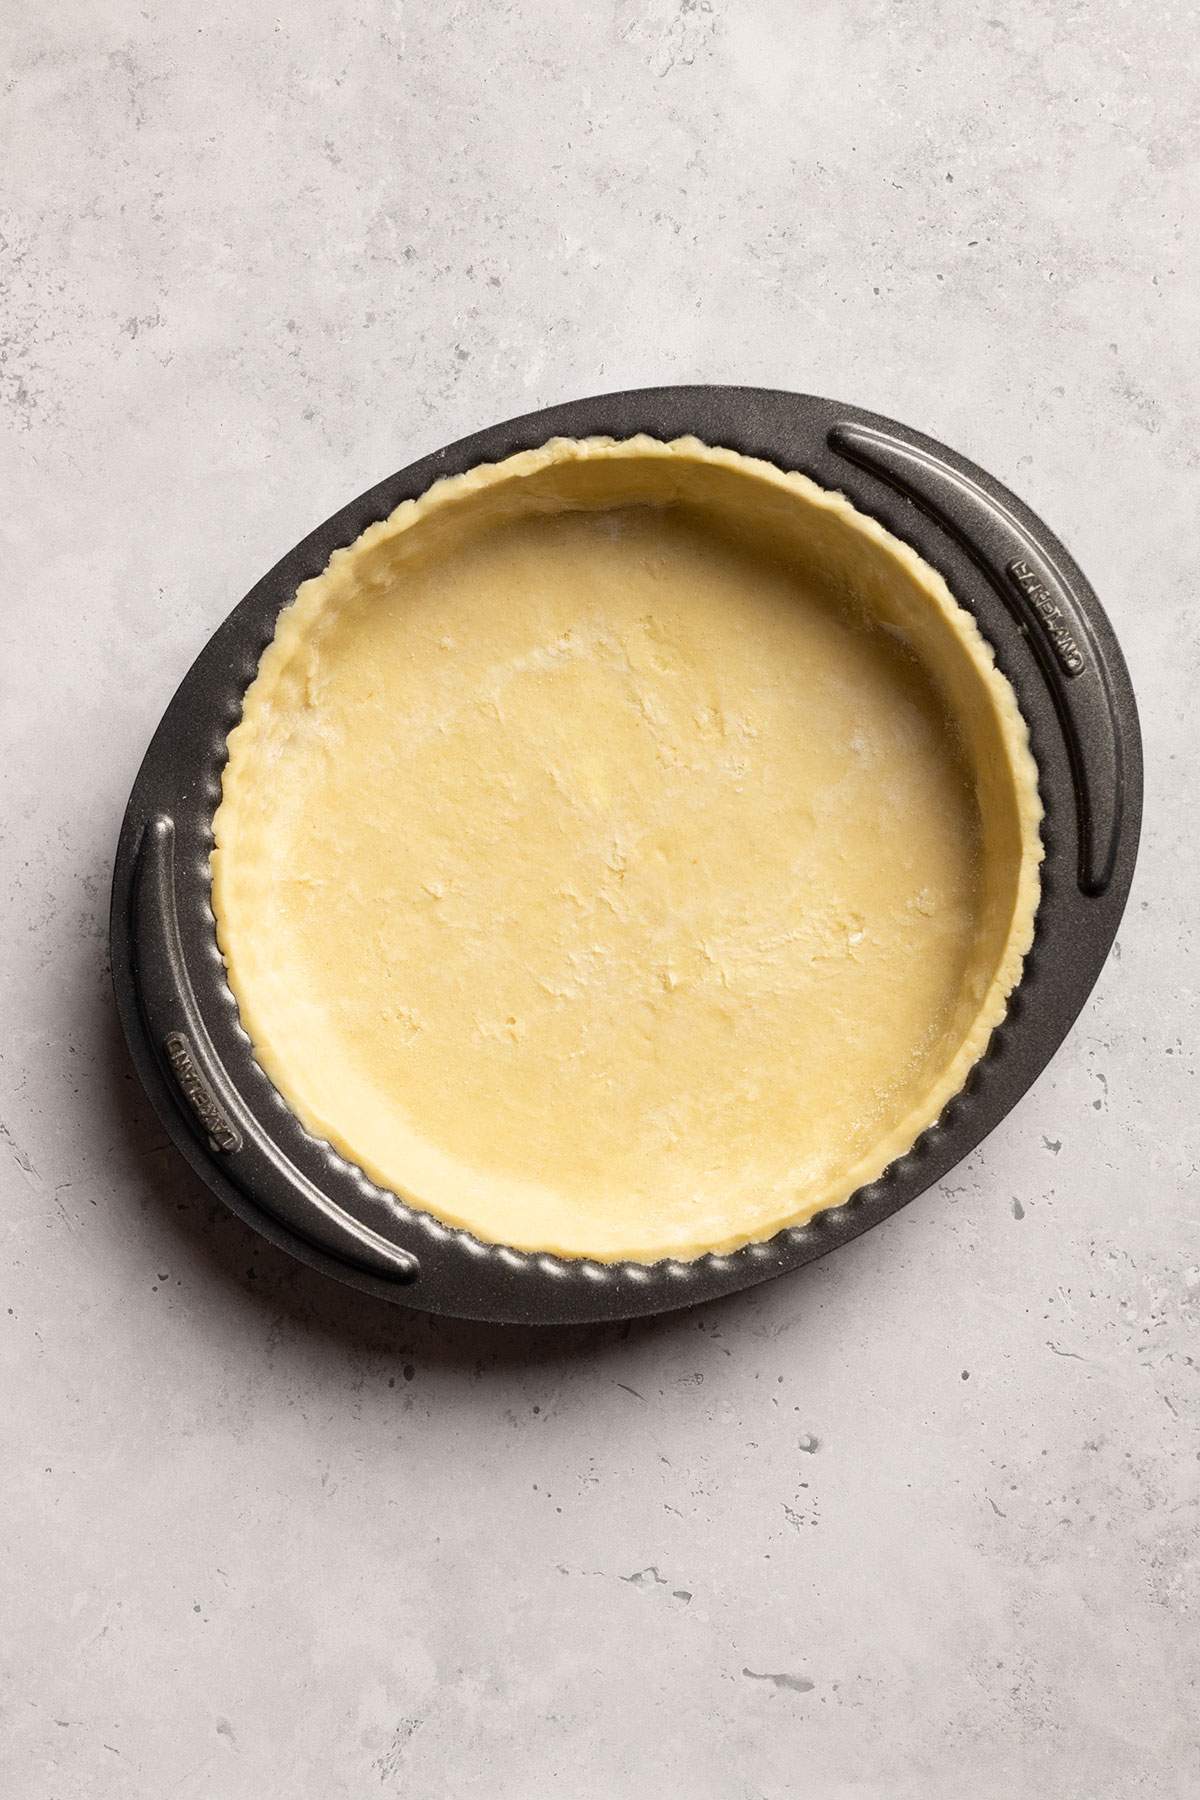
This vegan tart base recipe makes one 8-inch (20 cm) tart shell using just flour, vegan butter, and ice water - no food processor needed. It’s a simple shortcrust pastry that bakes into a crisp, tender shell with a lightly crumbly texture and buttery flavor.
There’s no added sugar in the dough, so it works with both sweet and savory fillings. Below, I’ll show you how to handle the pastry and blind-bake it, whether your filling needs more oven time or goes straight into a fully baked shell.
Jump to:
- ❤️ Why You’ll Love This Recipe
- 🌱 Ingredients & Notes
- 🥧 How to Keep the Pastry Tender
- 👩🍳 Rolling & Lining the Tart Pan
- 🔥 Should you Partially or Fully Bake the Shell?
- 💡 Tips for a Better Tart Base
- 🥧 How to Use This Tart Base
- ❓ Frequently Asked Questions
- 🥡 Storage & Make-Ahead
- 🔜 More Vegan Tarts & Pies
- 📖 Recipe Card
❤️ Why You’ll Love This Recipe
- Three everyday ingredients: No egg replacers or complicated flour blends.
- Works with sweet or savory fillings: The dough has no added sugar, so it’s a useful base to keep in your baking repertoire.
- Easy to prepare ahead: Make the dough in advance and roll it when you’re ready to bake.
🌱 Ingredients & Notes
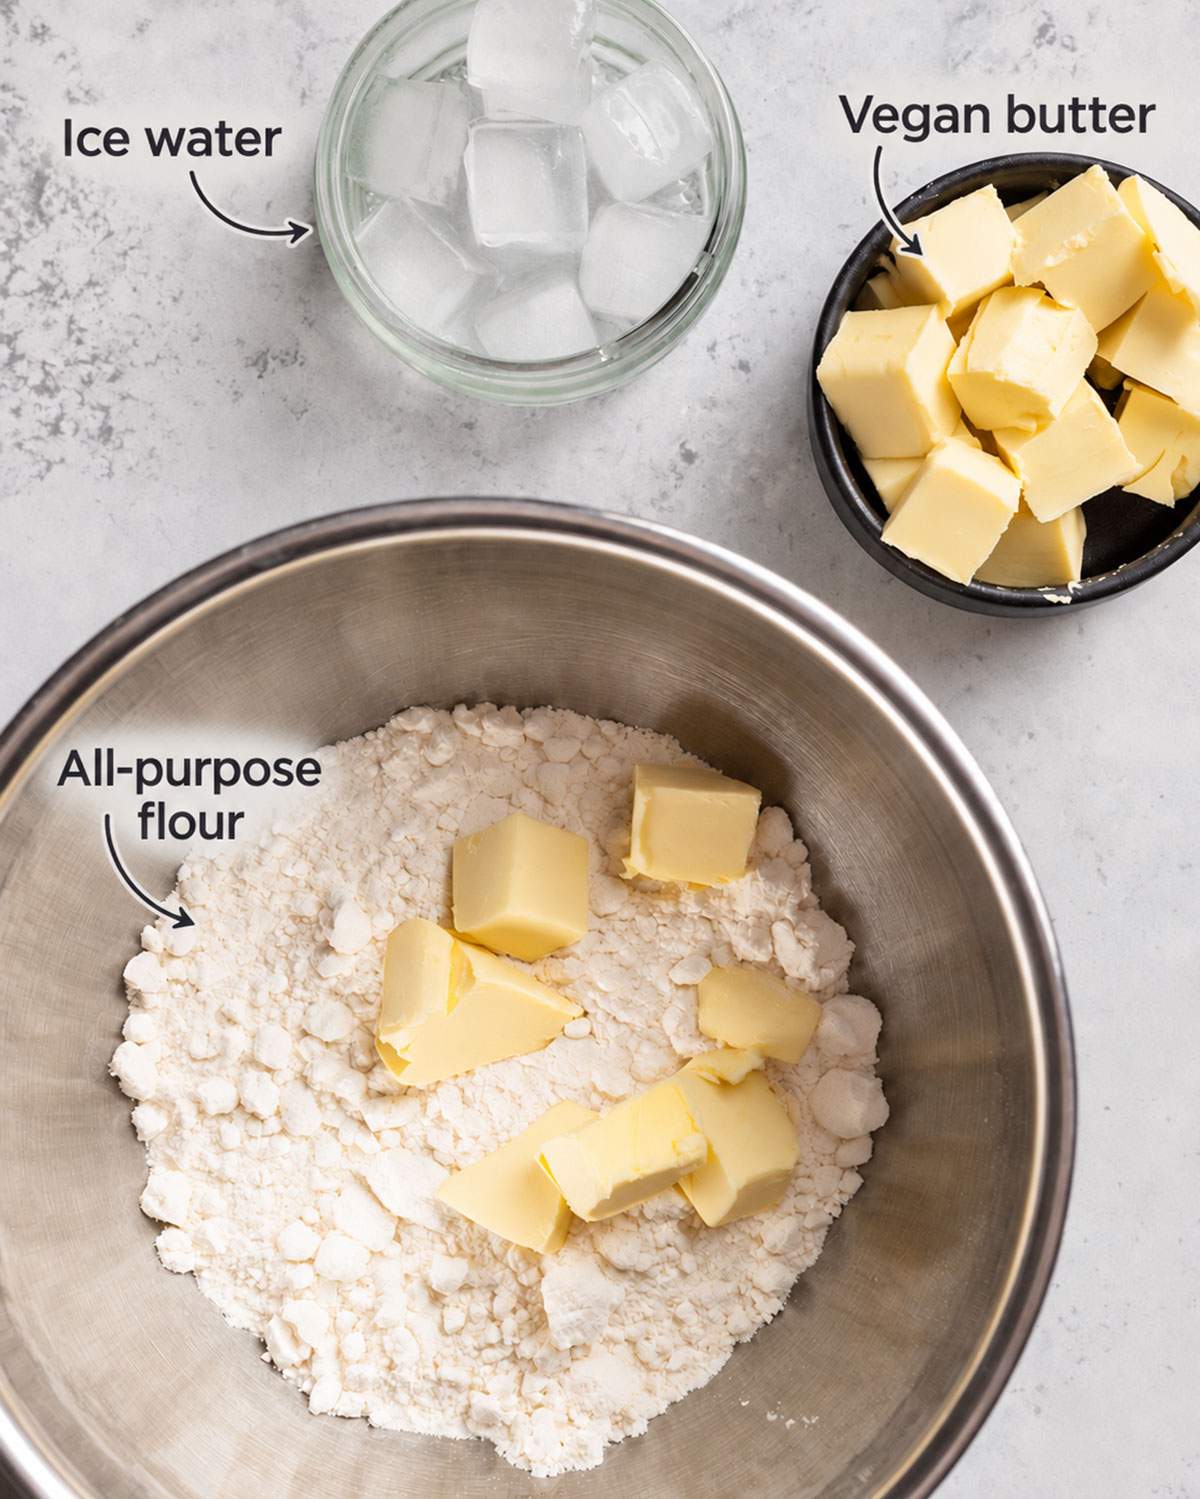
All-purpose flour: Known as plain flour in the UK. It gives the pastry structure without a raising agent. Avoid self-rising flour for this recipe.
For the most consistent pastry, weigh the flour and butter. If using cups, spoon the flour into the cup and level it off rather than scooping from the bag.
Vegan butter: Use cold baking sticks or a firm block. Soft tub spreads can contain more water and make the dough harder to handle. Salted vegan butter gives the pastry some seasoning; if yours is unsalted, you can add a small pinch of salt to balance the flavor.
Ice water: Add only enough to bring the crumbs together. The dough should hold when squeezed, without feeling wet or sticky. You may not need all the water listed.
Scroll to the recipe card at the bottom of the post for detailed quantities and measurements.
🥧 How to Keep the Pastry Tender
Work the cold butter into the flour with your fingertips until you have coarse crumbs, leaving a few small pieces of butter visible. Try to avoid warming the mixture with the palms of your hands.
Once the water goes in, bring the dough together gently. There’s no need to knead it smooth like bread dough. Extra handling can make the finished crust tougher, so stop once you can press it into a disk.
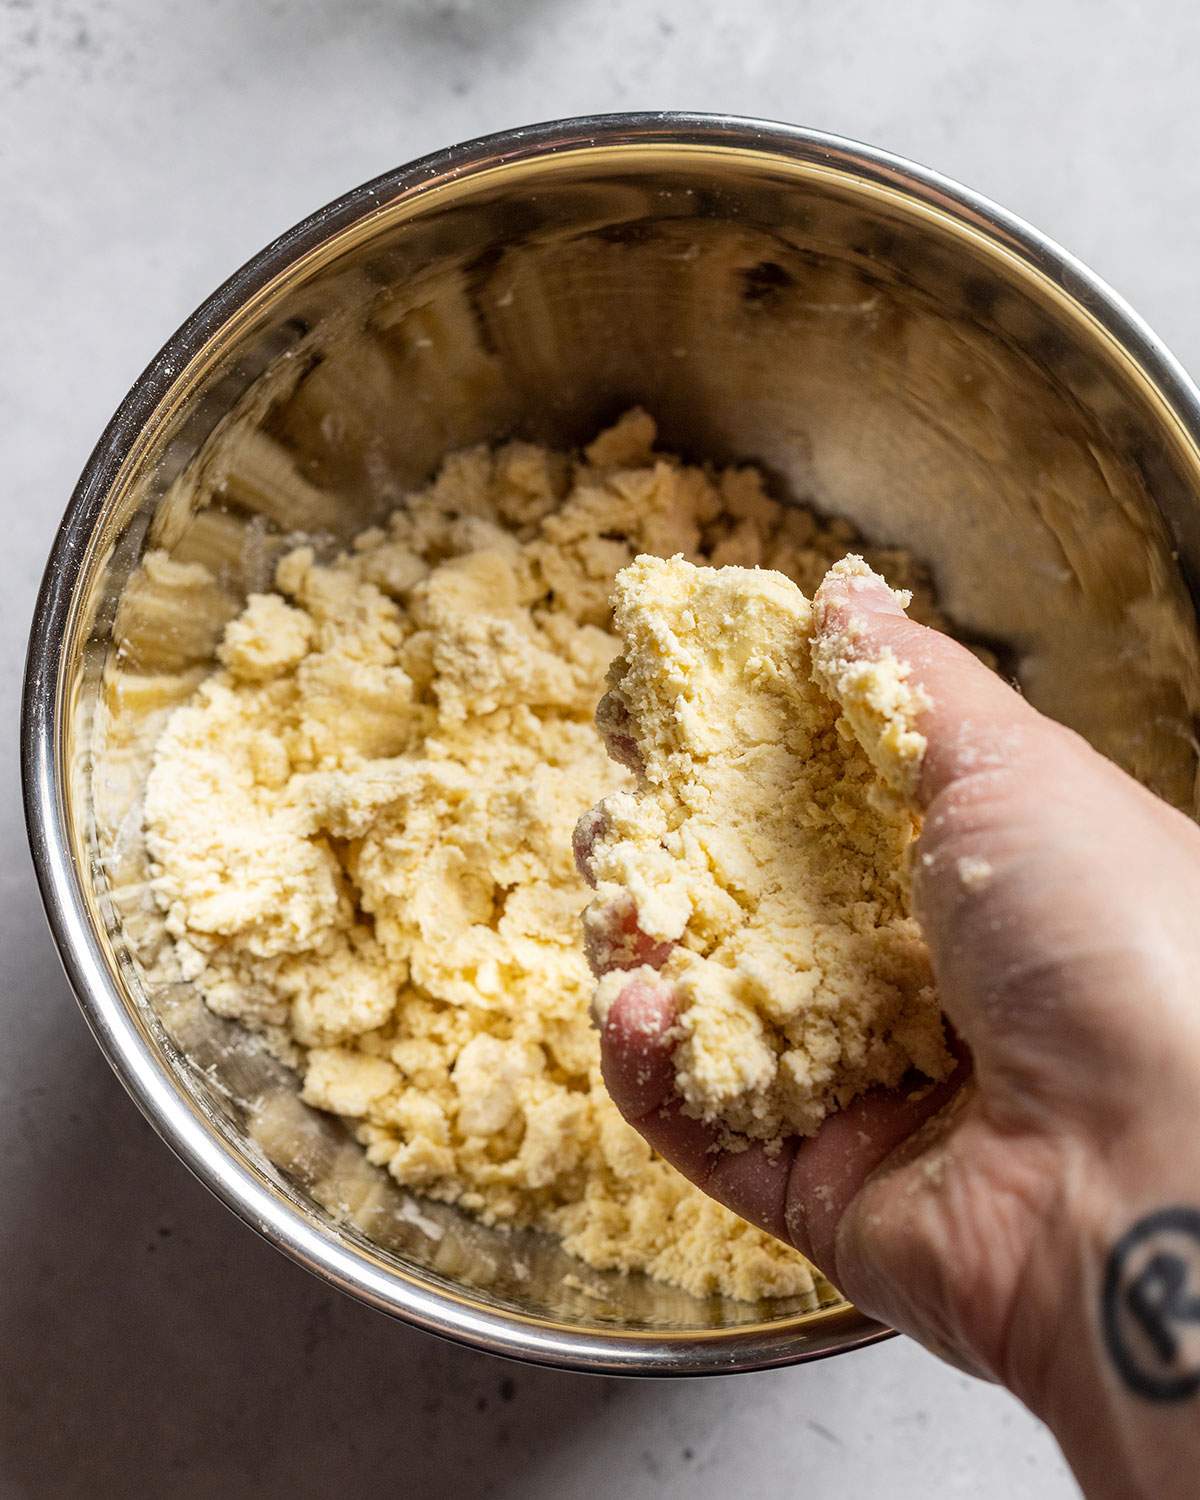
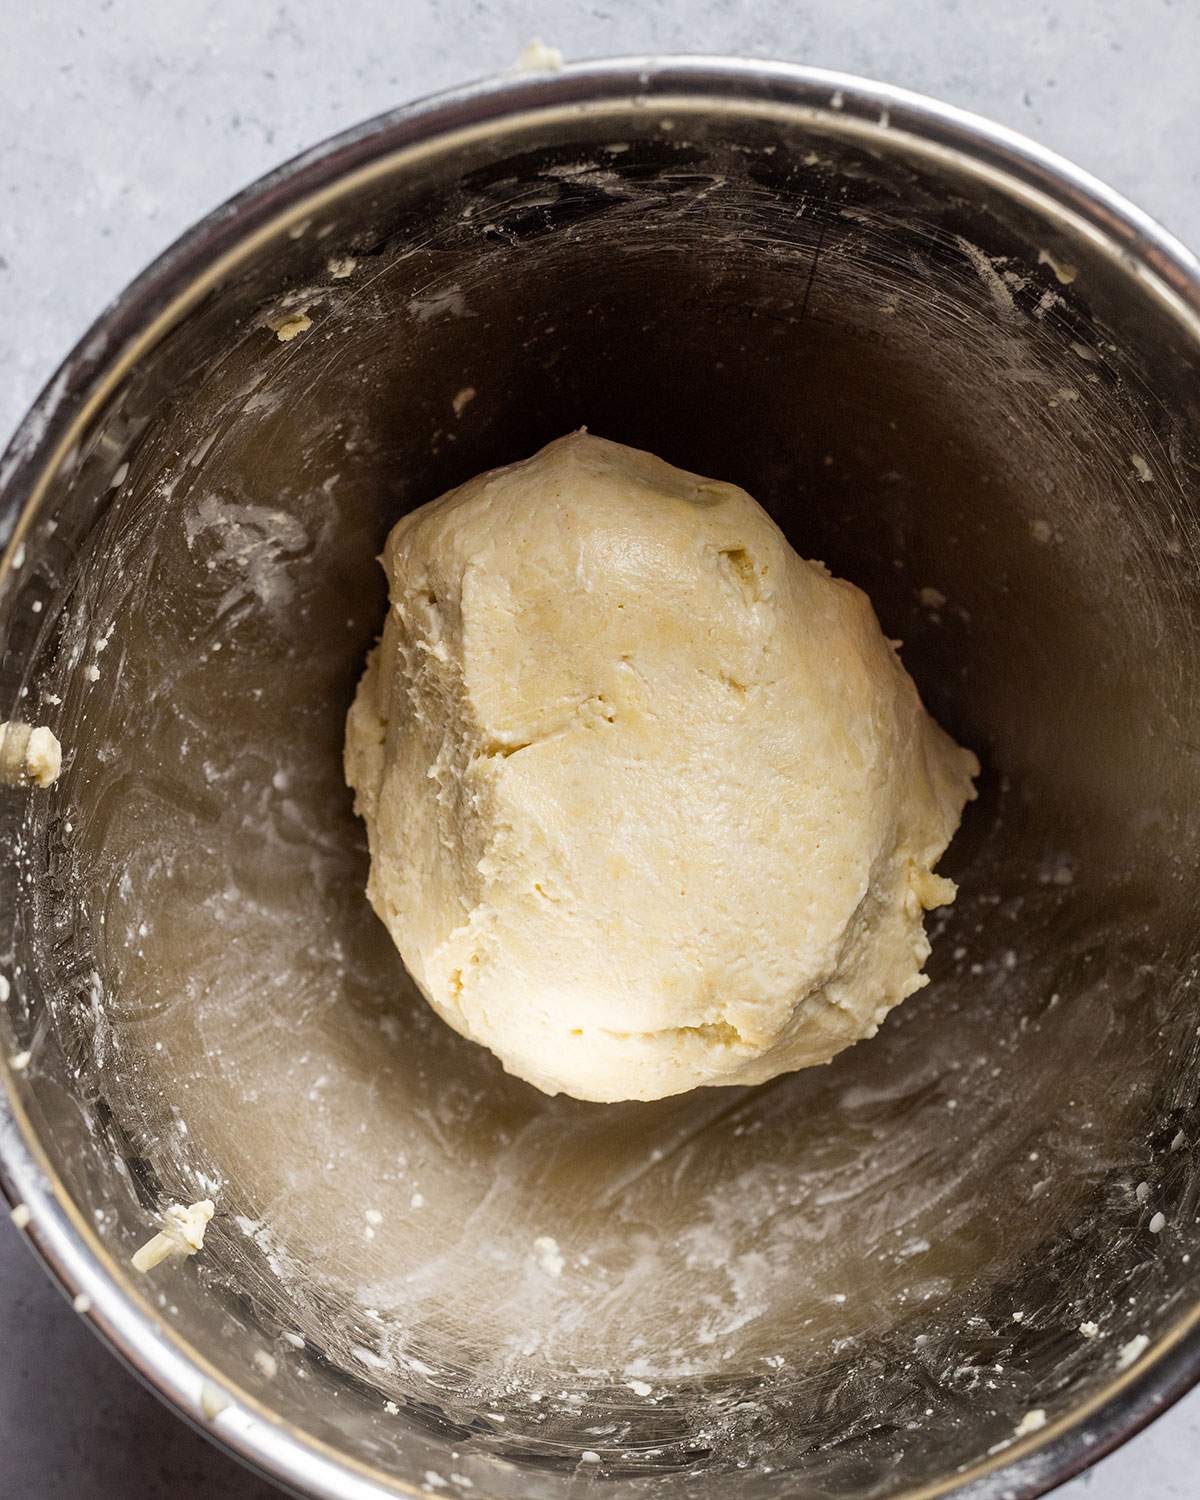
If the dough feels greasy or starts sticking as you roll, refrigerate it for a few minutes. A little pause is much easier than trying to rescue warm pastry with handfuls of extra flour.
👩🍳 Rolling & Lining the Tart Pan
Roll from the center outward, turning the dough as you go so it doesn’t stick. Aim for an even thickness rather than a perfect circle.
Lower the pastry into the pan and ease it into the corners before trimming the edges. Avoid pulling it up the sides to make it fit: stretched pastry is more likely to shrink back in the oven.
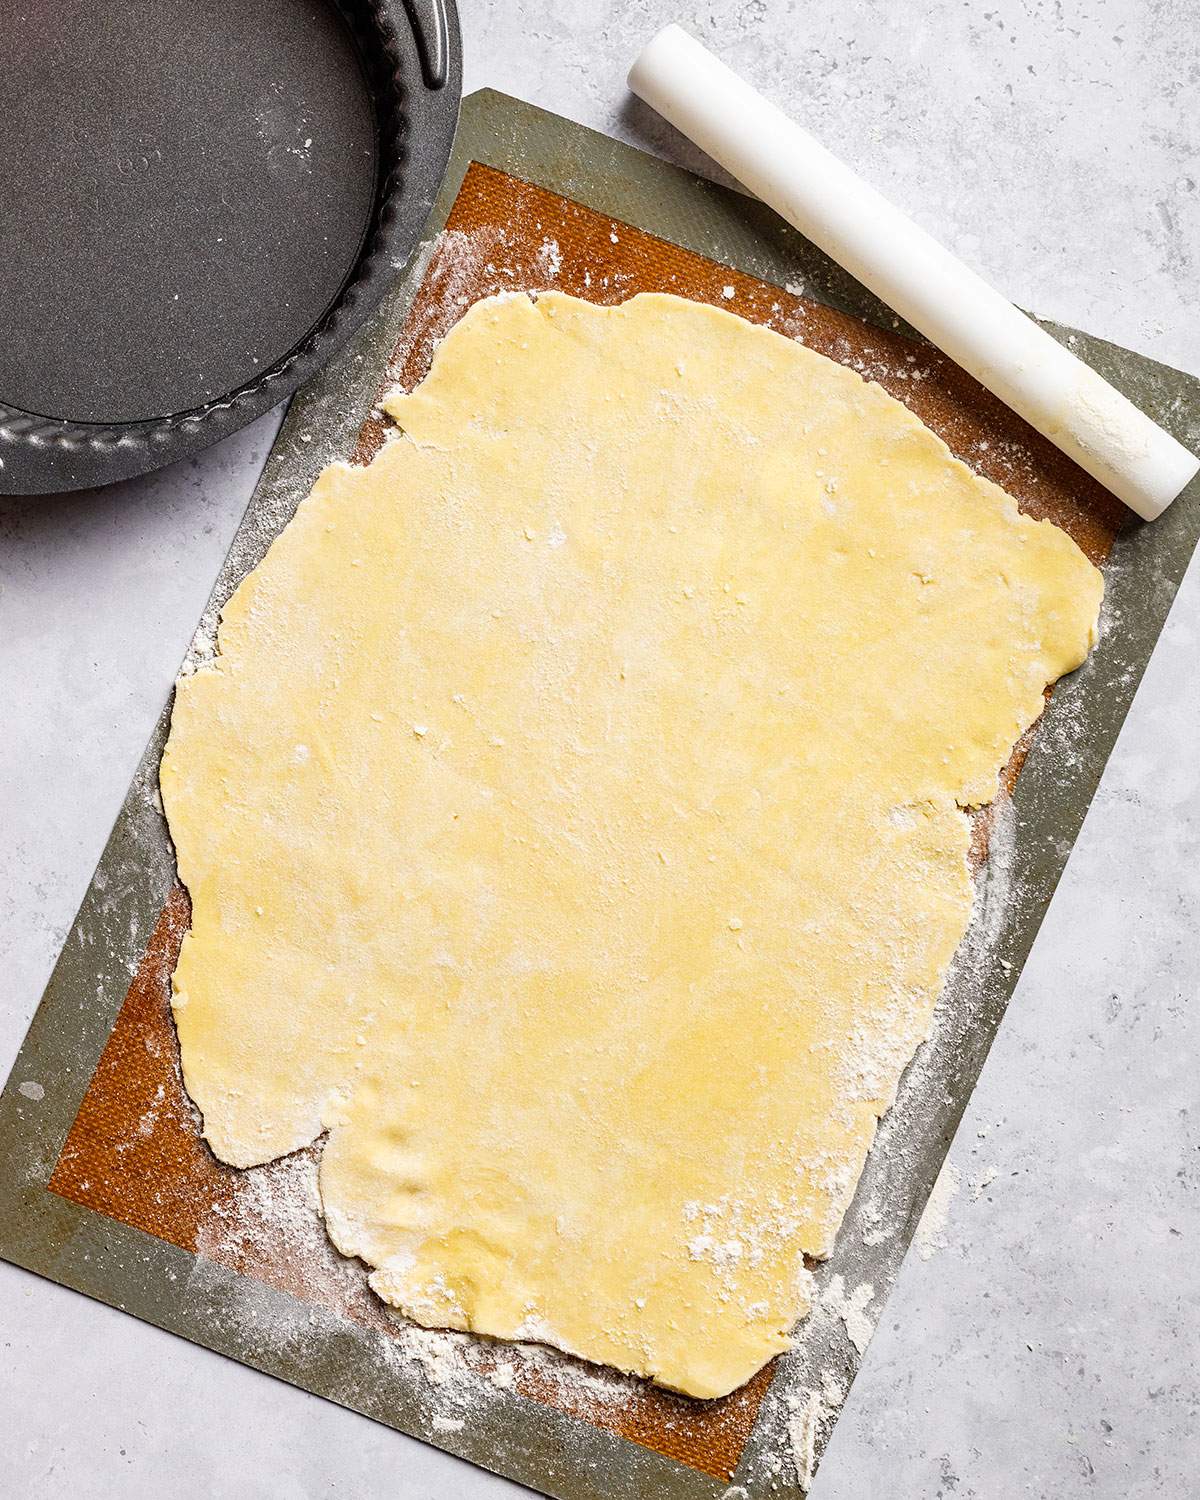
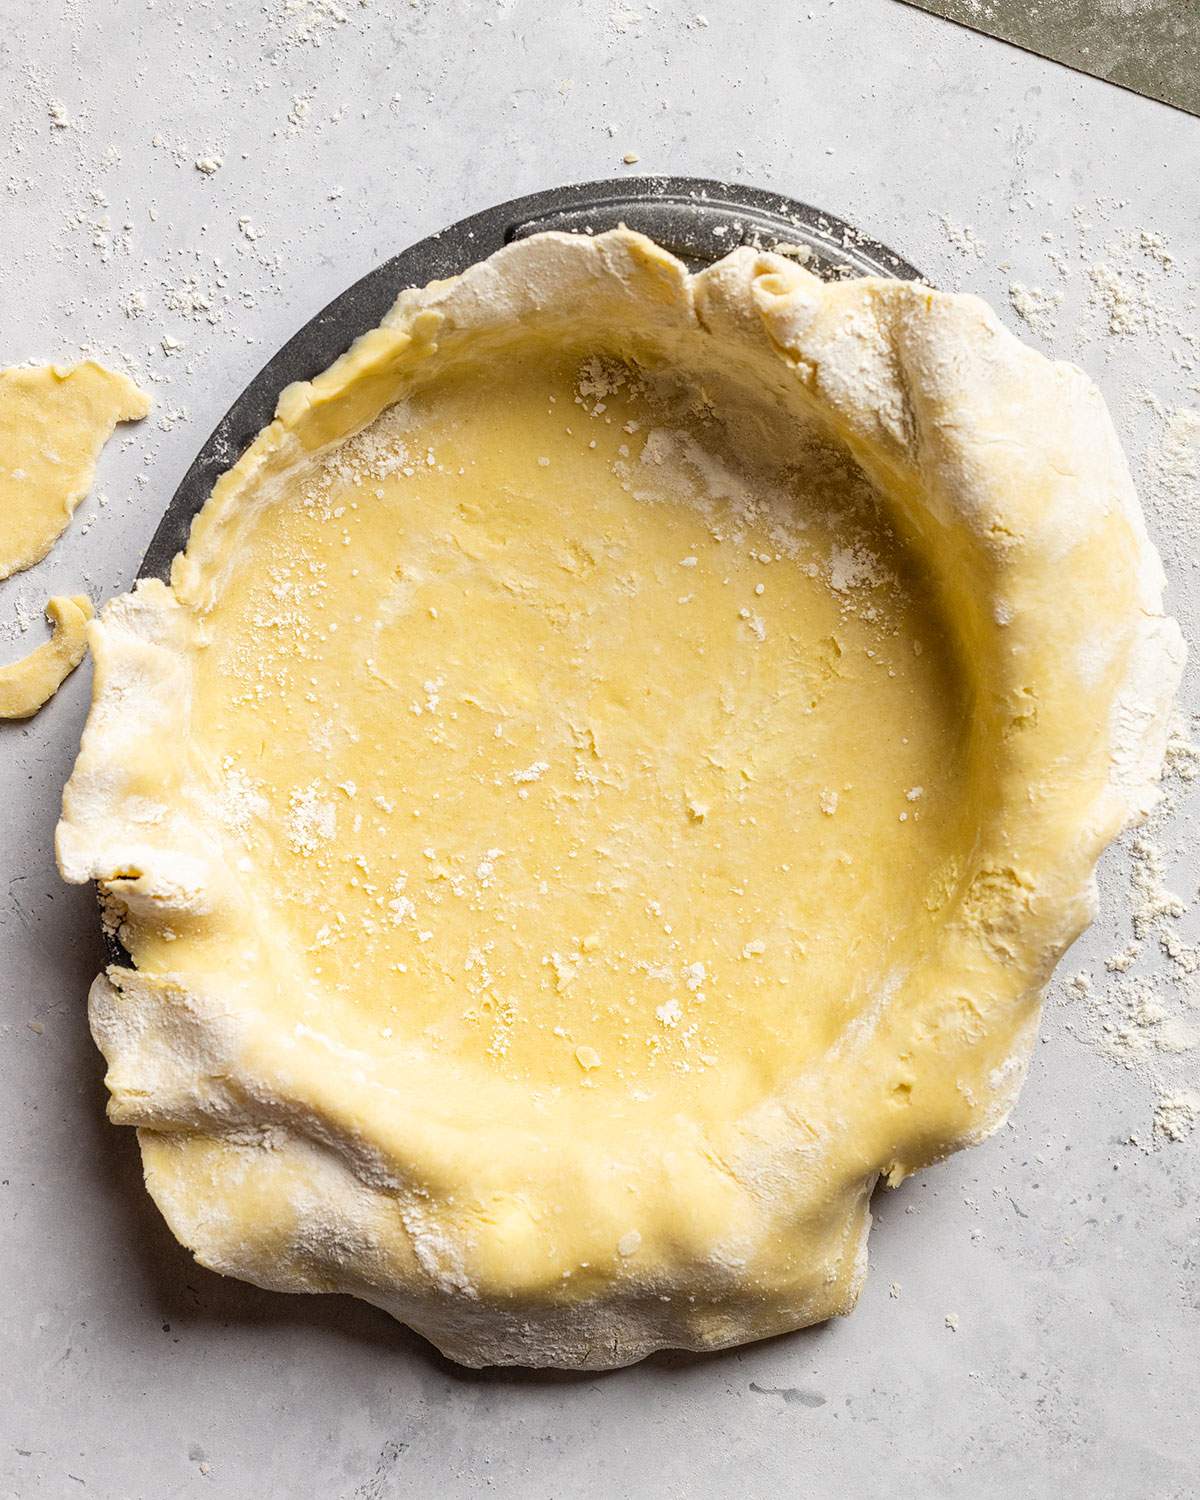
Small cracks are easy to repair. Press a little spare dough over the gap and gently smooth it into the surrounding pastry, keeping the thickness even.
🔥 Should you Partially or Fully Bake the Shell?
Blind-baking simply means baking the pastry before adding a filling. Line the chilled shell with parchment and fill it with pie weights to help support the sides and keep the base from puffing up.
Partially bake it when your chosen filling recipe calls for a prebaked shell that will go back into the oven. The pastry should look dry, with lightly colored edges, but it won’t be fully golden yet.
Fully bake it for fillings that won’t be baked afterward. The base and sides should be golden and dry. Let the shell cool completely before adding a chilled filling.
Follow your filling recipe for what happens next: its baking temperature, time, and whether the shell needs to cool first.
📌 If you love Pinterest you can pin any of the images to your boards!
💡 Tips for a Better Tart Base
- Chill twice. Rest the dough before rolling, then chill the lined pan before baking.
- Support the sides. Spread the pie weights right into the corners and up against the pastry sides.
- Use a baking sheet underneath. It makes moving a removable-bottom tart pan much easier.
- Look at the base as well as the edges. A golden rim doesn’t necessarily mean the bottom has finished baking. If the edges are browning too quickly, shield them loosely with foil.
🥧 How to Use This Tart Base
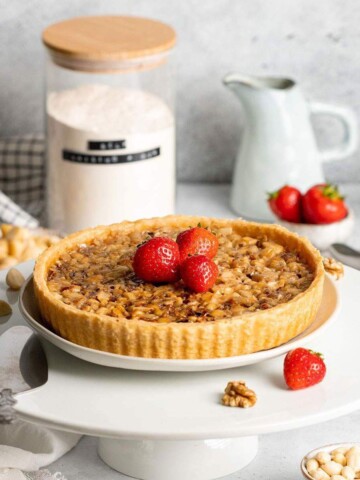
For a sweet tart, fill a fully baked, cooled shell with chocolate ganache or thick vegan pastry cream topped with fresh fruit. The unsweetened crust helps balance a rich or sweet filling.
It also works as a base for savory tarts, such as a vegan quiche with roasted vegetables. Follow your filling recipe’s instructions for whether to partially or fully bake the shell first, along with its filling quantity, oven temperature, and baking time.
❓ Frequently Asked Questions
Yes! The recipe uses a bowl and your fingertips to rub the butter into the flour. A pastry cutter works too.
It may be too cold to bend easily. Let it sit at room temperature for a few minutes and try again. If it crumbles even when you press it together, it may need a little more water.
Dried beans or uncooked rice can weigh down the parchment. Use enough to support the sides, then cool and keep them for future blind-baking rather than cooking them to eat.
This quantity is intended for a shallow 8-inch tart pan. A wider or deeper pan changes how much dough you need, so don’t stretch the pastry thin to make it fit.
Shrinking can happen when the dough is stretched into the pan, doesn’t get enough time to rest, or isn’t properly supported during baking.
Gently ease the pastry into the corners rather than pulling it to fit, and chill the lined pan before it goes into the oven.
When blind-baking, fill the parchment-lined shell with enough pie weights to support the sides as well as the base.
Avoid overworking the dough, too, as this can make it more prone to shrinking.
🥡 Storage & Make-Ahead
Wrap the unbaked dough tightly and refrigerate for up to 2 days. Let it soften just enough to roll without cracking.
For longer storage, freeze the wrapped dough in a freezer bag for up to 2 months and thaw overnight in the refrigerator.
A fully baked, unfilled shell can be kept in an airtight container at room temperature for up to 2 days. Once filled, follow the storage instructions for the filling.
Did you make this recipe? If so, will you do me a huge favor and leave a review and star rating & let me know how you liked this recipe? THANK YOU! ❤️
🔜 More Vegan Tarts & Pies
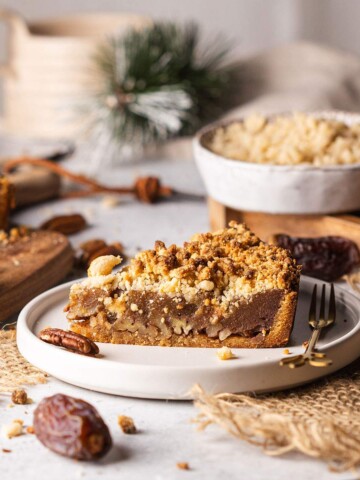
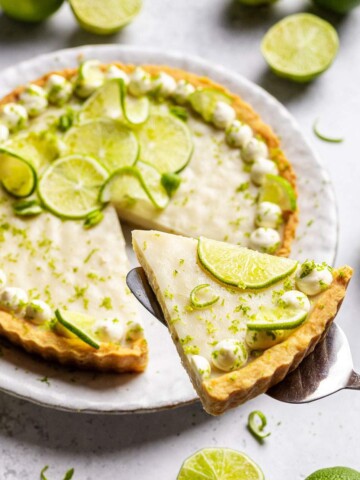
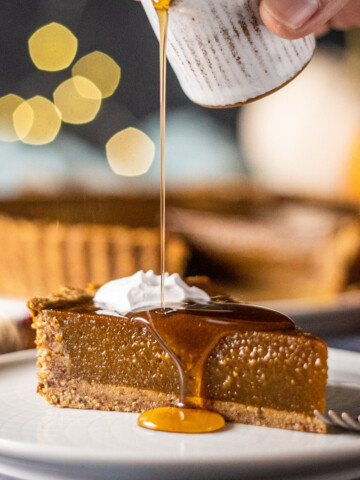
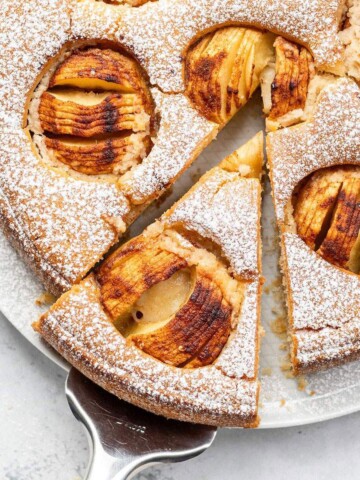
In the mood for more homemade tarts? Try my Vegan Chocolate Tart or Vegan Date Caramel Tart for your next baking project!
Here's a handy recipe card that you can print out and keep in your kitchen for easy reference:
📖 Recipe Card
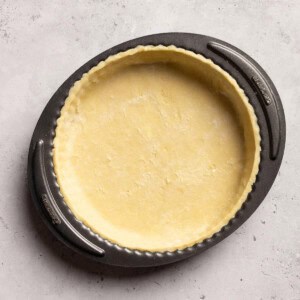
Vegan Tart Base Recipe

Equipment
- Shallow 8-inch (20 cm) tart pan with a removable bottom, about 1 inch (2.5 cm) deep
- large mixing bowl
- Rolling Pin
- parchment paper
- Pie weights e.g. dried beans or uncooked rice
- Baking Sheet UK: baking tray
- Wire rack
Ingredients
- 1½ cups all-purpose flour 180g, UK: plain flour, plus extra for rolling
- ½ cup cold vegan butter 110g, preferably a firm block or baking sticks, cubed
- 2-3 tablespoons ice water 30-45 ml, as needed
Instructions
- Add the flour to a large mixing bowl. Add the cold cubed vegan butter and rub it into the flour with your fingertips until the mixture resembles coarse crumbs, with a few small pieces of butter remaining.
- Add 2 tablespoons of ice water and gently mix. Squeeze a little dough between your fingers: if it holds together, it has enough water. If it still crumbles, add more water 1 teaspoon at a time, using only as much as needed. Press into a flat disk without kneading.
- Wrap the dough and refrigerate for 30 minutes. If it feels too firm to roll afterward, let it sit at room temperature for a few minutes.
- On a lightly floured surface, roll the dough into a circle about 11 inches (28 cm) across and approximately ⅛ inch (3 mm) thick. Gently lower it into an 8-inch (20 cm) tart pan, easing it into the corners without stretching. Trim the excess and patch any cracks with scraps of dough.
- Refrigerate the lined pan for 20 minutes. Meanwhile, preheat the oven to 375°F (190°C conventional / 170°C fan). Place a rack in the center of the oven.
- Set the tart pan on a baking sheet. Line the chilled pastry with parchment paper and fill with pie weights or dried beans, making sure they support the sides. Bake for 15-20 minutes, until the pastry edges are set and beginning to color. Carefully lift out the parchment and weights.
Finish baking as needed:
- For a partially baked shell: Return to the oven for approximately 5-8 minutes, until the base looks dry and the edges are pale golden. Continue according to your chosen filling recipe.
- For a fully baked shell: Return to the oven for approximately 10-15 minutes, until the base and sides are golden and dry. Loosely shield the rim with foil if it browns too quickly.
- For a fully baked shell, cool completely in the pan on a wire rack before removing the outer ring or adding a chilled filling. For a partially baked shell, follow your filling recipe’s instructions for cooling, filling, and further baking.
Notes
- Measurements: US cup measurements are approximate. Use the gram weights for the most consistent result, particularly for the flour and vegan butter.
- Butter: Use firm vegan baking butter rather than a soft tub spread. If using unsalted butter, an optional small pinch of salt adds flavor.
- Water: Start with the smaller amount; the dough should hold together without becoming sticky.
- Pan size: The recipe is intended for a shallow 8-inch (20 cm) tart pan. Deep tart pans and pie plates may need more dough.
- Timing: The listed total uses the full-bake option. Partial baking takes approximately 20-28 minutes in total; filling preparation and any subsequent baking are additional.
- Make ahead: Refrigerate wrapped dough for up to 2 days, or freeze for up to 2 months. Thaw frozen dough overnight in the refrigerator.
- Baked shell storage: Cool fully, then store the unfilled shell airtight at room temperature for up to 2 days. Once filled, follow the filling recipe’s storage guidance.
© 2026 Romy London / Romina Callwitz | All images, videos, wordings and content are copyright protected and belong to Romina Callwitz. Please do not use any of my content without prior permission. If you wish to re-publish any (part of my) content, please get in touch via email. Thanks for your support!
*Disclosure: This page may contain affiliate links and sponsored links that earn me a small commission, at no additional cost to you. You can find more information in my Privacy Policy.
💭 Leave a Comment