These homemade sweet potato crackers are wonderfully crunchy and full of delicious flavours! They are simply a perfect addition to your next (vegan) cheese board!
Made from grated raw sweet potato and flavoured with balsamic vinegar, peanut butter and maple syrup, they work wonderfully alongside (vegan) cheese, chutneys and Co. Using just simple ingredients and equipment, this homemade cracker recipe is perfect, if you're new to making crackers at home from scratch.
For this recipe, I'm collaborating with Microplane to review their new Bowl Grater and Premium Classic Zester and you can find a review alongside some more information below.
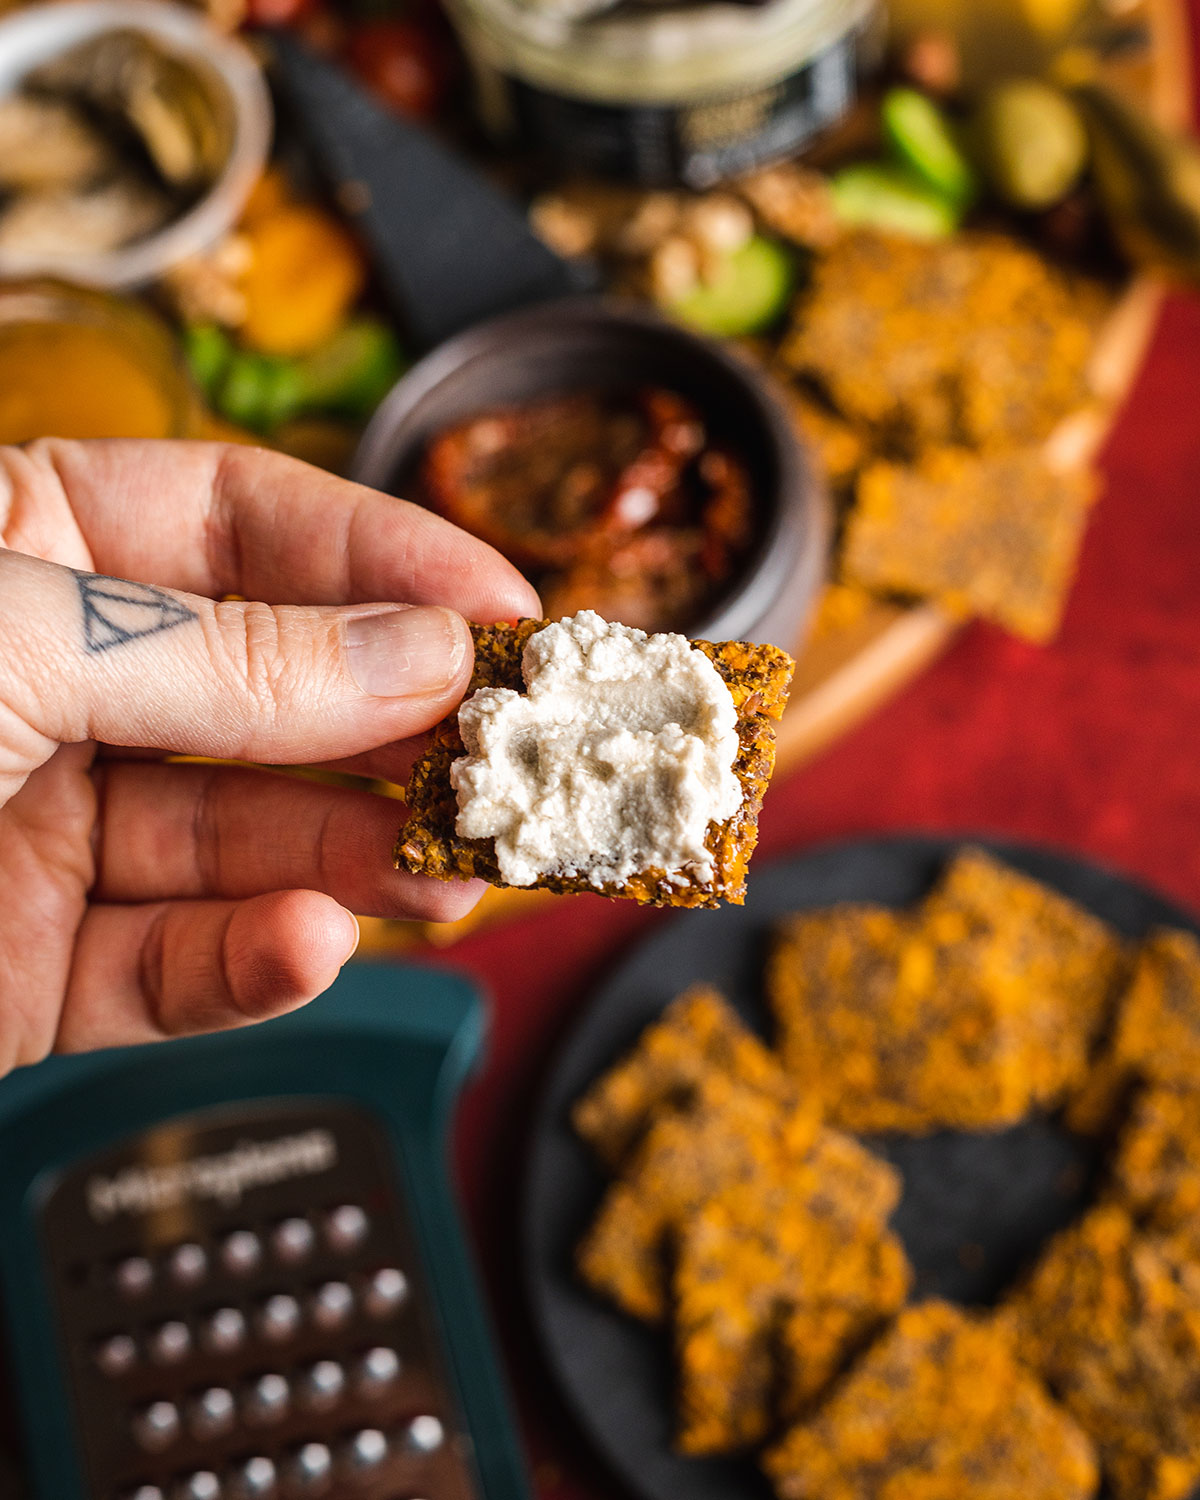
This homemade cracker recipe is:
- 100% vegan
- naturally gluten-free
- egg-free and dairy-free
- deliciously nutty
- perfect for a (vegan) cheeseboard!
- easy to make
- using only simple ingredients
- full of flavour
- sweet and savoury at the same time
- wonderful alongside (vegan) cheese and chutneys!
Vegan cheeseboards have become a firm favourite when it comes to Christmas traditions in our house. They are the perfect sharing platter on the Christmas table and great both served as a starter - or during a games night (another tradition we like to keep up every year!).
Whilst there are a variety of vegan artisanal cheeses available to order and most chutneys are accidentally vegan nowadays - I still find that finding the perfect crackers for a vegan cheeseboard can be a little tricky.
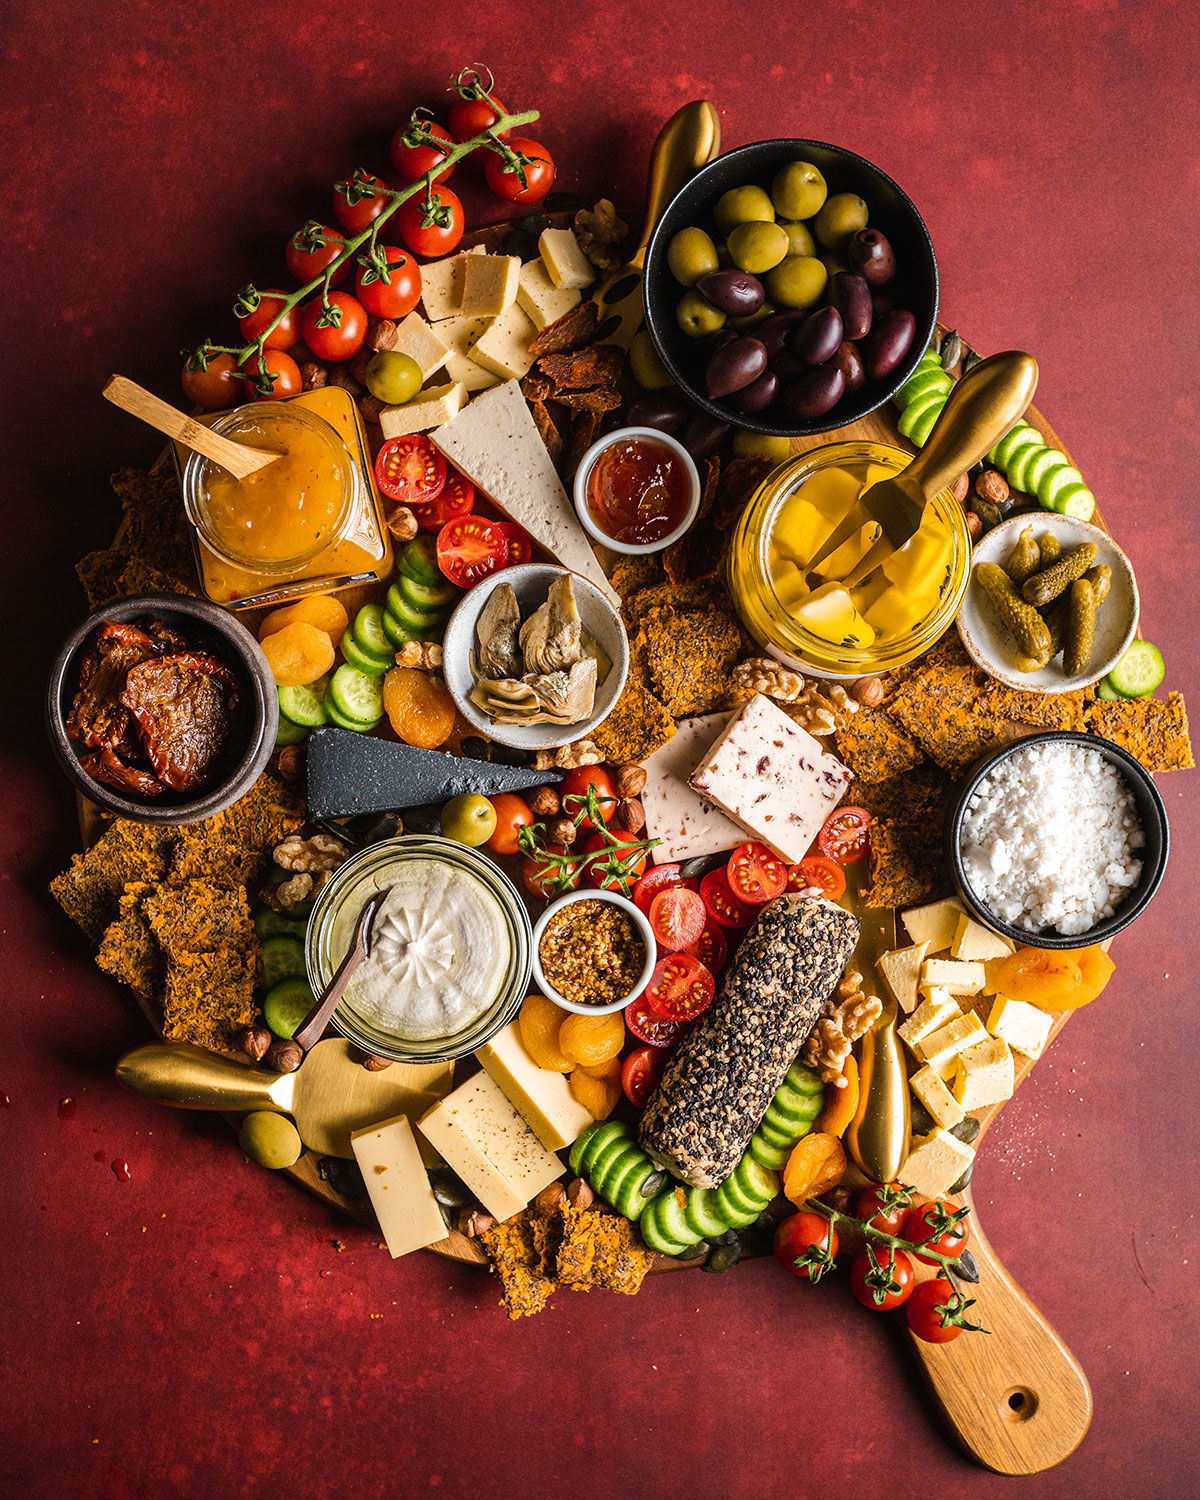
We have a countryside farm shop near where we live in Surrey, and whilst they stock a great selection of cheeseboard crackers, I have found that the majority of them are not vegan-friendly as they use honey in the recipe. So I have resorted to buying 1 or 2 packs that happen to be vegan and making the rest from scratch at home - to have a delicious selection of flavours on my cheeseboard!
That being said, these sweet potato crackers are delicious and definitely worth making, even if you are not vegan! They add wonderful flavours and textures to your cheeseboard - and who doesn't like to 'wow' their guests with homemade crackers?!
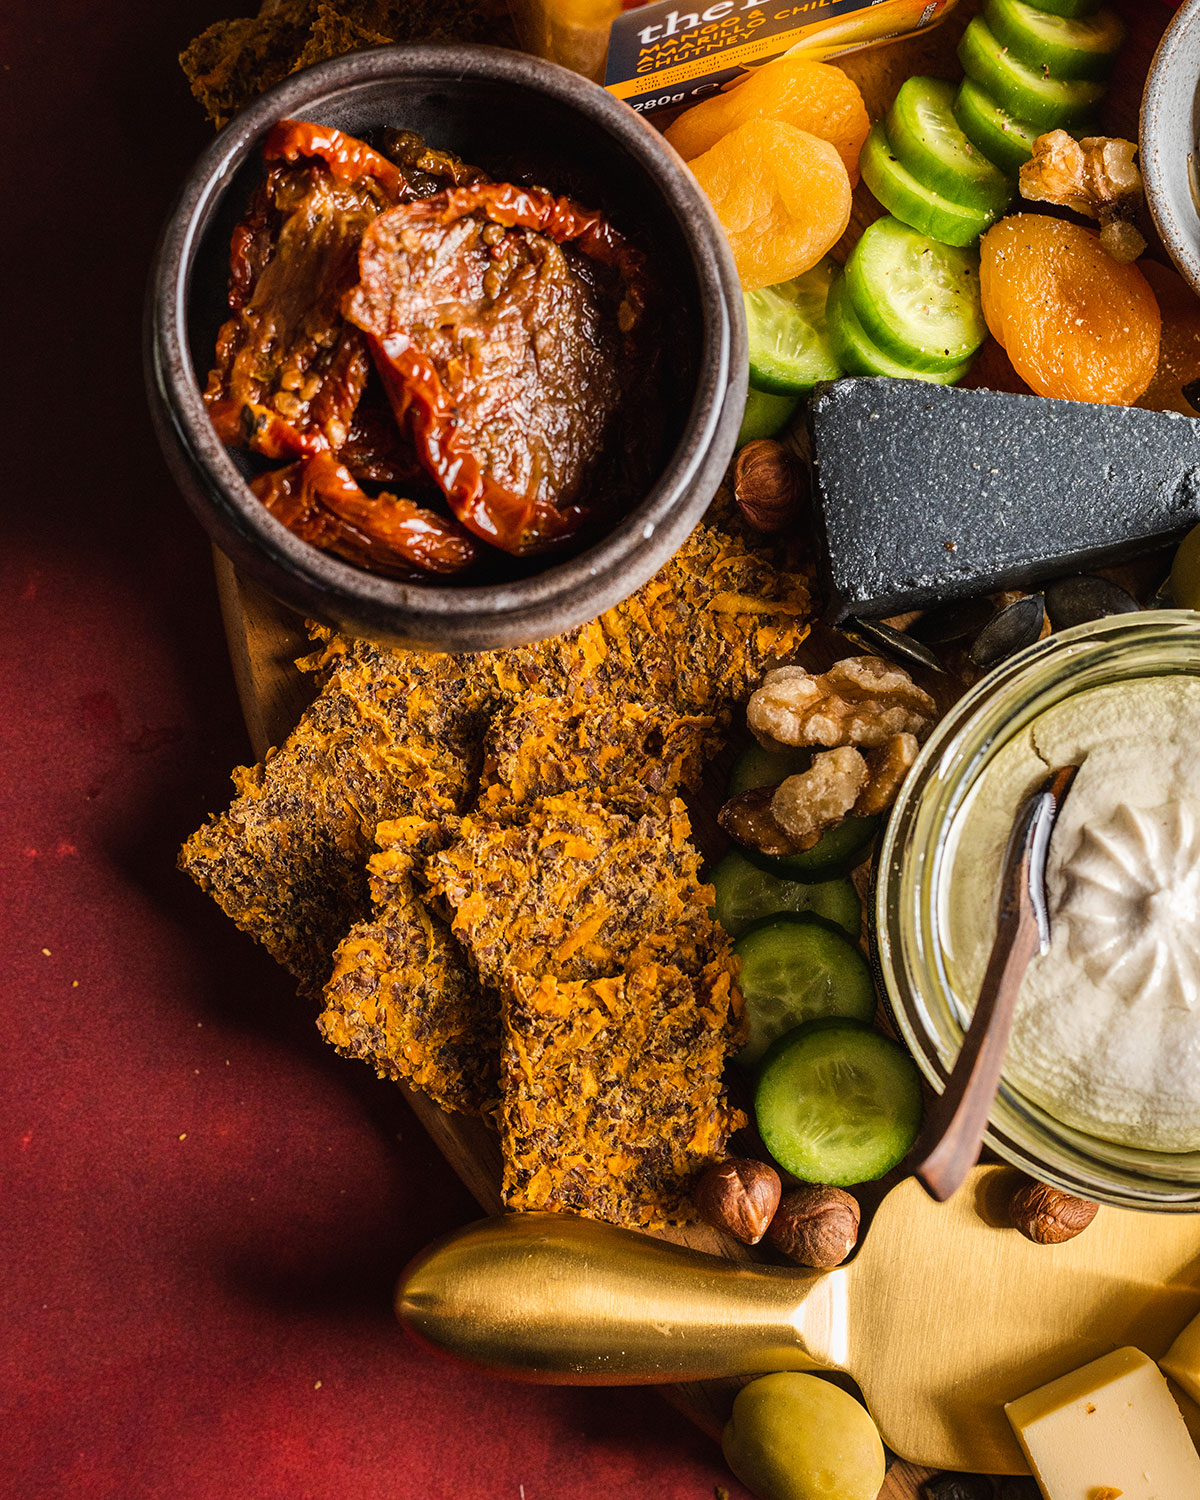
Ingredients & Notes
For this crackers recipe you only need a few simple ingredients:
- raw sweet potato, peeled - the base for this recipe! We're shredding our sweet potatoes for this recipe. How to Tell If a Sweet Potato is Bad
- garlic cloves - I personally love anything garlic-flavoured, but if garlic is not for you, simply leave this out.
- smooth peanut butter - this addition compliments the natural flavours of the sweet potato and also helps to hold the cracker dough in one piece.
- milled flaxseeds - Flaxseeds are a must-have ingredient if you like creation flavourful crackers at home. They soak up any liquid in the cracker dough and become slightly gel-like - and ensure that our cracker dough stays in one piece throughout the unrolling, cutting and baking process.
- fine sea salt - it's best to use a fine salt instead of salt flakes, so that it can be evenly distributed in the dough.
- black pepper
- balsamic vinegar - the vinegar adds a delicious acidity to the recipe and works wonders alongside sweet potato and peanut butter.
- maple syrup - we're adding a little maple syrup in this recipe to lift up the sweet flavours of the crackers!
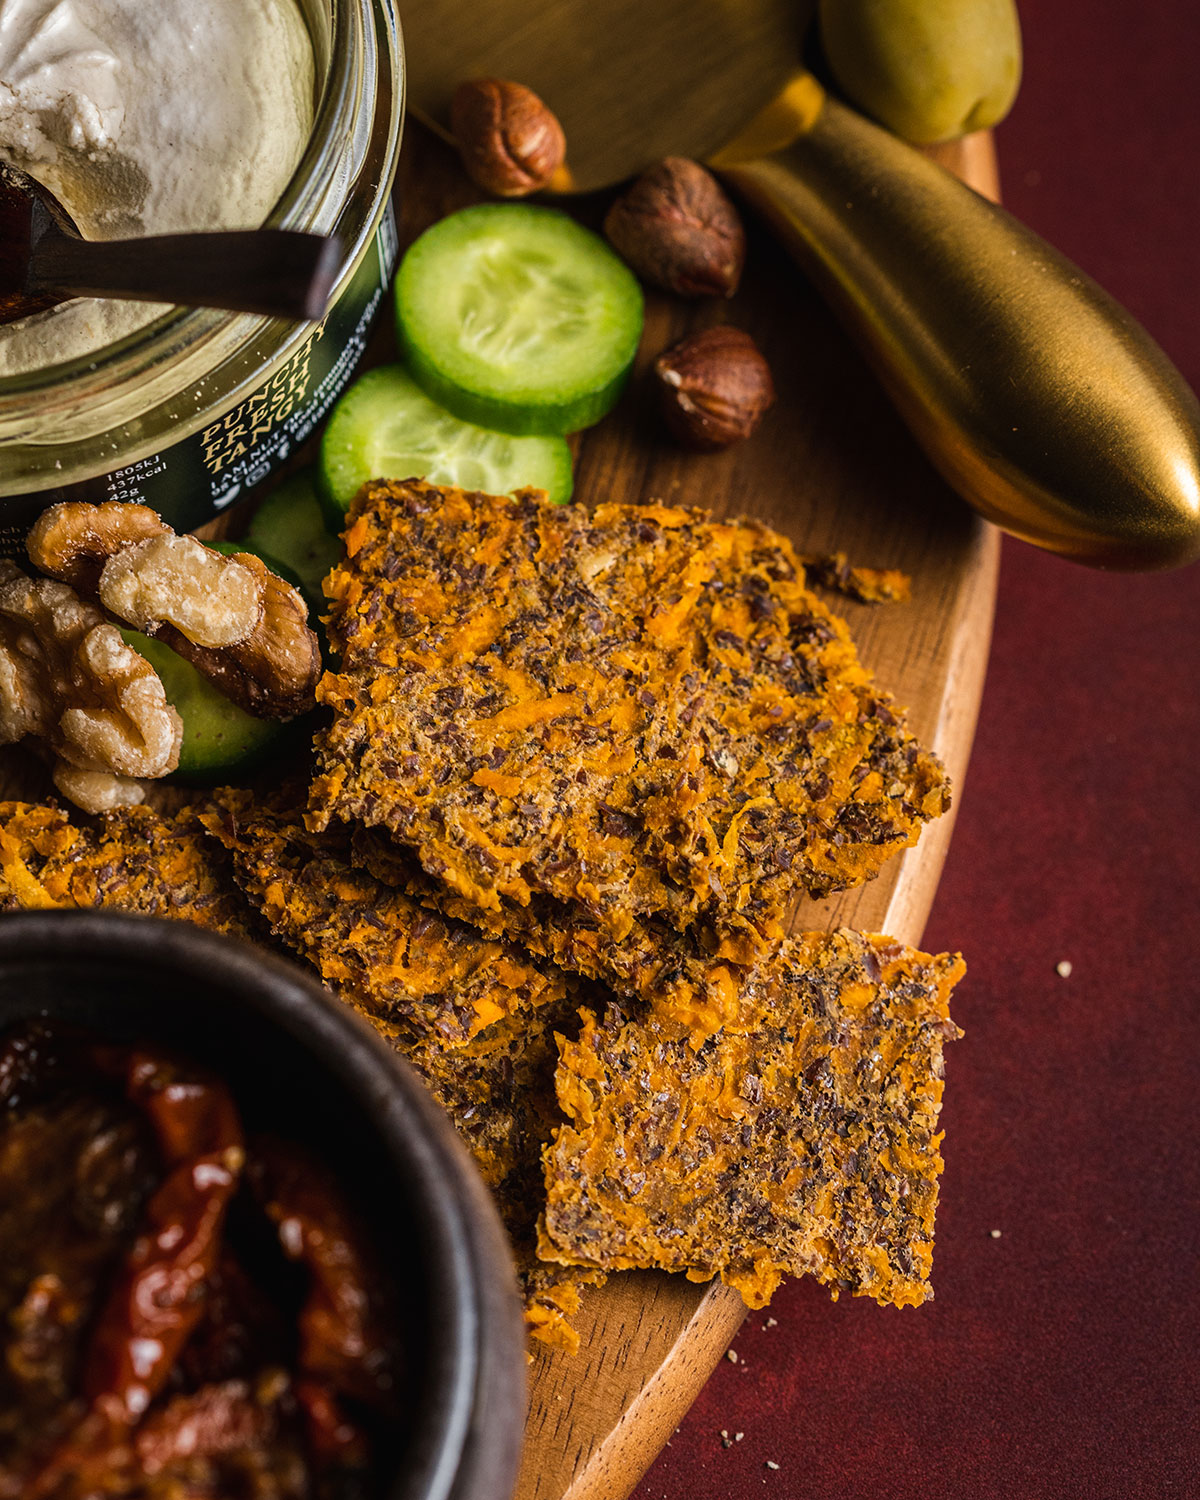
Instructions (Step-by-Step)
Step 1: Shredding and grating your ingredients
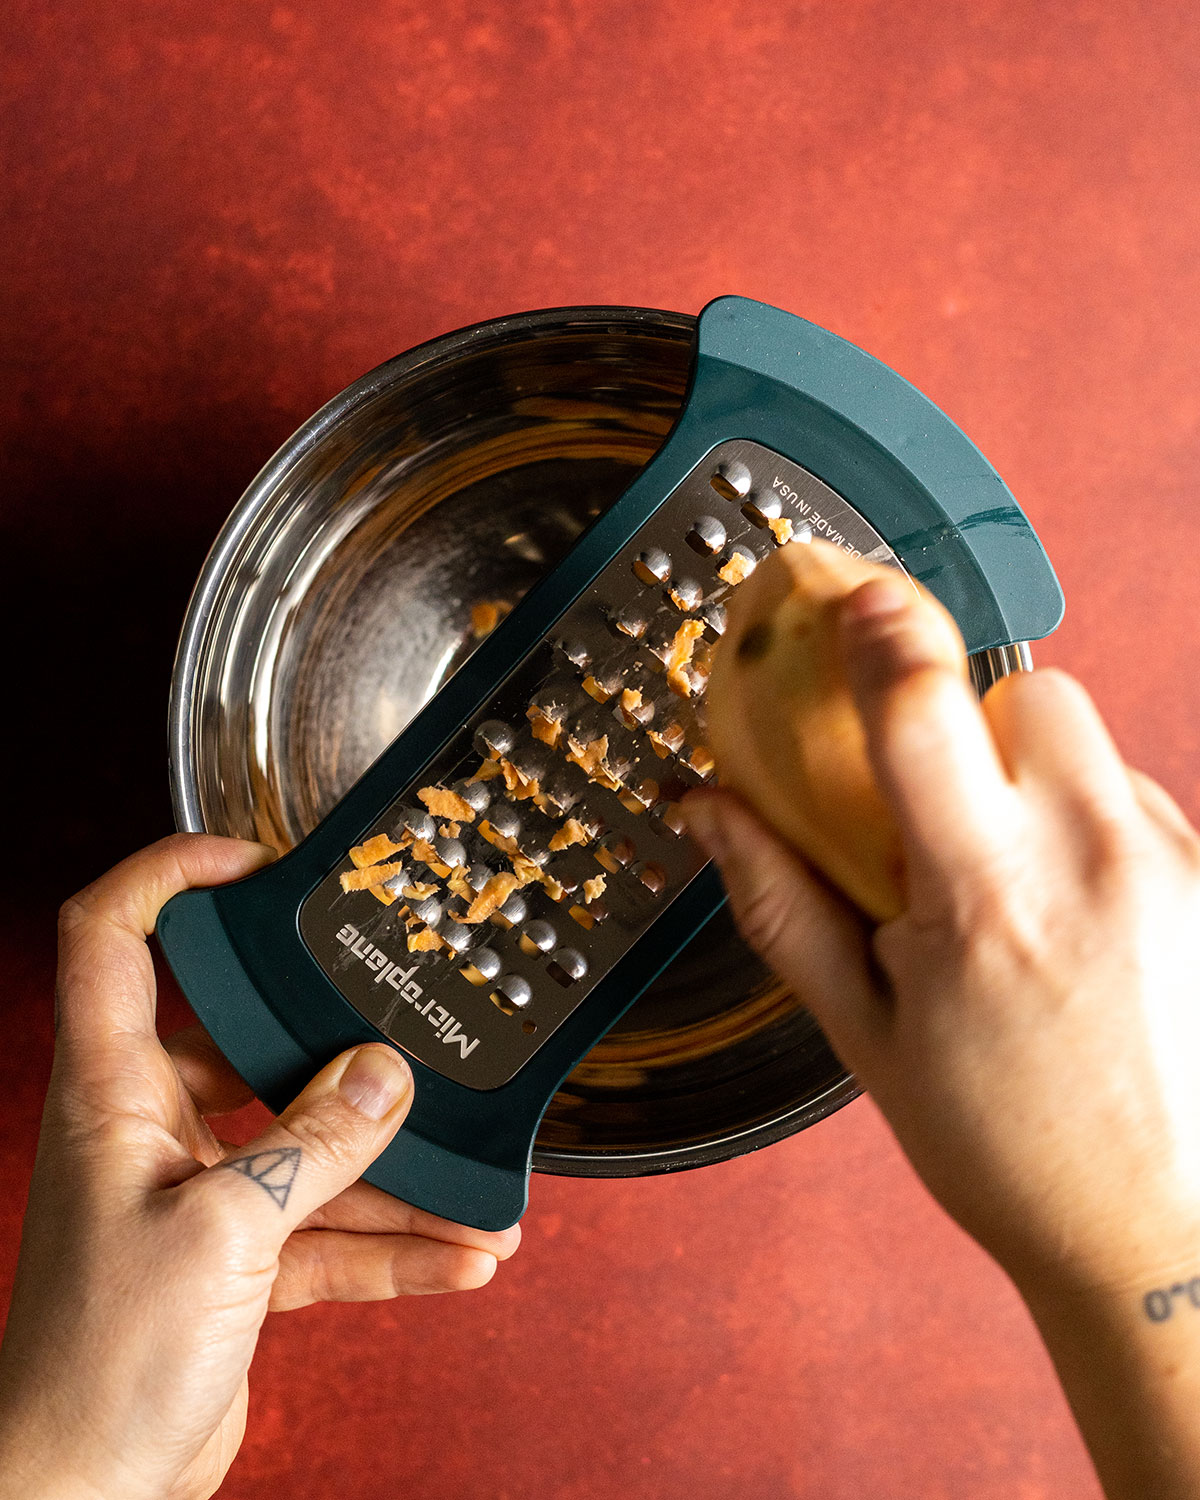
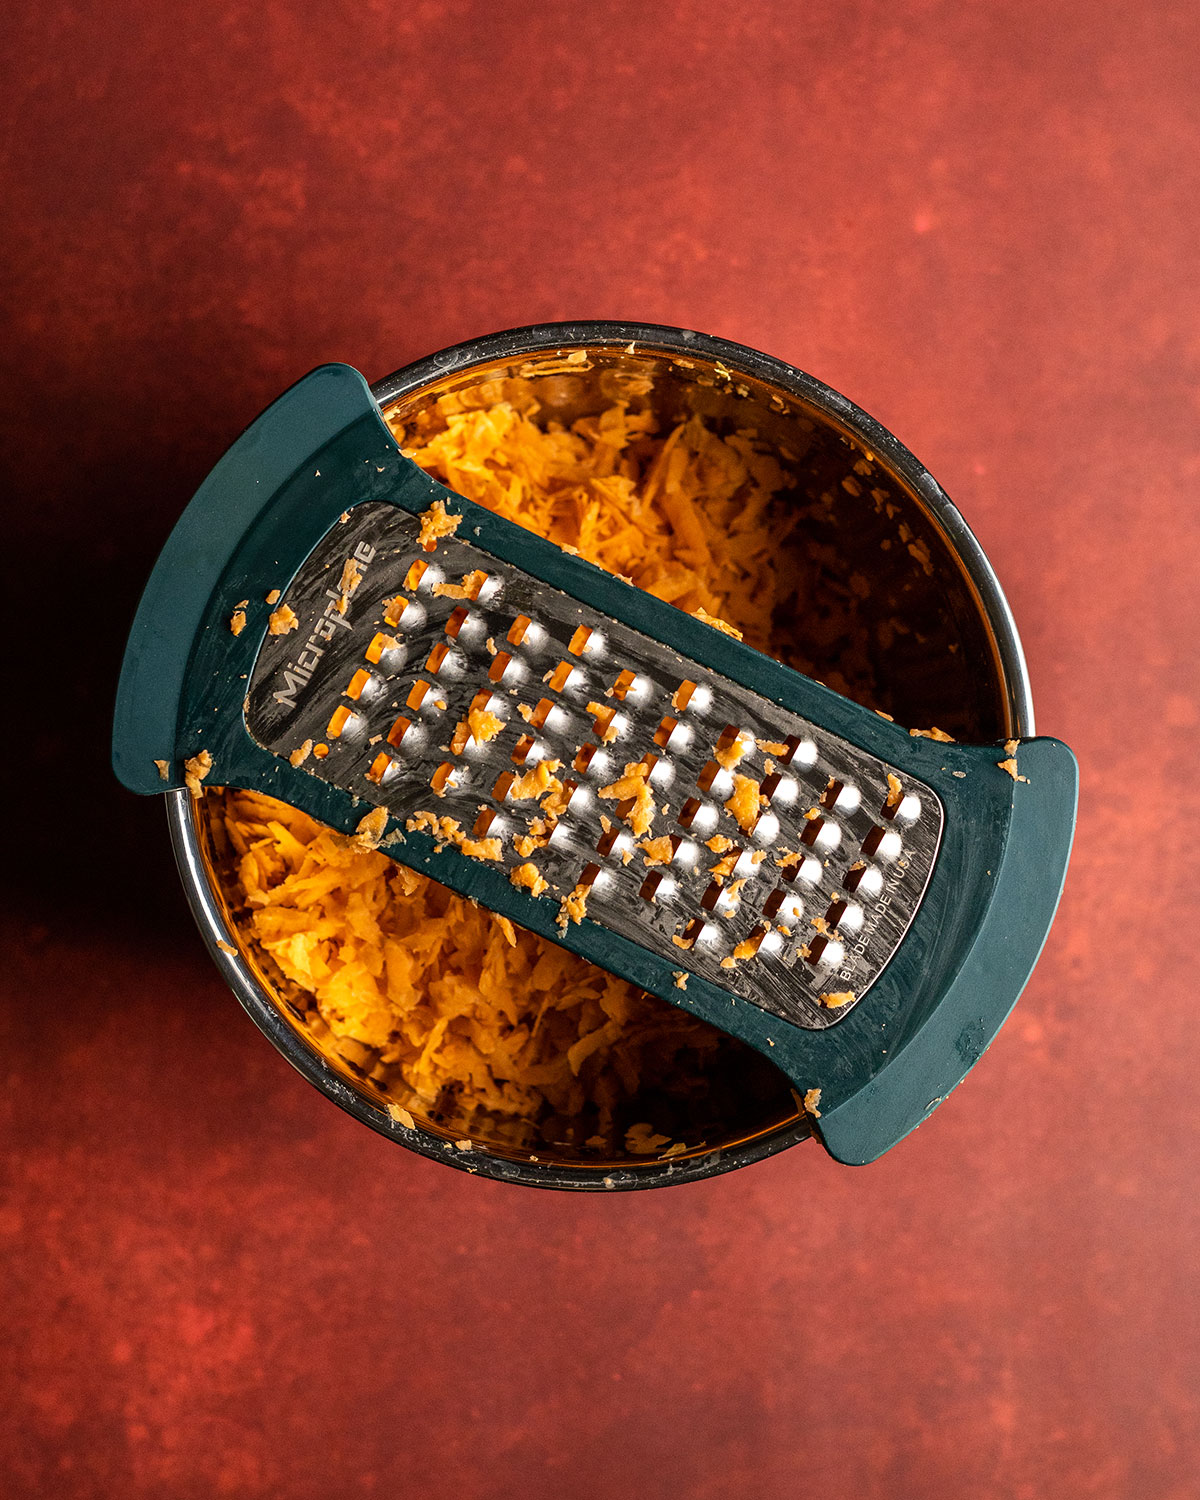
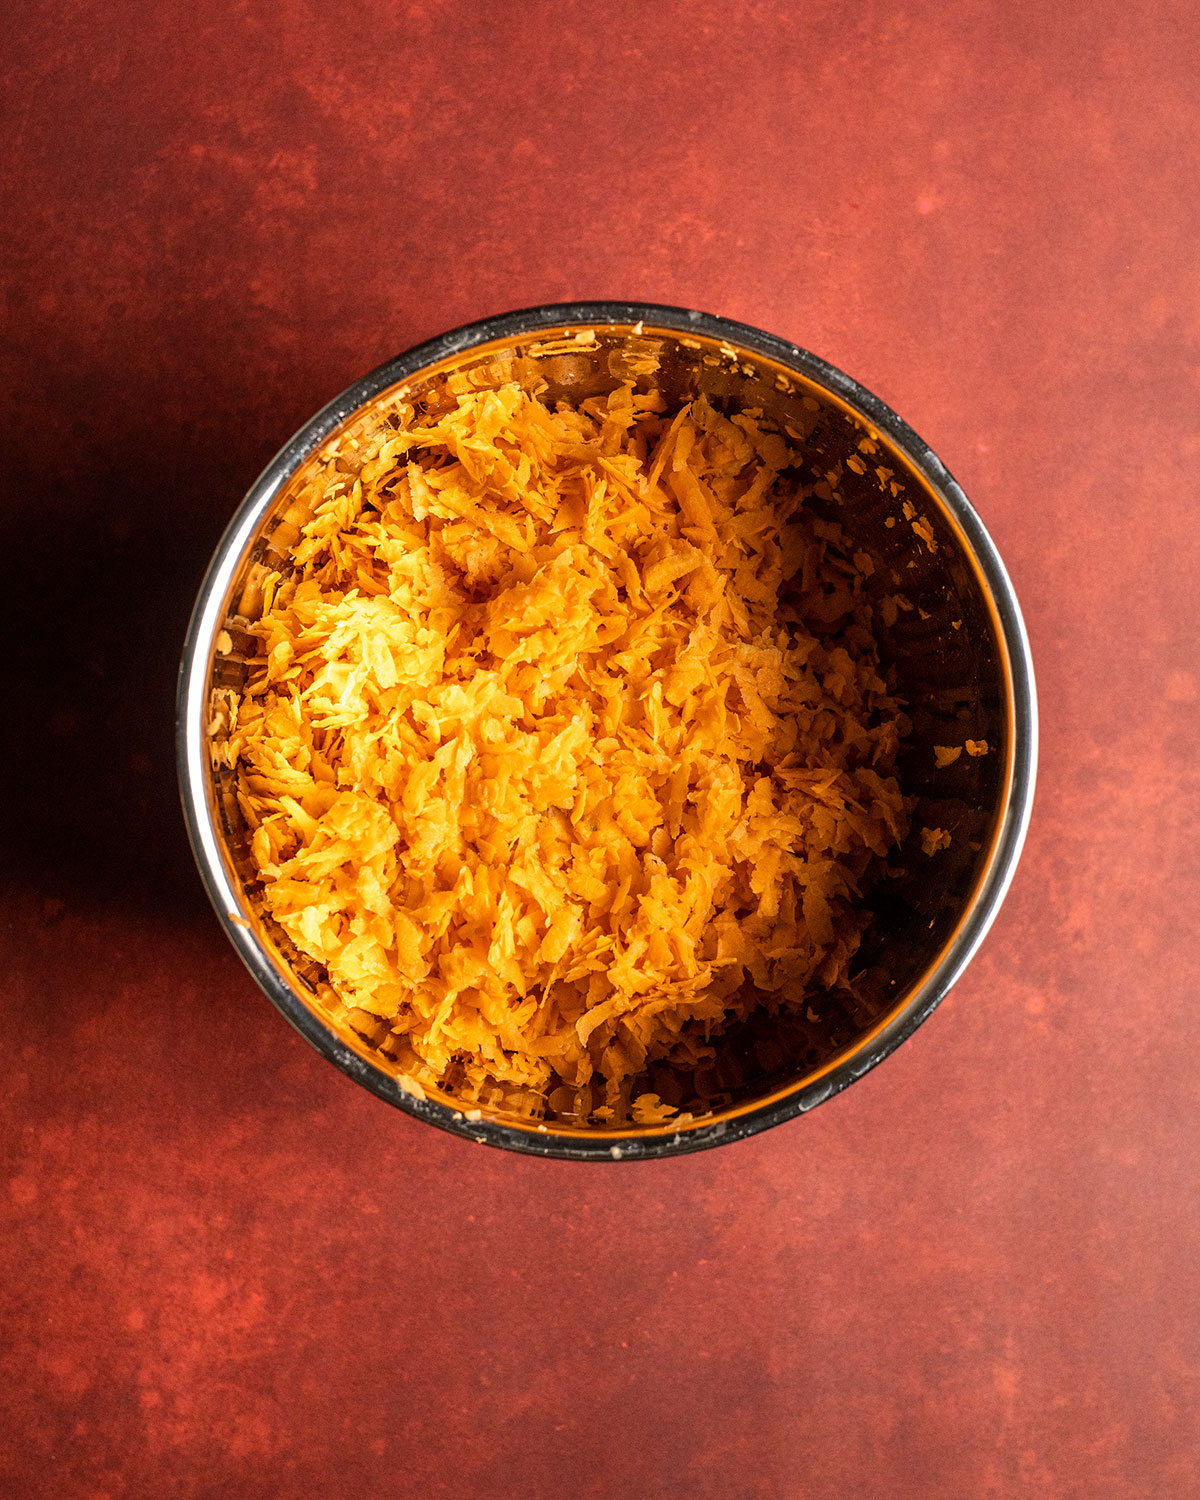
Start by shredding the sweet potato into a medium-size mixing bowl, then finely grate the garlic into the bowl. I have used the new Microplane Bowl Grater and Microplane Premium Classic Zester for an easy and precise grate of both sweet potato and garlic. You can find out more about these products below.
Step 2: Adding the rest of ingredients
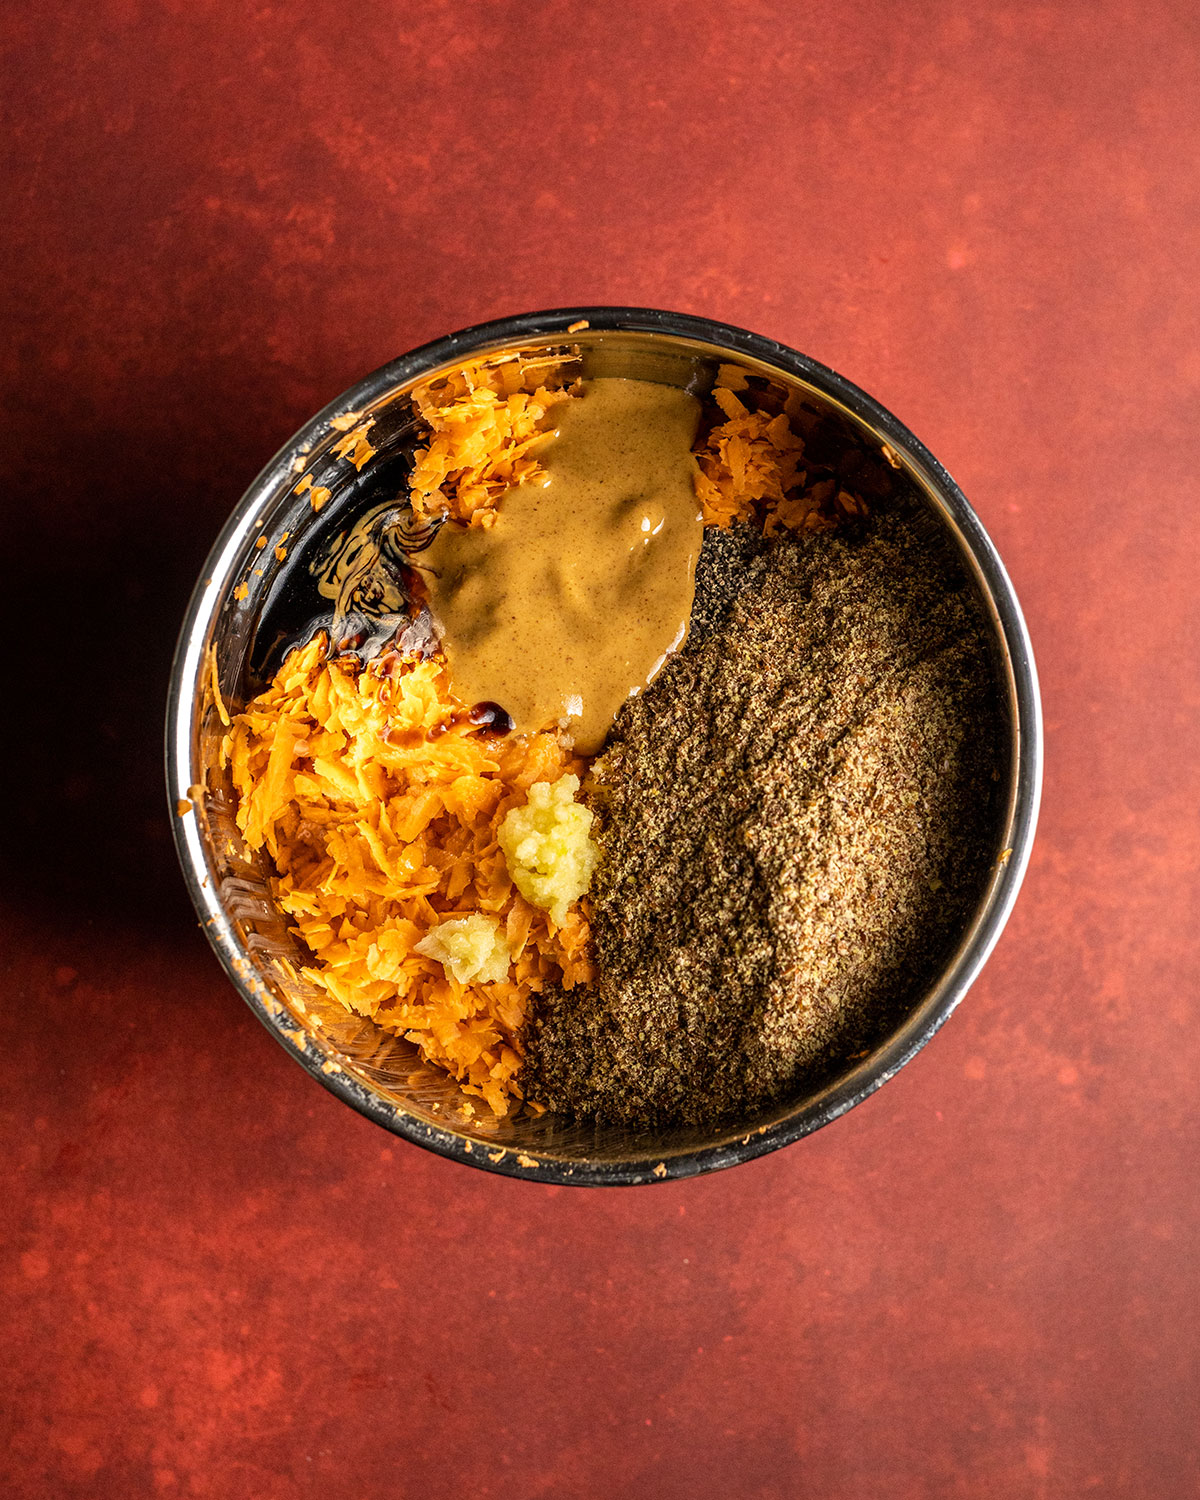
Add the smooth peanut butter, flaxseeds, salt, pepper, balsamic vinegar and maple syrup into the bowl and combine everything into a loose dough with a spatula.
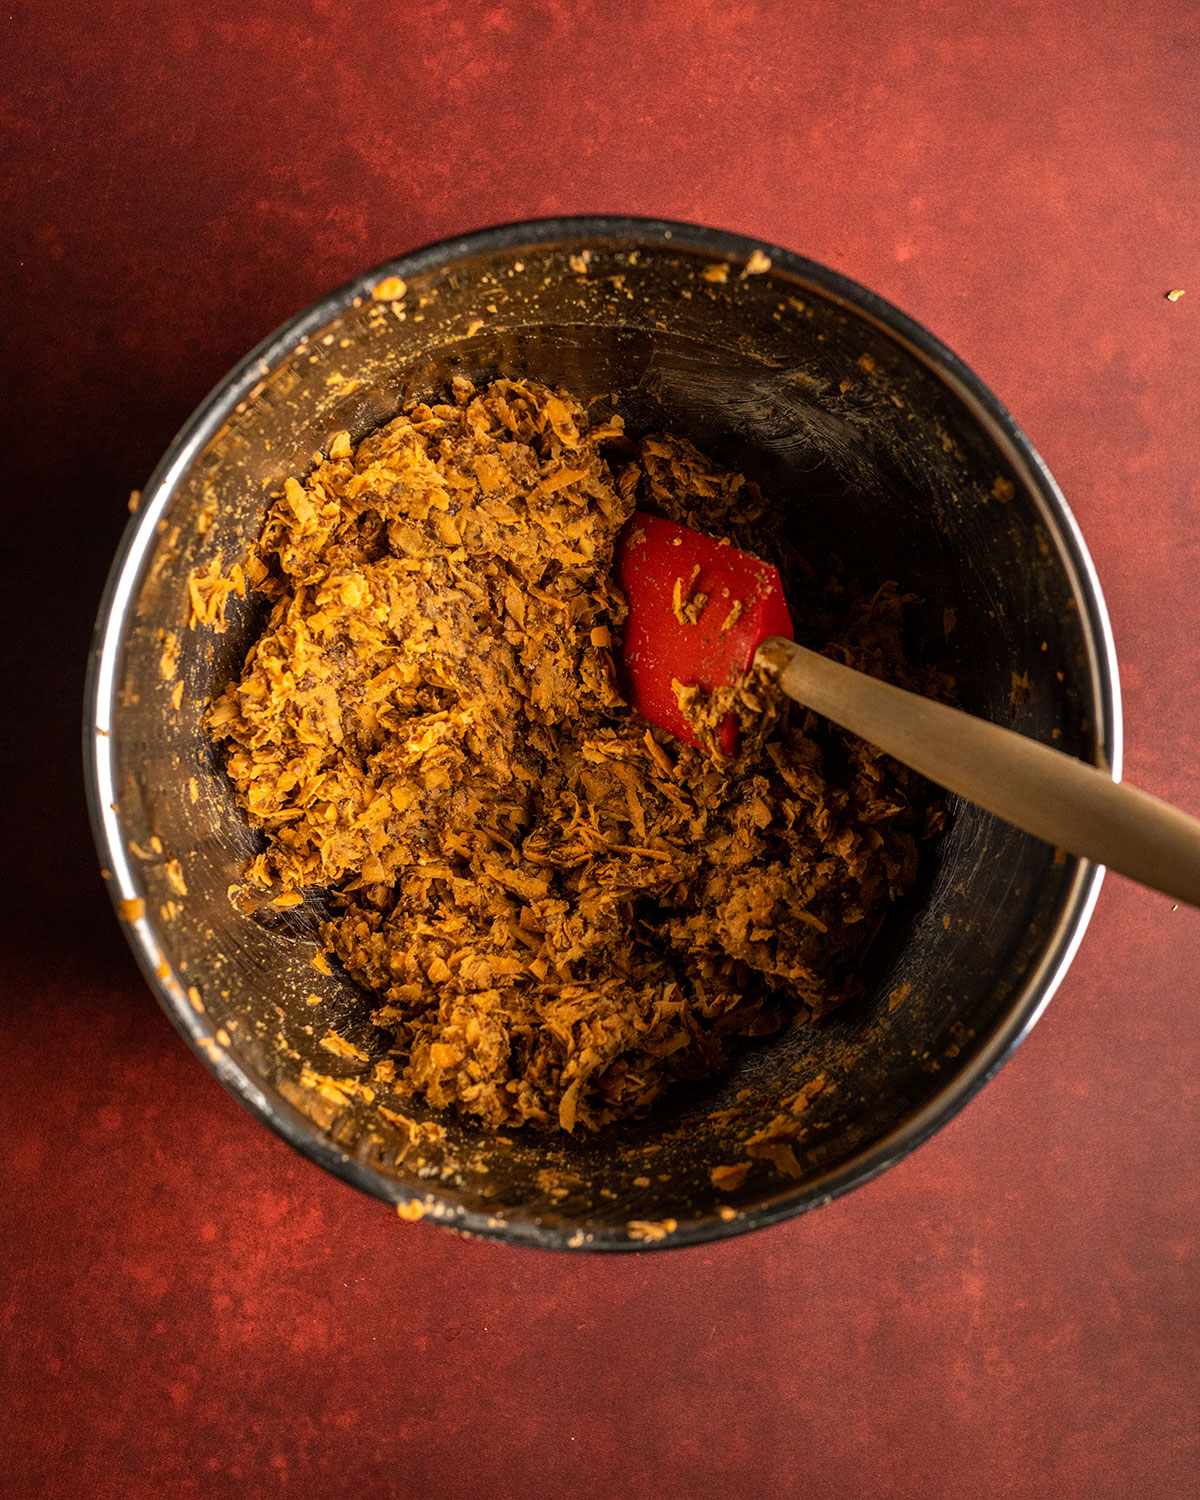
Step 3: Resting and preheating the oven
Set the dough aside for roughly 15 minutes. During this time the flaxseeds will be 'activated' - this means, they will slowly soak up the liquids of the ingredients, become soft and gel-like and help stick our dough together.
In the meantime, you can preheat your oven to 100°C (212°F) - fan assisted. Please adjust the oven temperature if you are using another type of oven.
Step 4: Rolling and cutting the crackers
Divide the dough into two parts for easier handling. Roll each half into a firm ball between your hands.
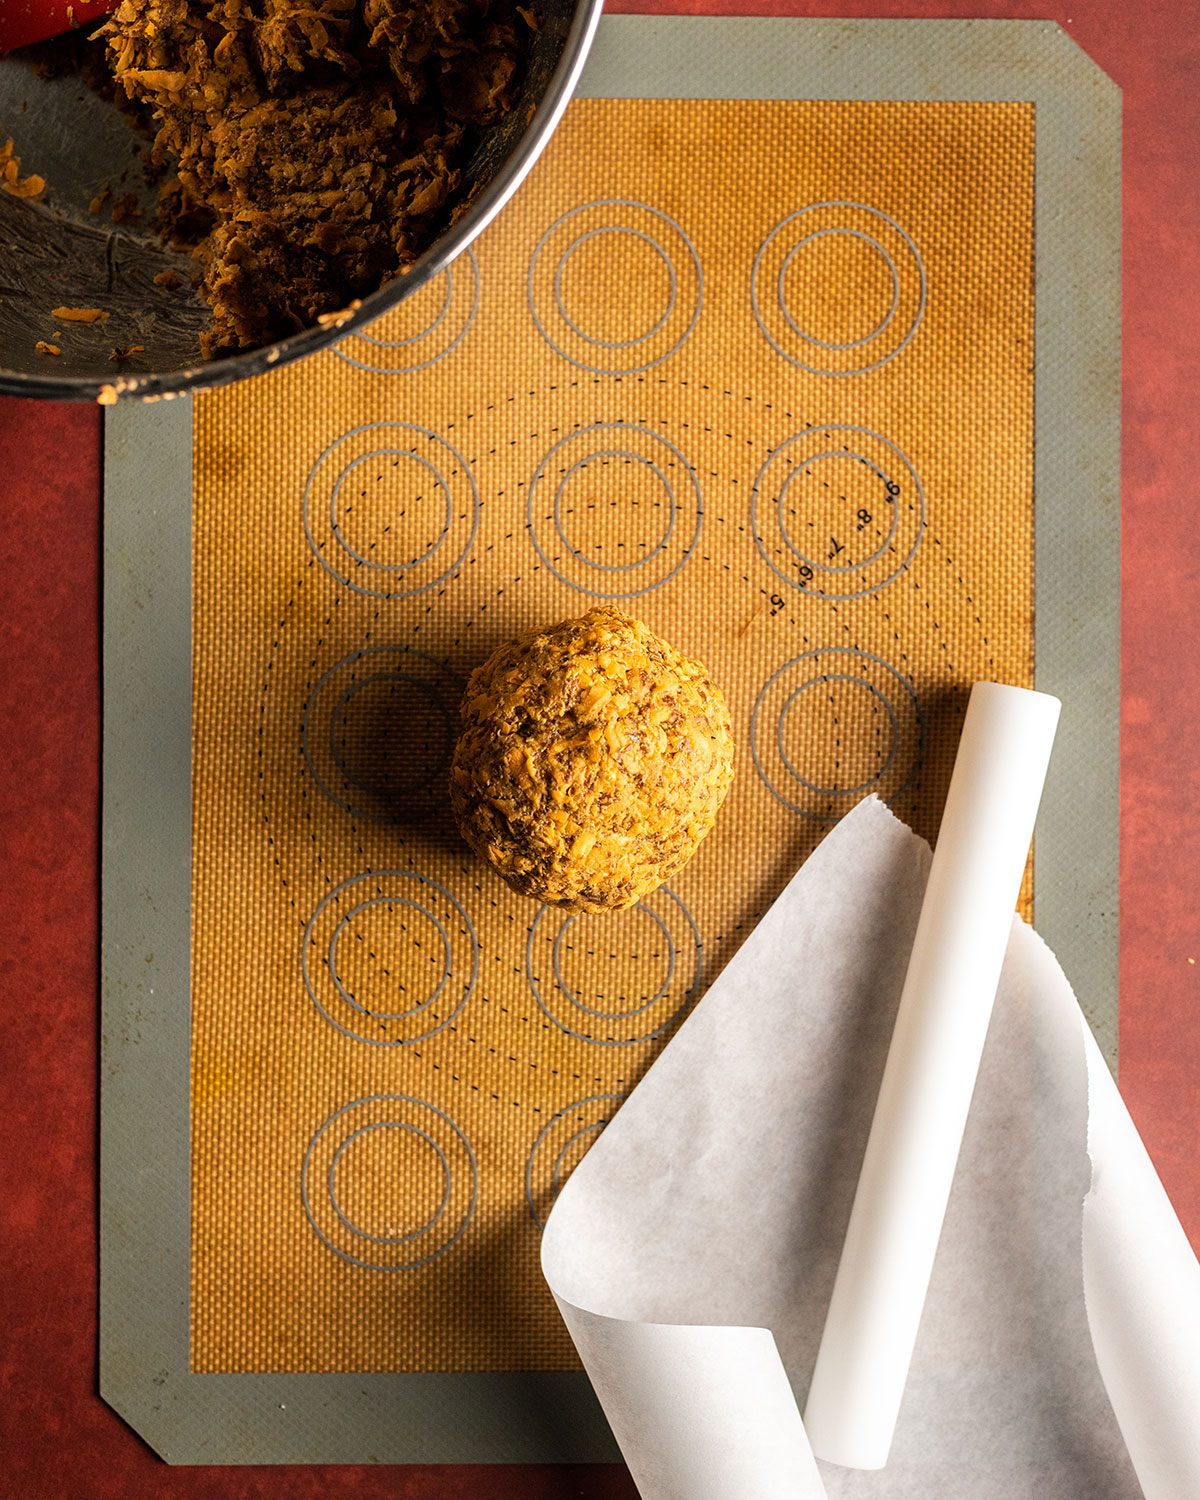
Place each ball onto non-stick baking parchment or a silicone baking mat, then place another parchment sheet on top. Use a rolling pin to gently roll out the dough to about 1 mm thickness.
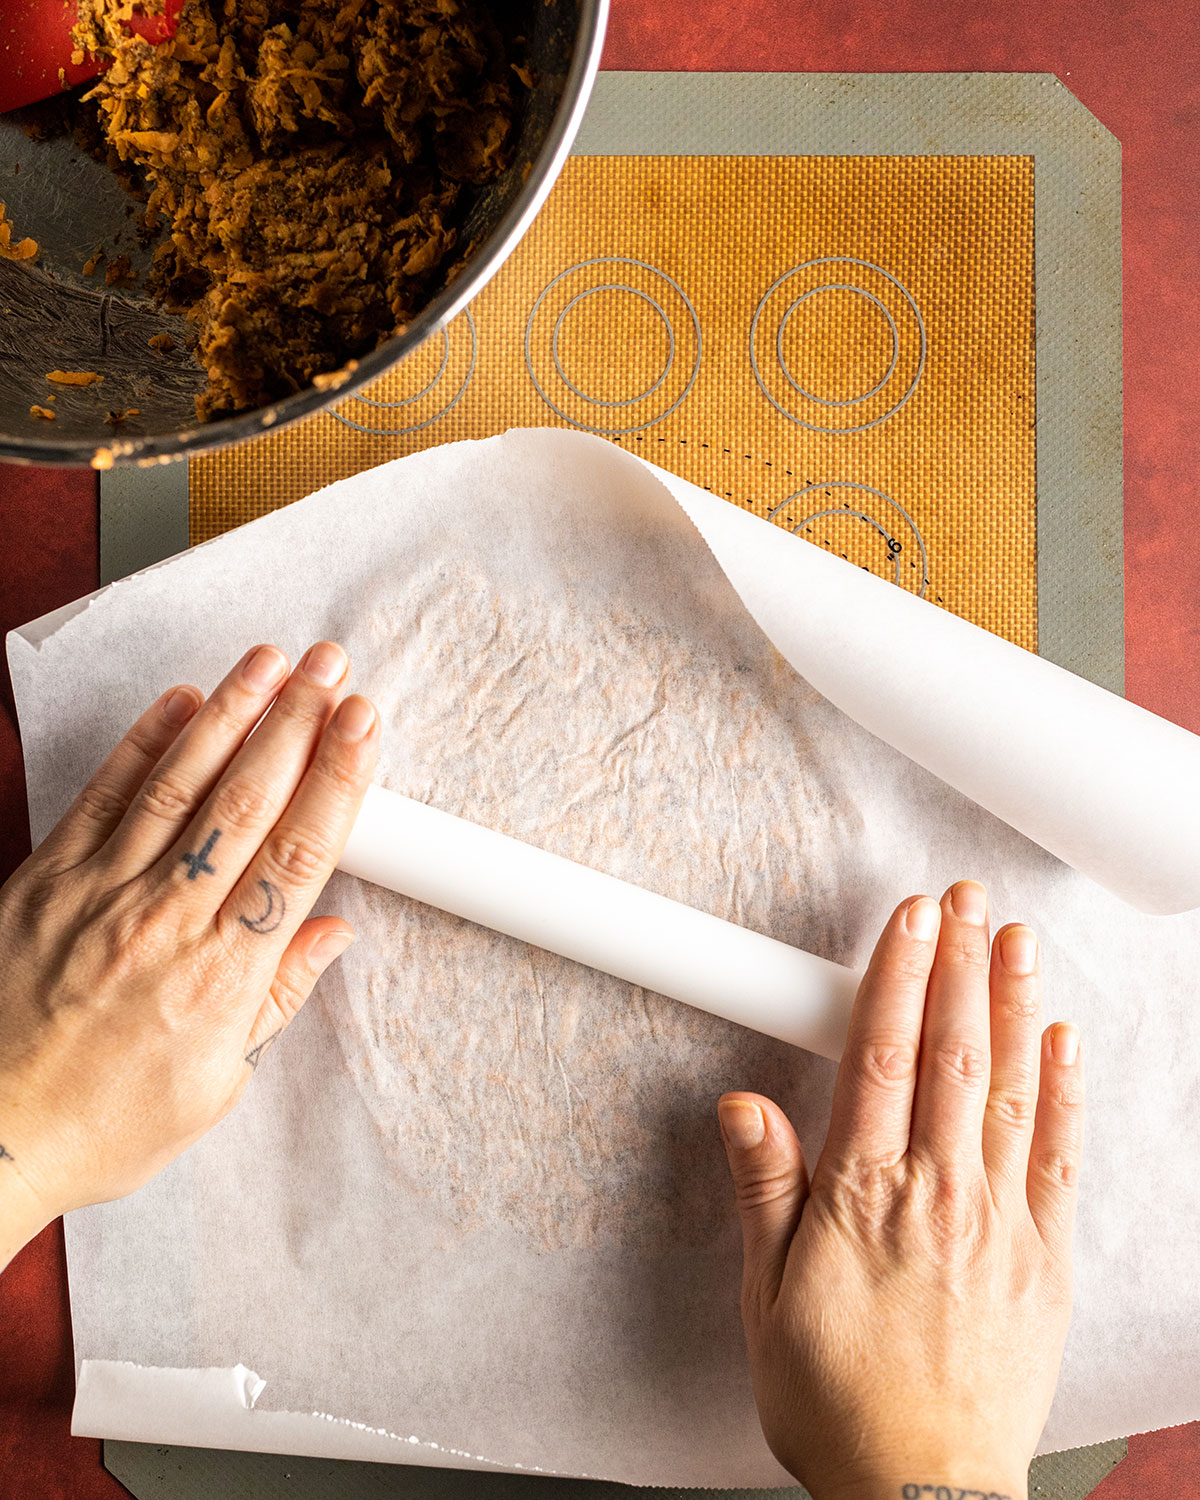
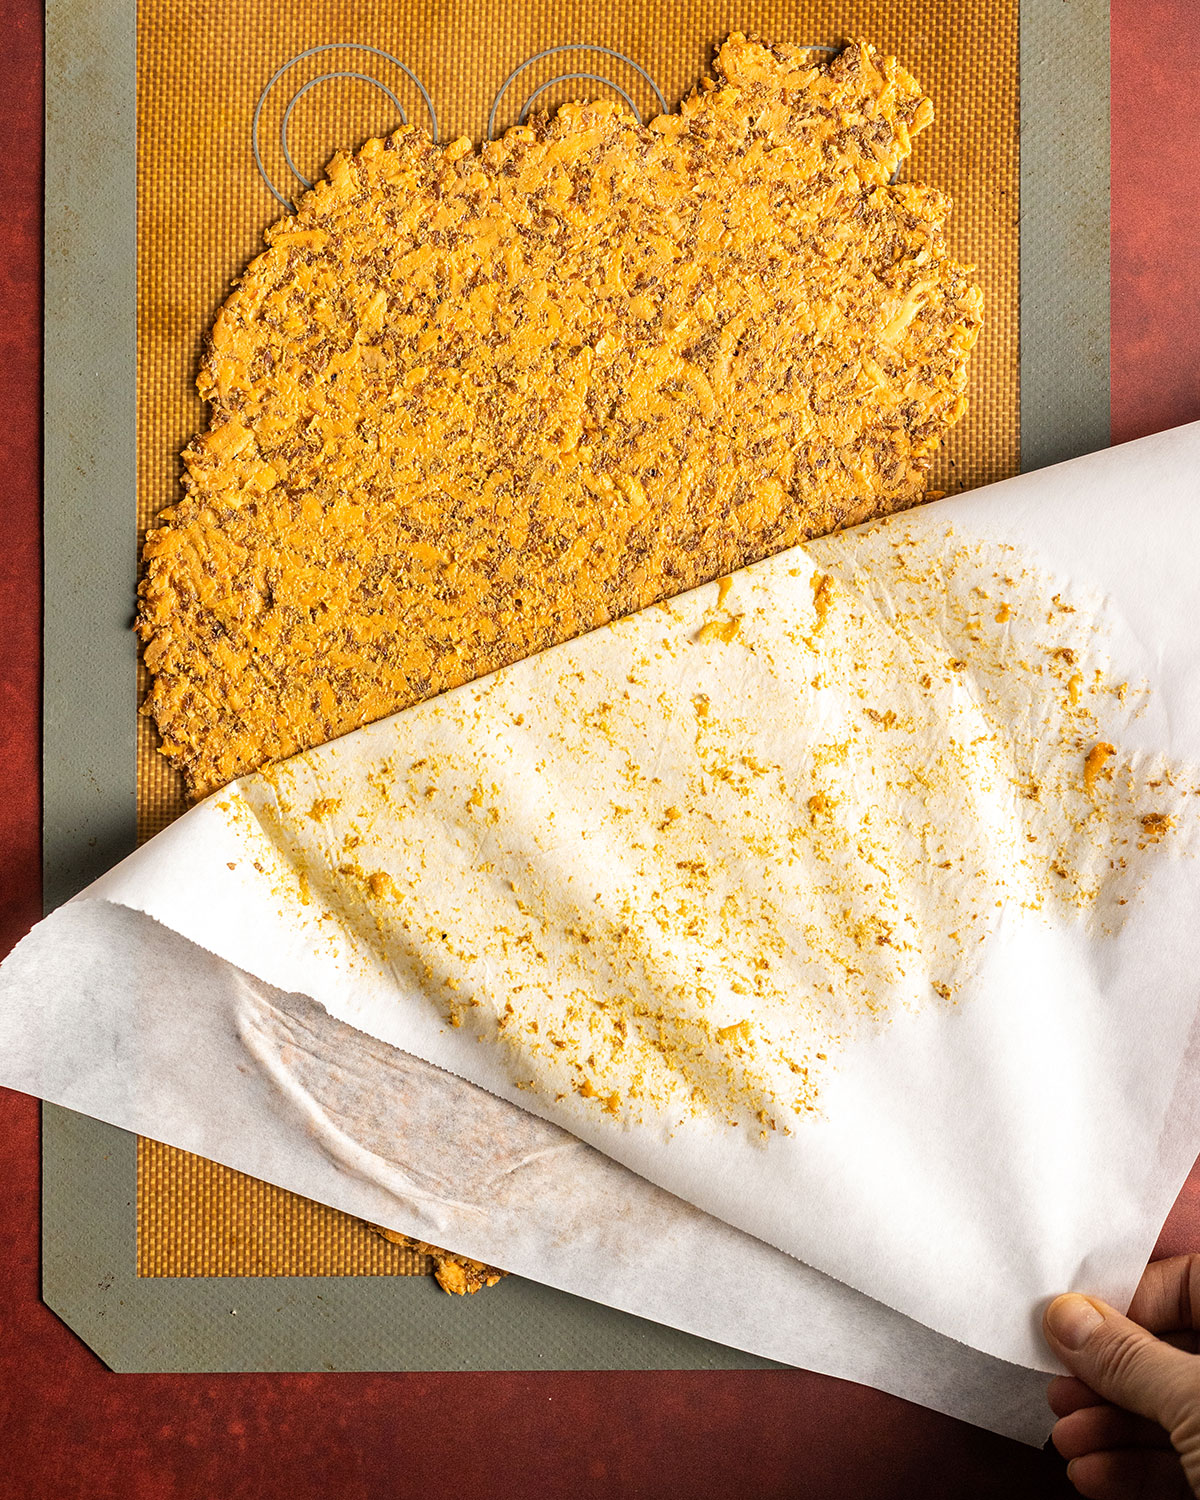
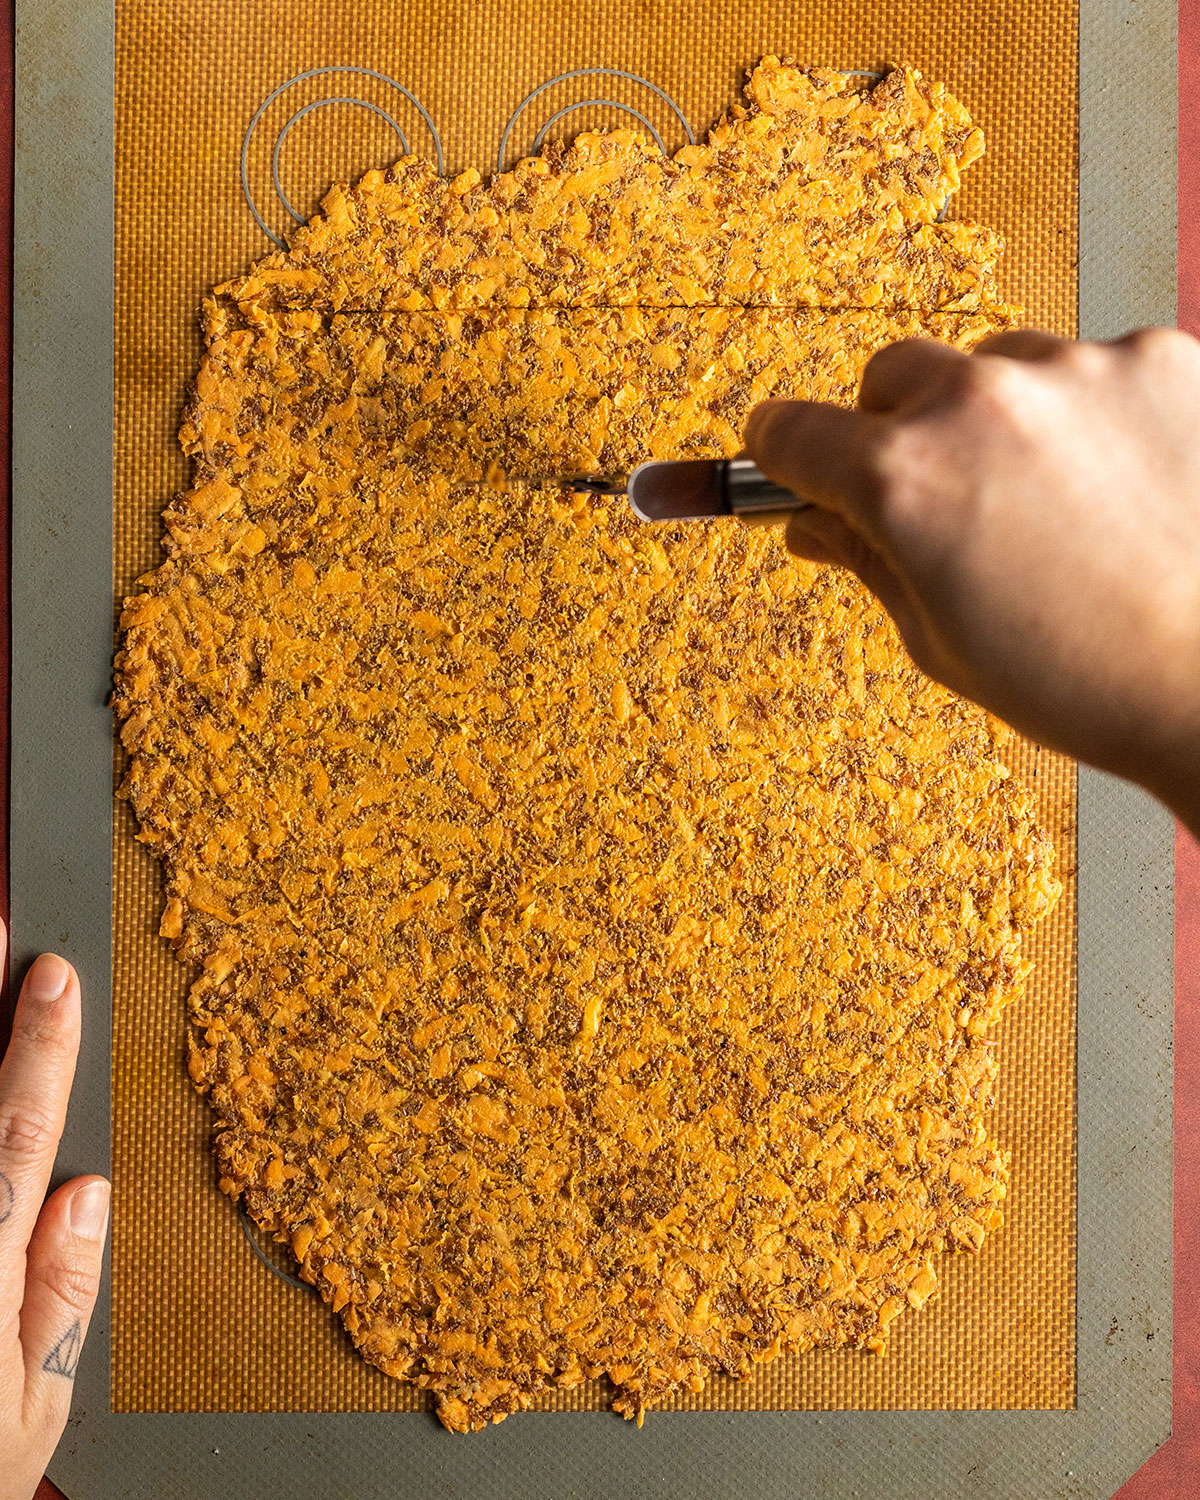
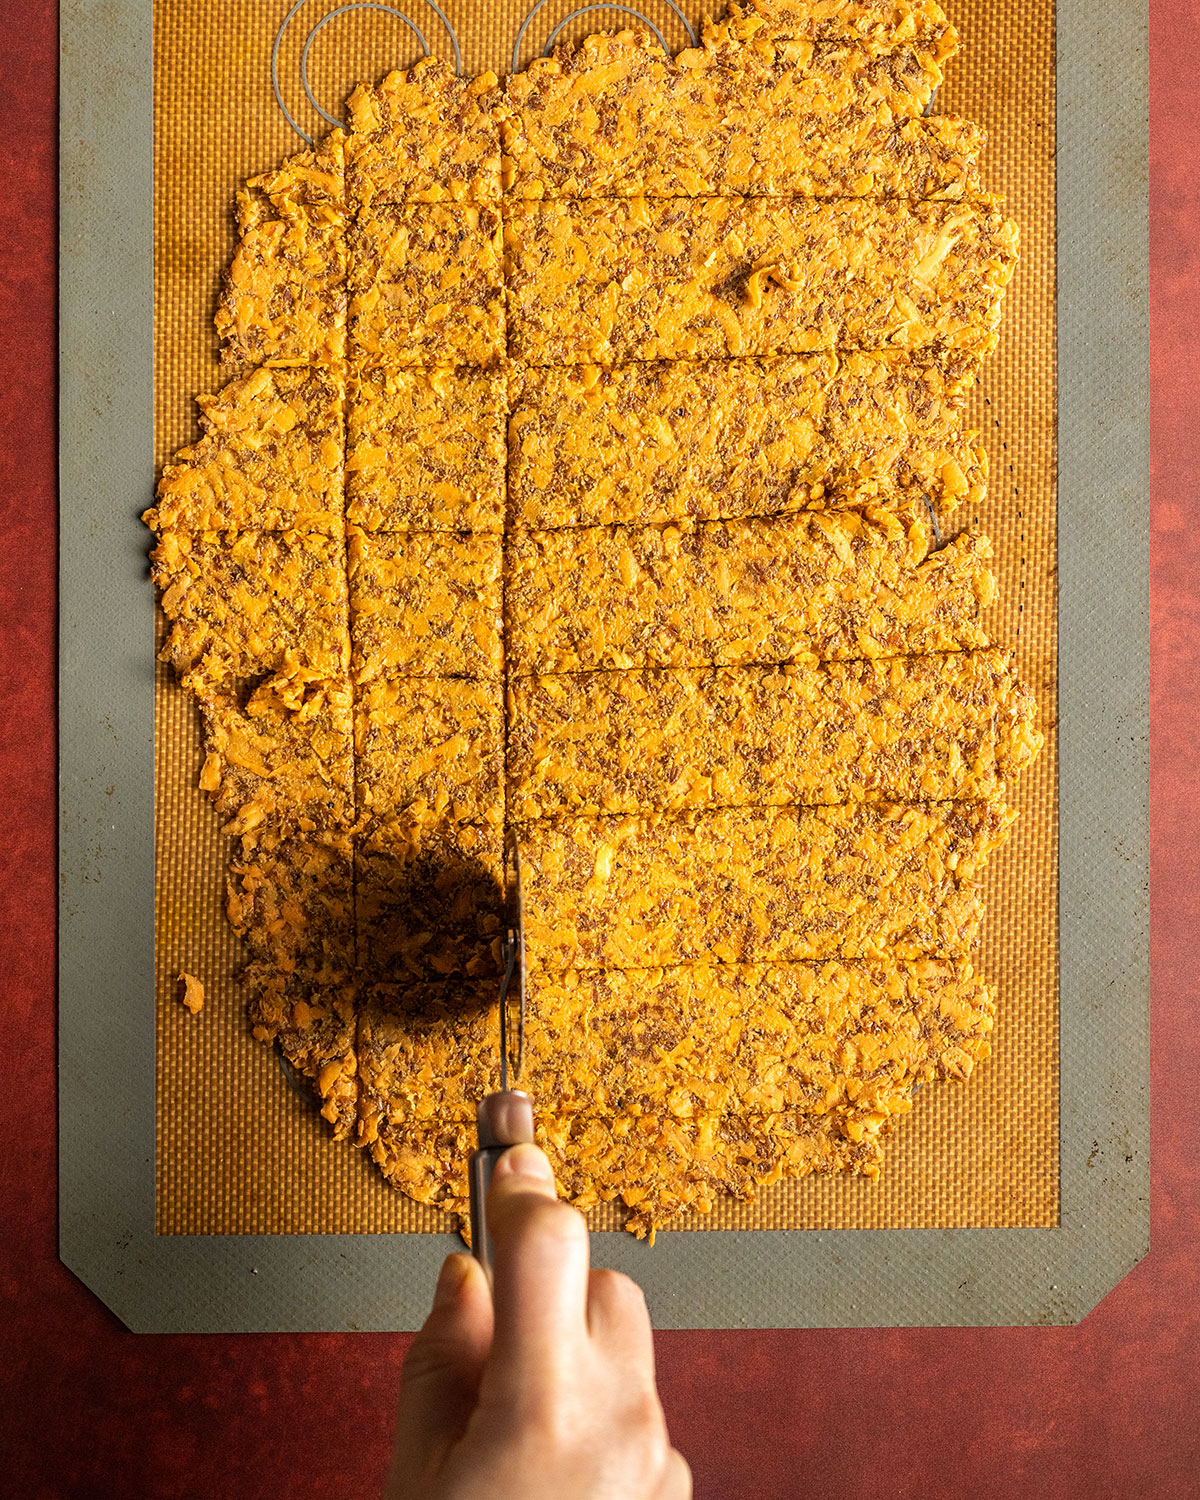
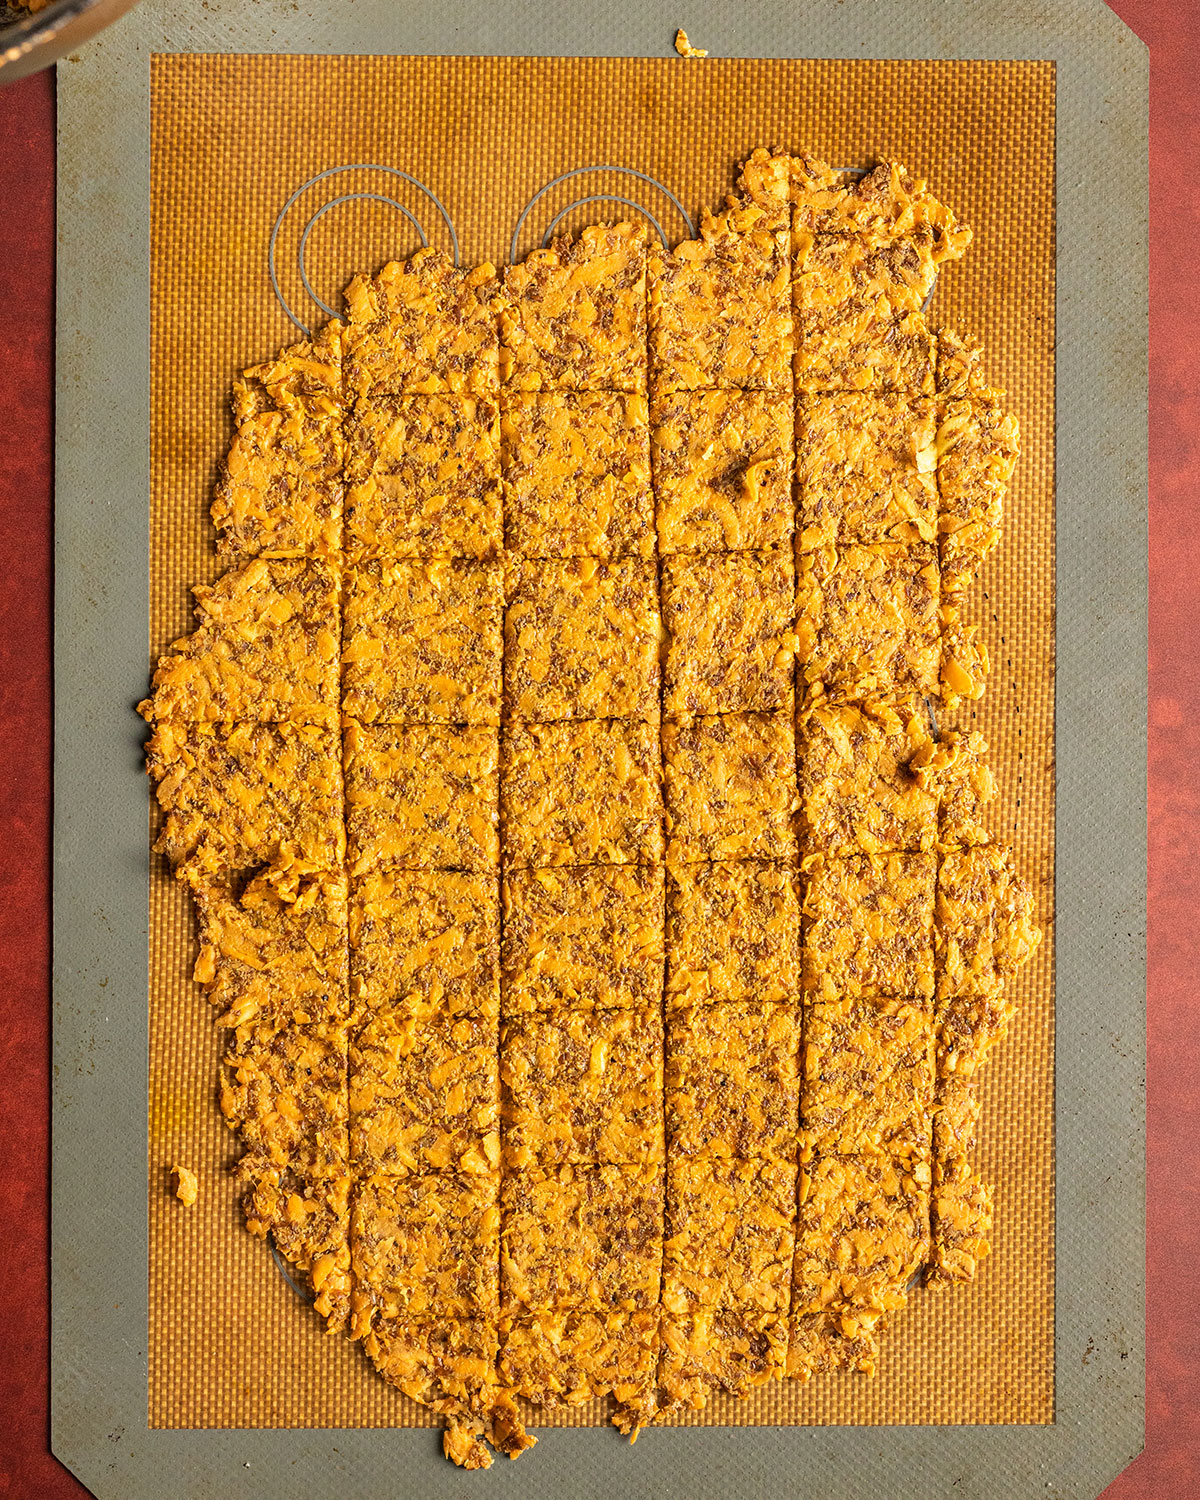
Carefully remove the top sheet and use a pizza cutter or knife to carefully score the cracker lines and pre-cut the shapes you want your crackers to be in later on. Cutting these before baking will make it much easier to break the crackers into individual pieces after baking.
Step 5: Baking
Transfer the sweet potato crackers into the oven and bake them in the middle of the oven at 100°C (212°F)(fan-assisted) for 45-60 minutes. Rotate your baking trays around halfway to allow for an even bake. My oven is fan-assisted, so this is the setting I usually use. If you use a different type of oven, please adjust your temperature accordingly.
Step 6: Cooling
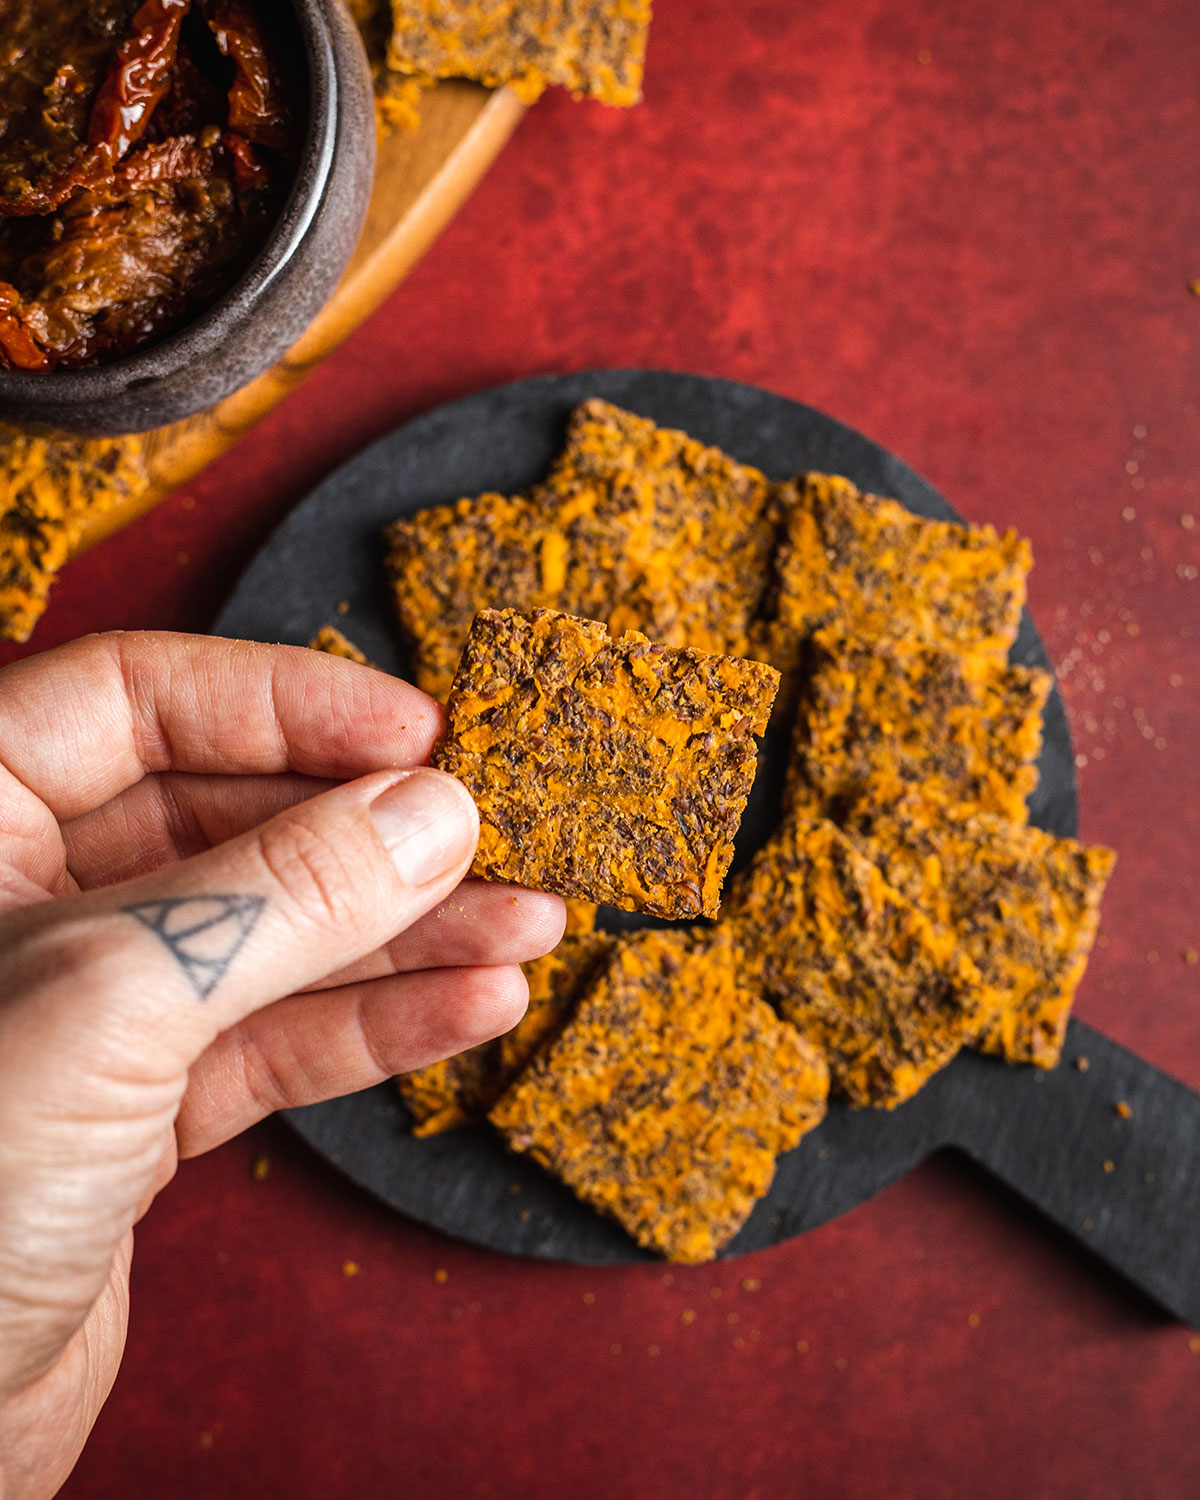
Remove your crackers from the oven once they begin to look dry and the edges begin to brown. Allow for the sweet potato crackers to cool down at room temperature for roughly 30 minutes before removing them from the parchment/silicone mat. Carefully break them into individual pieces.
Step 7: Serving
Assemble your cheese board and serve these sweet potato crackers alongside your favourite cheeses and chutneys!
Microplane Review
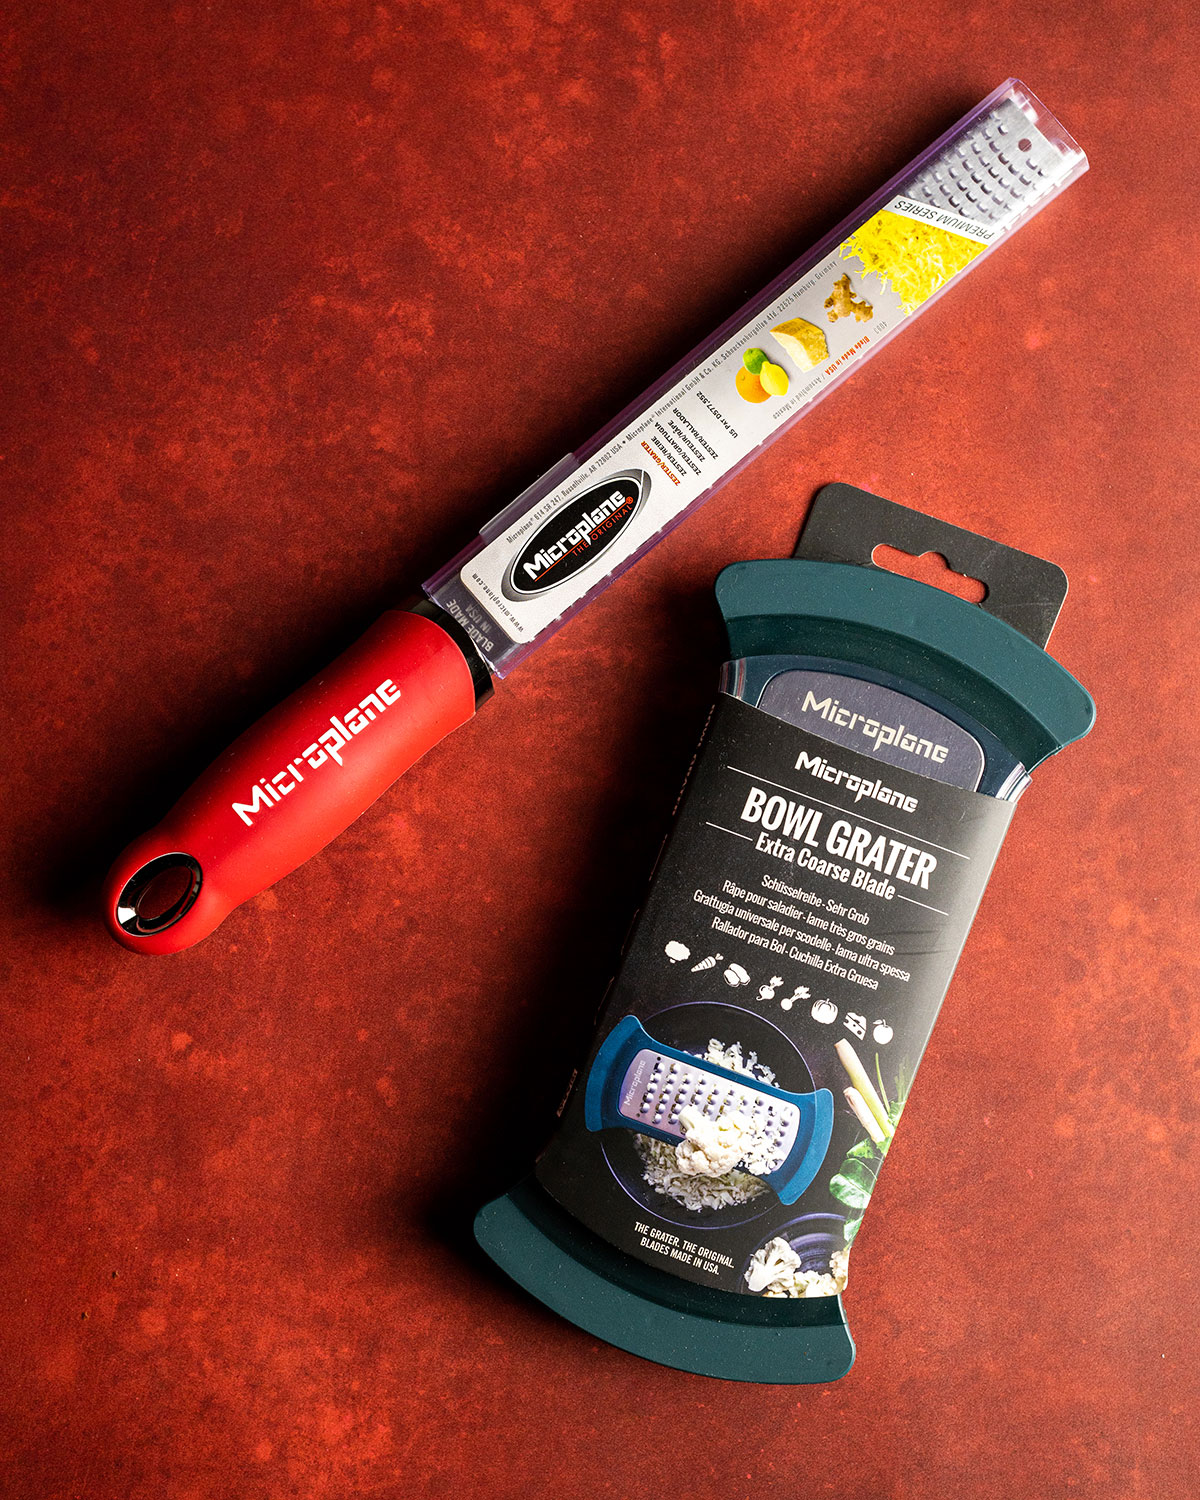
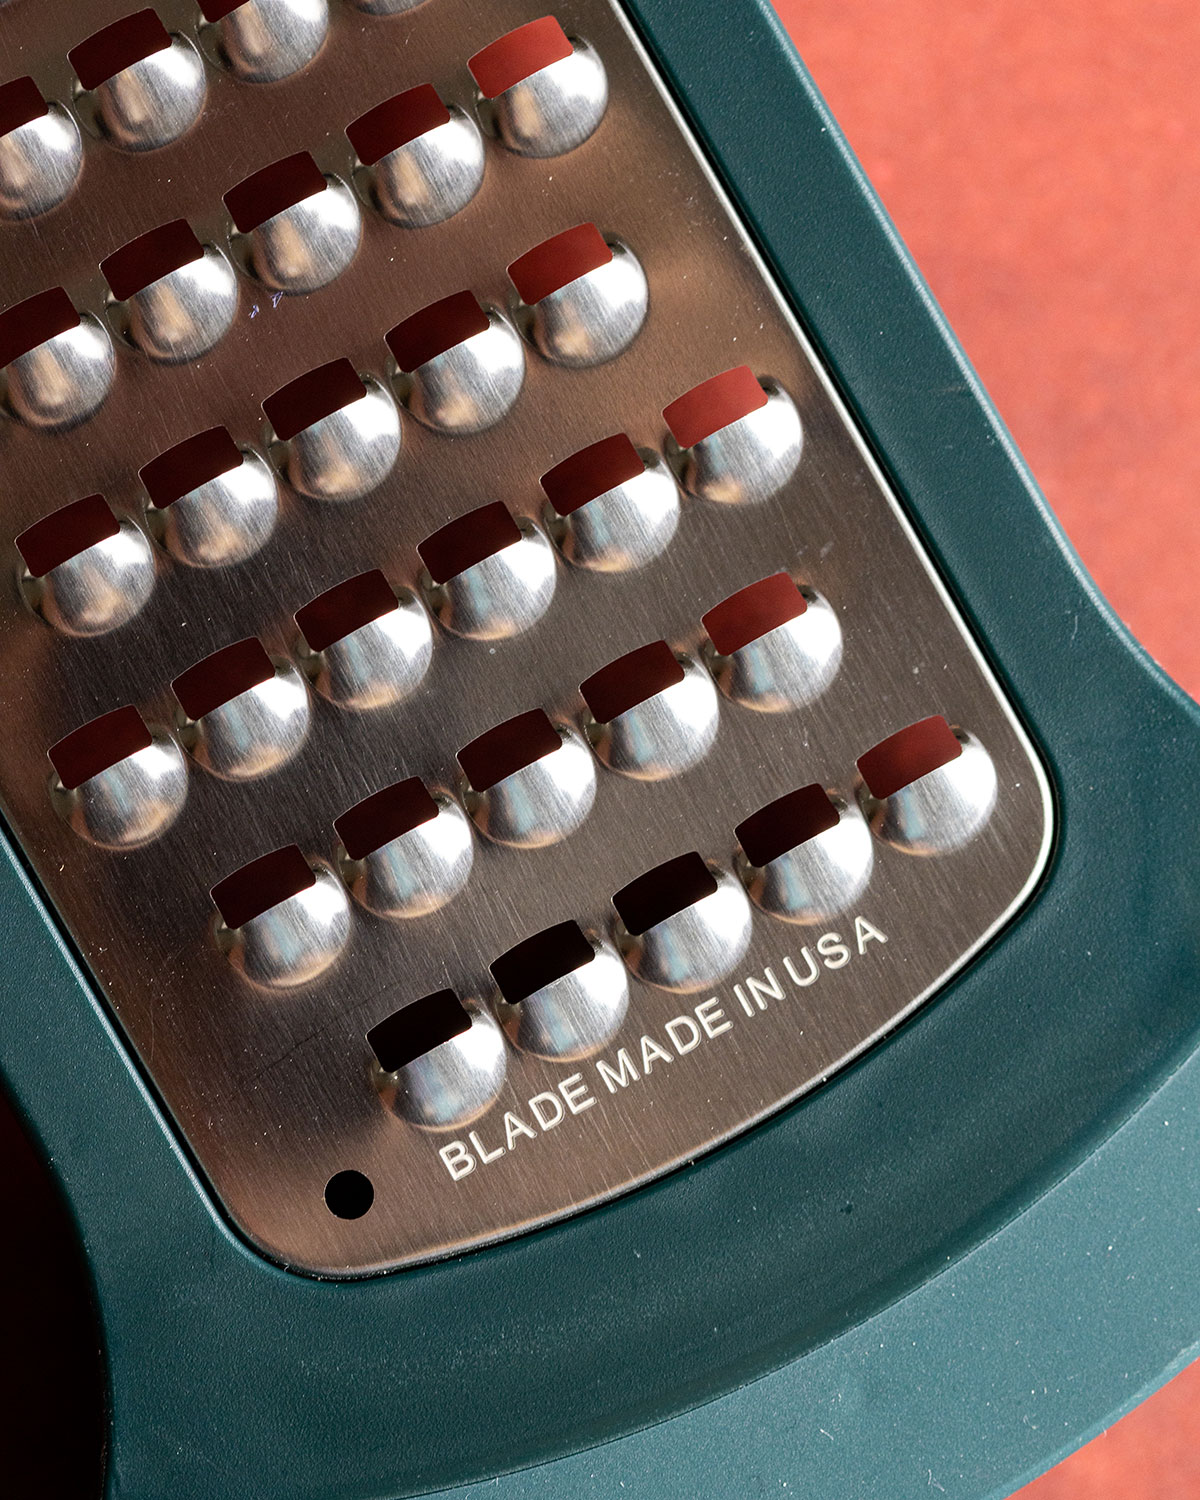
For this recipe, I have tested out the new Microplane Bowl Grater, a super sharp, high-quality grater that can be used in a variety of ways: on top of a bowl, inside a bowl or at an angle, making it a great all-rounder for your grating-needs in the kitchen.
With its non-slip soft-touch handles, the Microplane Bowl Grater easily grips onto the sides of a small bowl and is also easily placed inside a larger bowl and easily stays in place whilst grating without much effort, making it so much easier to grate your vegetables and Co without strain on your hands and wrists (I've definitely been there!).
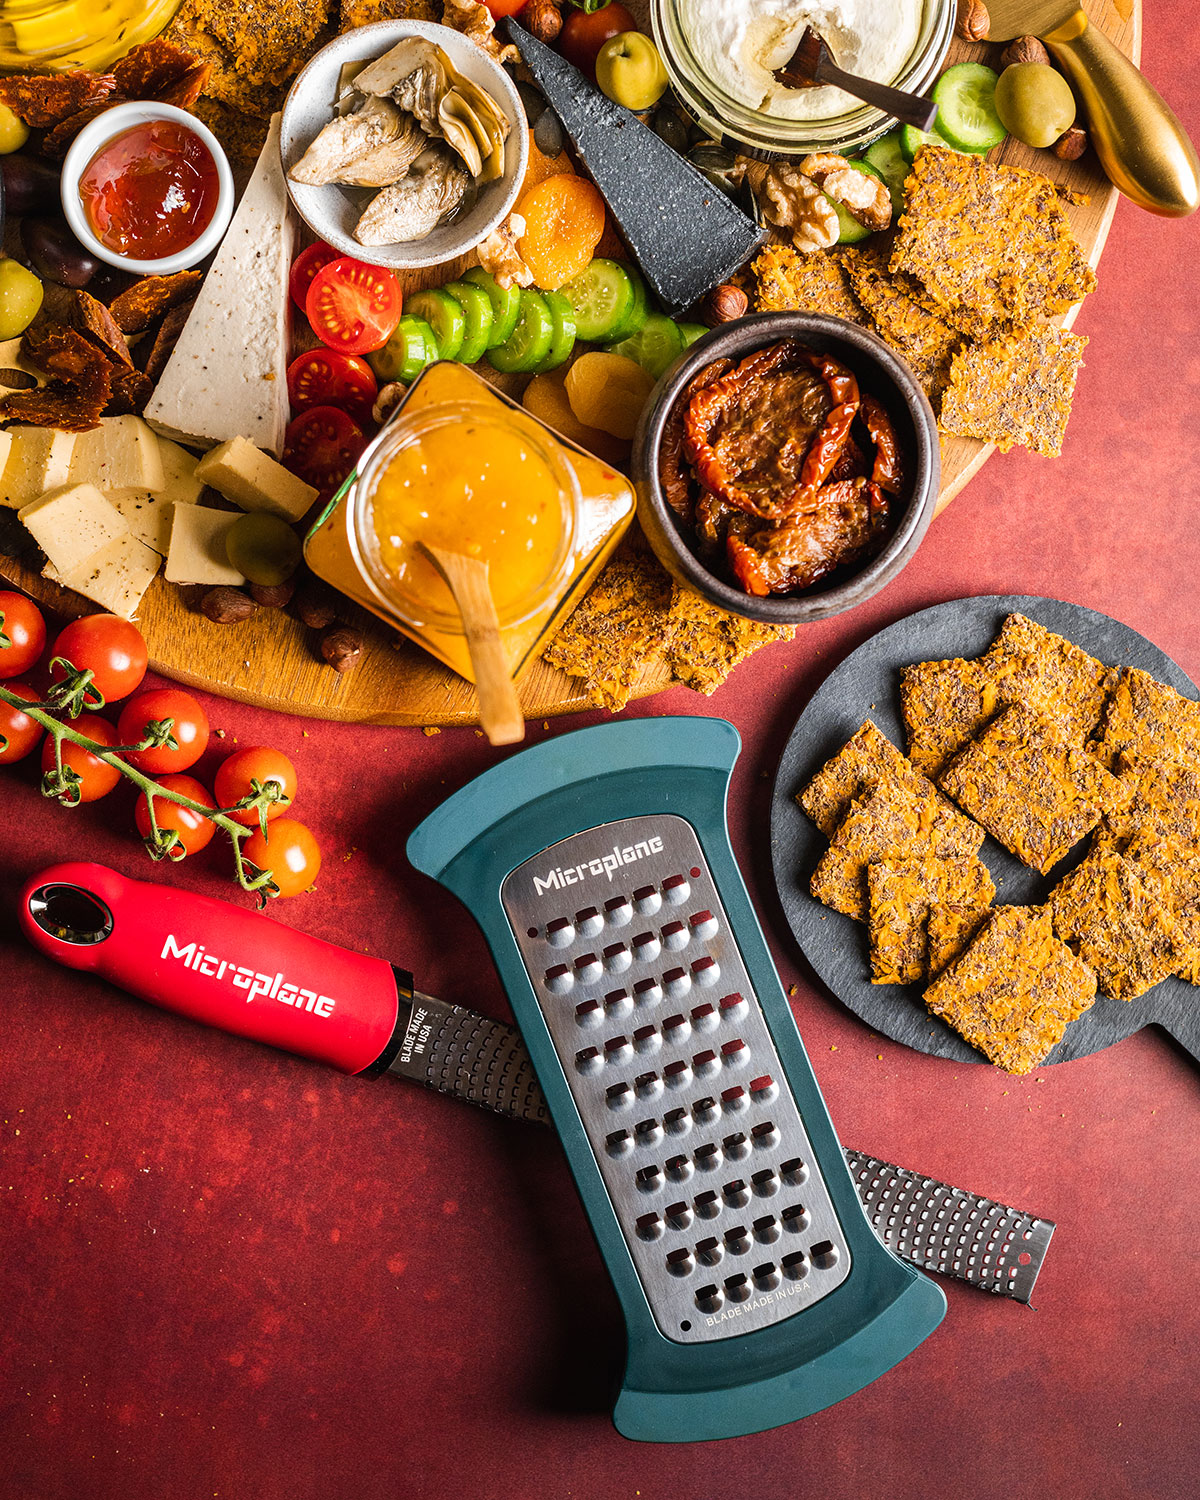
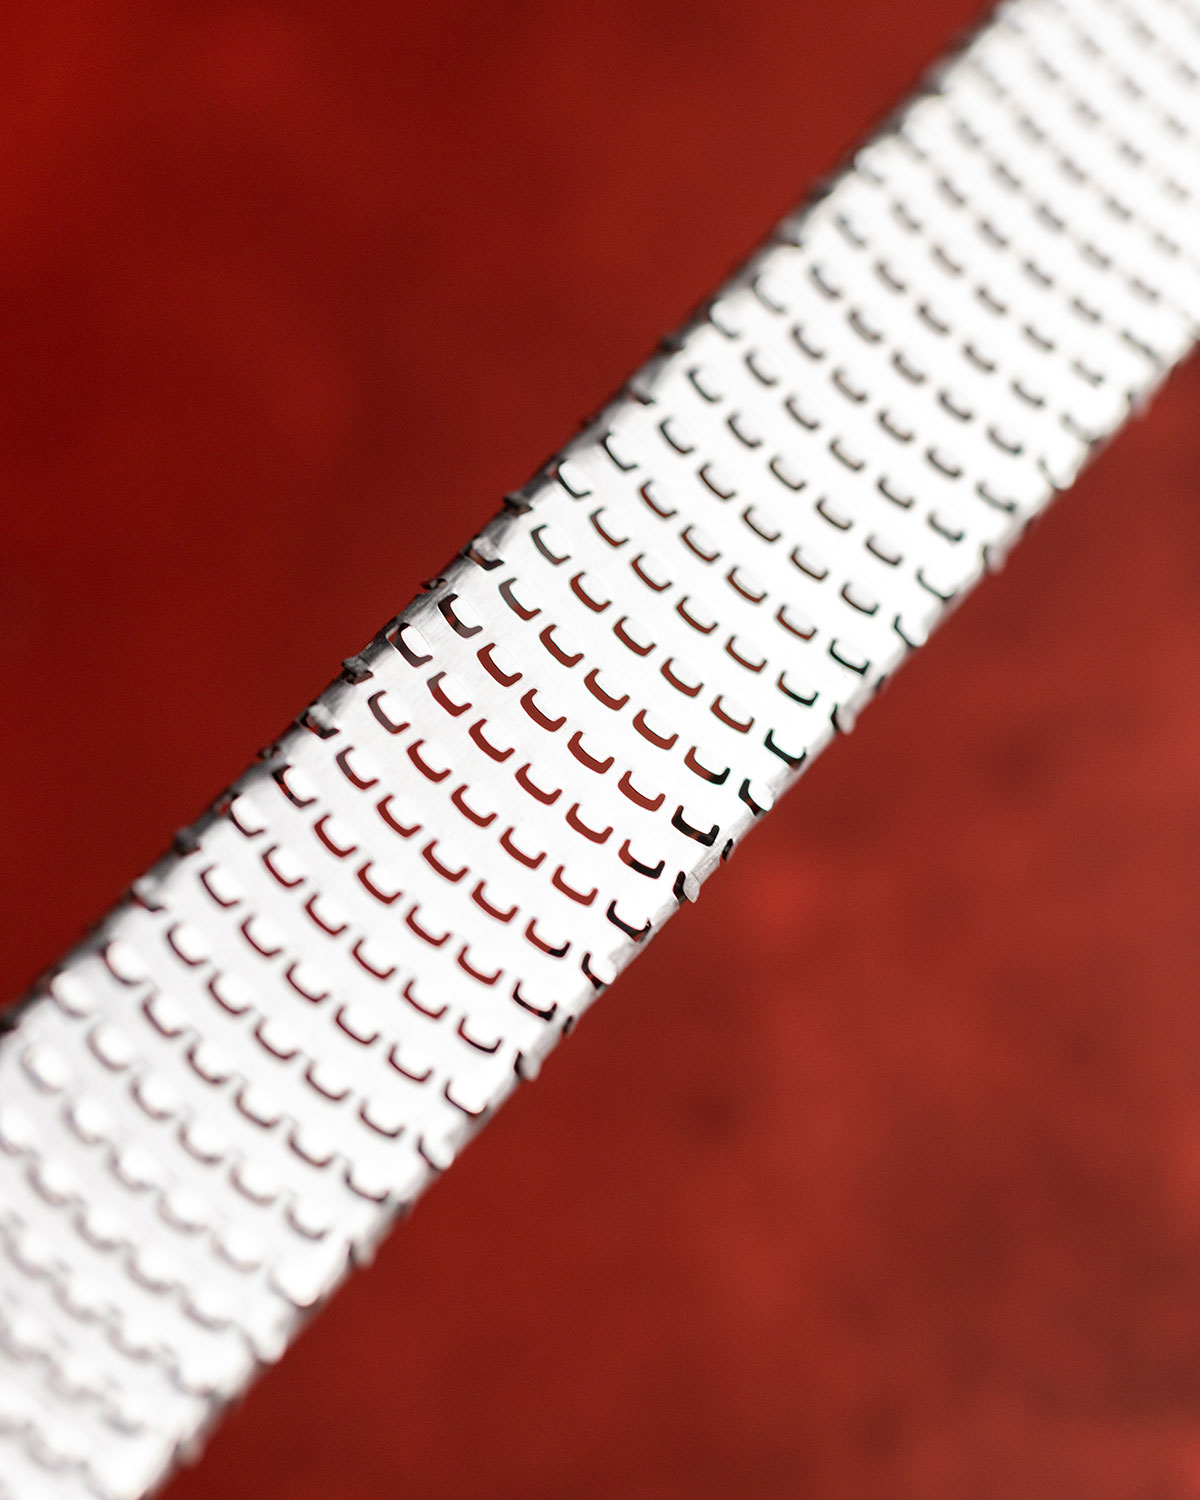
The stainless steel Microplane blades are made in the USA and intended for long-lasting use and the sharp blades grate effortlessly and cut the sweet potato precisely without ripping or tearing.
In addition to the Bowl Grater, I also used the Microplane Premium Classic Zester in this recipe and I can assure you, it's not only great for zesting but also perfect for grating garlic into a fine puree, which is exactly what we need for this recipe. Another benefit? It's much easier to clean than a garlic press - both Microplane products can be easily rinsed, so it's clearly a win-win!
You can find out more about these products and the rest of the Microplane range on their website and you can reach out to their team directly to find out where the products are stocked near you.
Frequently Asked Questions
Yes, this recipe for homemade crackers is naturally gluten-free as it is created with a base of sweet potato and flaxseeds. It is however not nut-free as we're using peanut butter in the binding mix. If you have an allergy to tree nuts, I recommend swapping it out for sunflower seed butter or tahini (sesame seed butter).
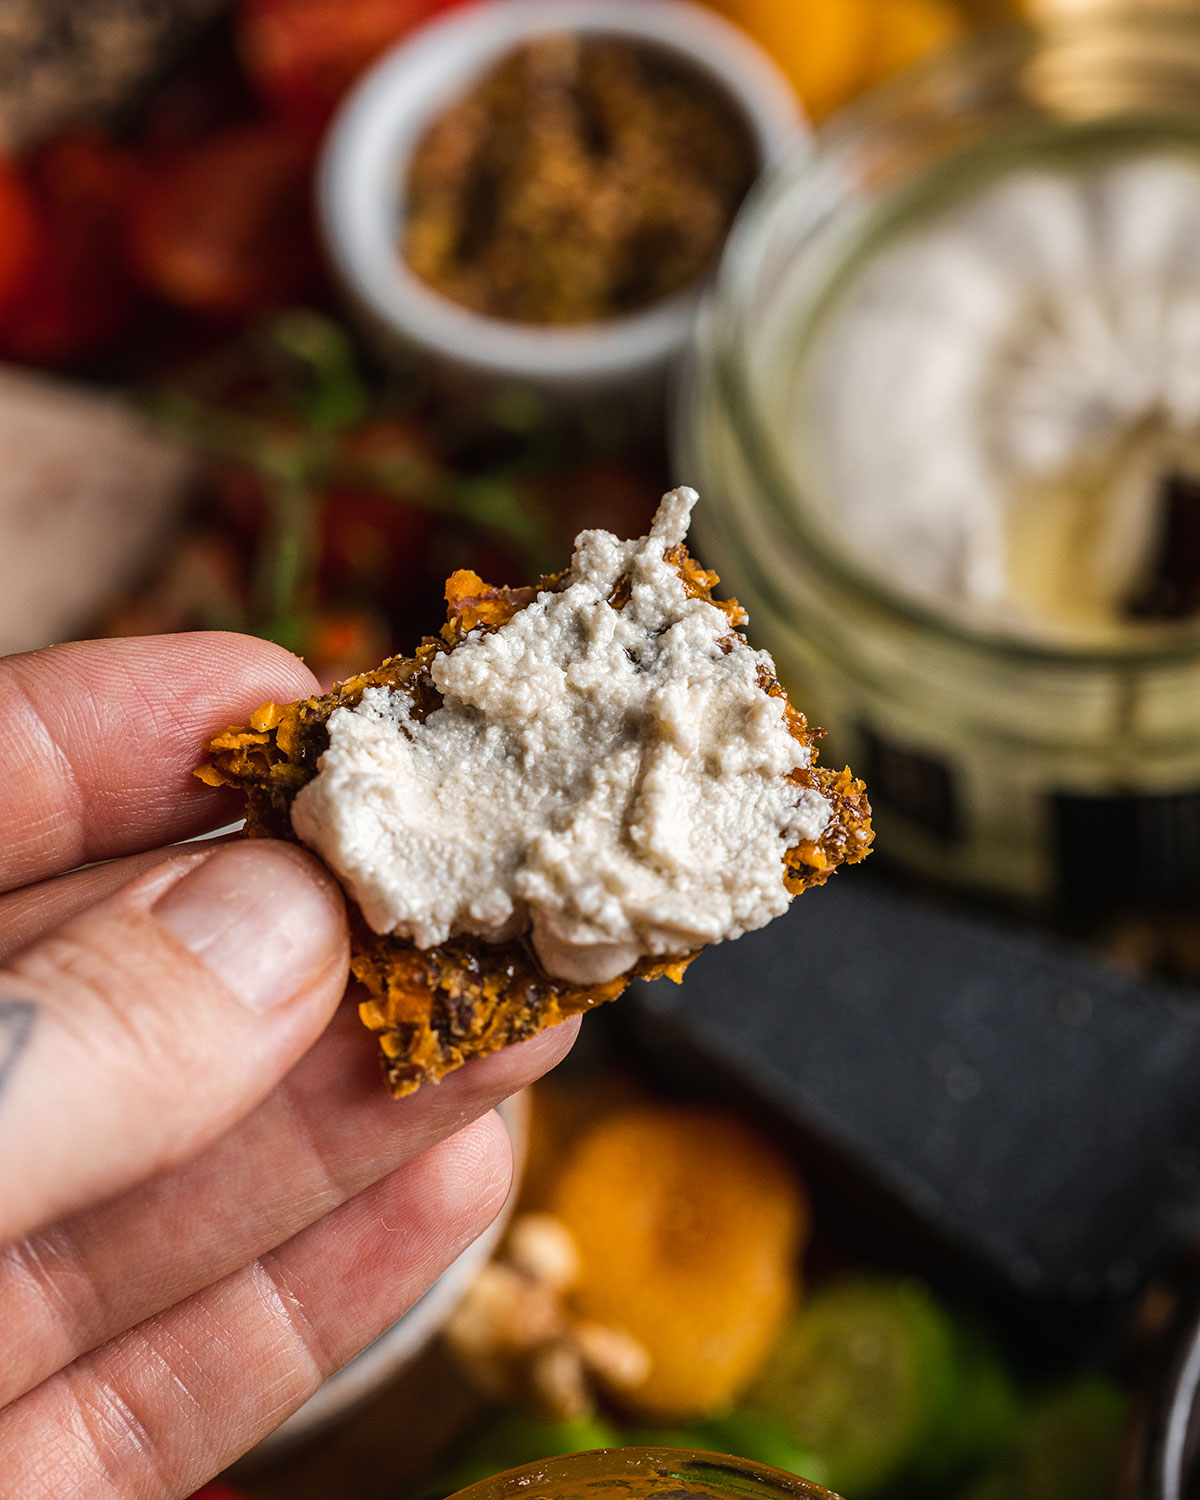
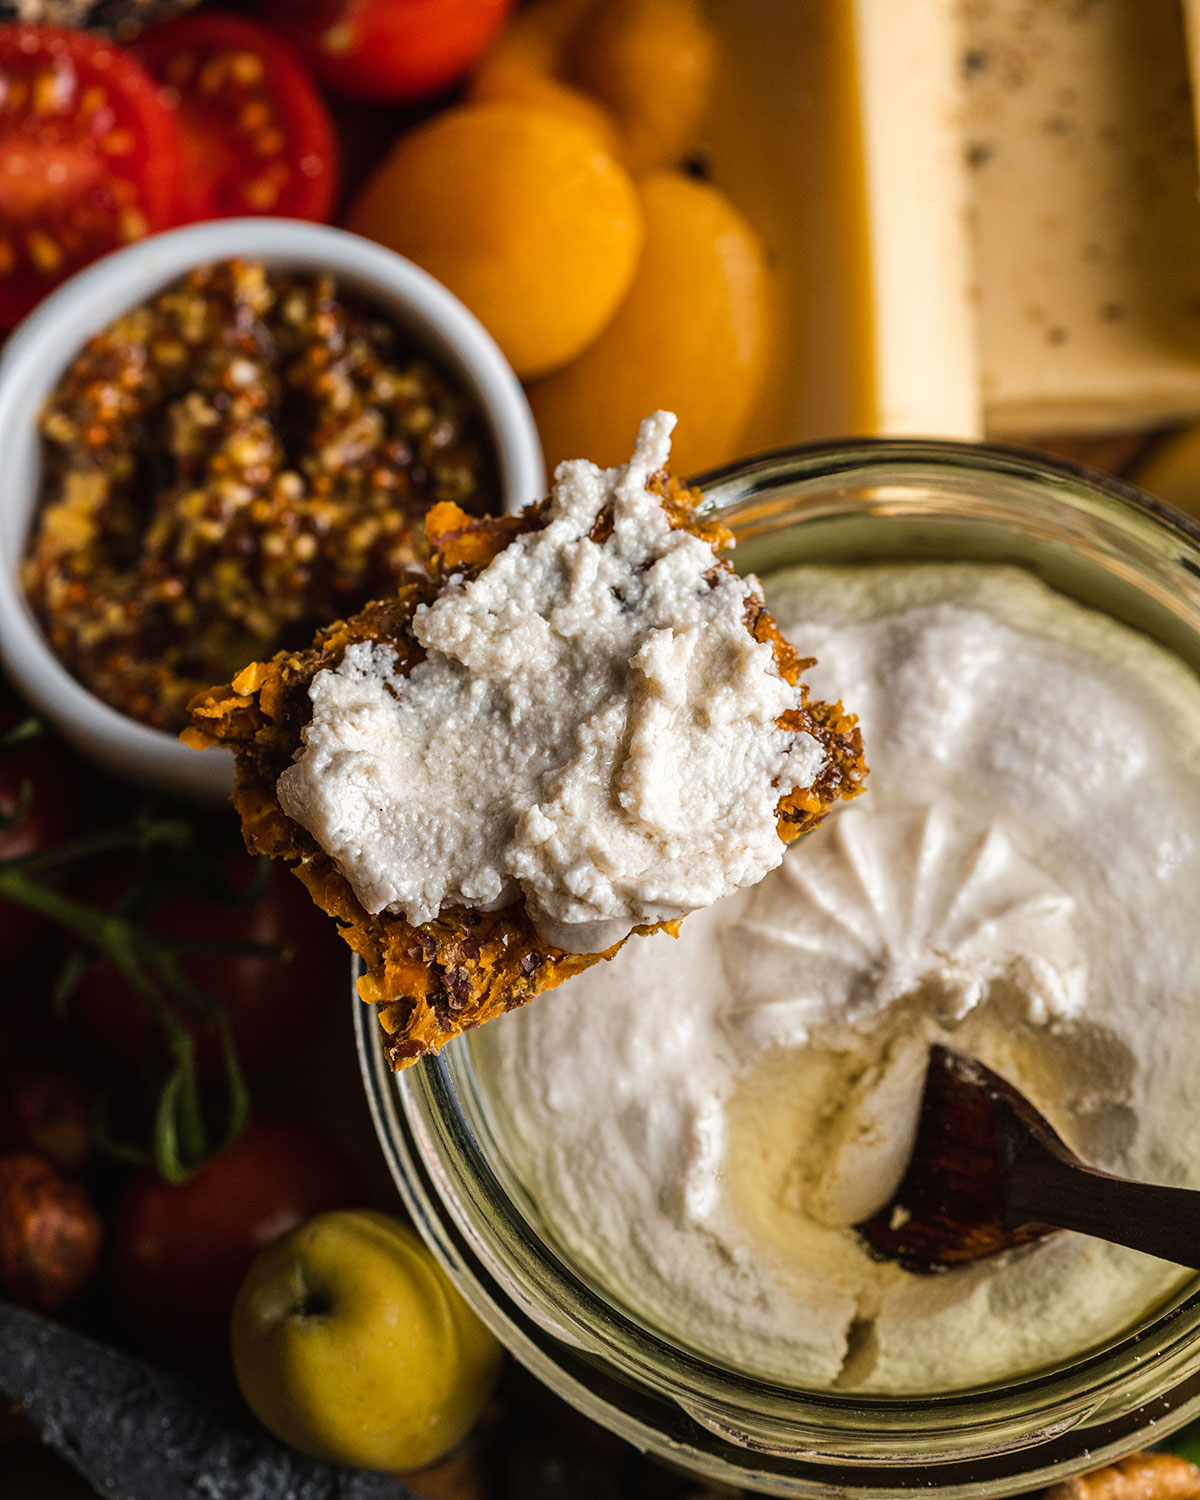
With their sweet, nutty and zesty flavour, these sweet potato crackers are a great all-rounder for your cheeseboard and work so well with a variety of (vegan) cheeses. I've personally loved spreading a bit of Rigotta (vegan ricotta-style cheese) on top, alongside a spicy mango chutney - divine! It also pairs well with pieces of firm cheddar-style or feta-style cheeses and they are delicious dipped into both sweet and spicy chutneys.
You can purchase the Microplane products through a variety of retailers around the UK. Their team offer help in finding a retailer local to you and you can easily contact them via their website for assistance.
Stockists in the UK include John Lewis, Lakeland and Amazon.

If you have made this recipe, I would love for you to leave a review below!
You might also enjoy these recipes:
📌 If you love Pinterest you can pin any of the images to your boards!
📖 Recipe Card

Homemade Sweet Potato Crackers
Equipment
- 1 sharp grater
- 1 mixing bowl
- 1 Rolling Pin
- 1 pizza cutter or sharp knife
- 2 lined baking trays with parchment paper
Ingredients
- 400 g raw sweet potatoes peeled
- 3 garlic cloves peeled and grated
- 3 tablespoon smooth peanut butter
- 120 g milled flaxseeds
- ¾ teaspoon fine sea salt
- ½ teaspoon ground black pepper
- 2 tablespoon balsamic vinegar
- 1 tablespoon maple syrup or agave nectar
Instructions
- Start by shredding the sweet potato into a medium-size mixing bowl. Finely grate the garlic and add it to the bowl, then add in the smooth peanut butter, flaxseeds, salt, pepper, balsamic vinegar and maple syrup.
- Combine everything into a firm dough and set it aside for at least 15 minutes. In the meantime, preheat your oven to 100°C (212°F).
- Divide the dough into 2 parts for easier handling and roll each half into a firm ball with your hands. Place each ball onto non-stick baking parchment or silicone baking mat, place another sheet on top and use a rolling pin to roll out the dough to roughly 1mm thickness. Carefully remove the sheet on top and use a pizza cutter to gently score the sweet potato dough to pre-cut the shape you want your crackers to be in.
- Transfer the sweet potato crackers to the oven and bake them in the middle of a fan-assisted oven at 100°C (212°F) for 30-45 minutes, rotating the trays halfway through for an even bake.
- Remove your crackers from the oven once the crackers begin to look dehydrated in the middle and the edges begin to brown. Allow for the crackers to cool for 30 minutes before removing them from the parchment.
- Serve the crackers alongside your favourite cheeses and chutneys!
Notes
- It's best to stay near the oven whilst baking your crackers as the edges can easily burn if they are rolled thinner. Make sure to rotate the baking tray halfway through the baking time to ensure a more even bake.
- If your crackers on the edges are ready to go, but the middle of the tray still needs some extra baking, let the tray cool, remove the finished crackers and simply return the soft ones to the oven for another 10-20 minutes or until done.
© Romy London / Romina Callwitz | All images and content are copyright protected. Please do not use my images and content without prior permission. If you wish to re-publish this recipe, please get in touch via email. Thank you so much for supporting romylondonuk.com!
*Disclosure: This page may contain affiliate links that earn me a small commission, at no additional cost to you. You can find more information in my Privacy Policy.





Lily Marsh
Made these for dipping into hummus and they turned out so perfect that they didn't even last more than an hour, ha!